Photography Guide: Capturing the Texture of Your Fluffy Ragdoll
The human brain processes visual data 60,000 times faster than text, yet it has a notorious habit of "hallucinating" details that aren't actually visible. When you look at a photo of your Ragdoll on your phone, your memory fills in the tactile softness of their ruff and the depth of their coat. But when a digital sculptor looks at that same 2D image on a monitor, without your memories to assist them, they often see a white, undefined blur. In our workshop, we call this the "marshmallow effect"—where a fluffy cat looks like a smooth, featureless blob because the lighting blew out the texture data.
Quick Takeaways:
- Light for Geometry, Not Just Beauty: Direct flash flattens fur. You need "raking light" (light from the side) to create the shadows that define fur texture for 3D modeling.
- The "Loaf" is the Enemy: While cute, a cat tucked into a loaf position provides zero anatomical data for a sculptor. We need to see where the limbs connect to the body.
- Exposure Bracketing: Ragdolls are high-contrast (white bodies, dark points). You usually need two photos: one exposed for the dark face, one for the light body.
- Brush Before You Snap: Clumped fur looks like a casting error in 3D resin. A quick brush ensures the "coat flow" is clear.
The Physics of Fluff: Why Ragdolls are an Engineering Challenge
In the additive manufacturing world, we deal with tolerances measured in microns. A standard high-fidelity print layer on our SLA (Stereolithography) machines is often set between 35 and 50 microns. To put that in perspective, a human hair is about 70 microns thick. This means our printers are capable of capturing individual strands of fur—but only if the digital file has that data.
The problem with Ragdolls, specifically, is a combination of their color and their coat density. White resin is unforgiving, but white fur in a photo is even worse. In photography, white reflects the most light. If you snap a picture under bright, direct overhead light (or worse, a camera flash), the camera sensor gets overwhelmed. It clips the highlights.
Instead of a rich topography of peaks (hair strands) and valleys (shadows between hairs), the sculptor gets a flat white field. If we print that based strictly on the photo, you don't get a figurine that looks like a cat; you get a figurine that looks like a cat wearing a sheet. To get the "huggable" texture that makes a Ragdoll a Ragdoll, we have to trick the camera into seeing depth.
Raking Light: The Secret to Texture Mapping
Most pet photography guides tell you to aim for "soft, natural light." That’s great for a Christmas card. It is terrible for 3D modeling reference.
To understand why, you have to think like a scanner. We need raking light. This is light that hits the subject at a sharp angle (usually 45 to 90 degrees) relative to the camera.
The Shadow Protocol
Imagine looking at a mountain range at noon. The sun is directly overhead. Everything looks flat. Now imagine that same range at sunset. The long shadows reveal every crag, valley, and ridge.We need those shadows on your cat.
- The Setup: Close the curtains on all windows except one. Position your Ragdoll so the window light hits them from the side, not the front.
- The Result: The light will catch the tips of the fur tufts while leaving the deeper layers in shadow. This high-contrast "noise" is actually a roadmap for our sculptors. It tells us exactly how long the fur is, the direction of the growth (coat flow), and the density of the undercoat.
We recently worked on a figurine for a client whose Ragdoll, Mochi, had an incredibly dense ruff. The client initially sent photos taken with a ring light (front lighting). Mochi looked like a cloud. We asked the client to turn off the ring light and use a desk lamp positioned to the left. Suddenly, we could see the "steps" in the fur texture on the chest. That single adjustment allowed us to sculpt the layers of the ruff rather than just a smooth bulge.
Anatomy vs. The "Liquid Cat" Phenomenon
Ragdolls are famous for going limp—it’s in the name. While this is adorable in your lap, it is a structural nightmare for figurine production.
When a cat "puddles" or enters full "loaf mode" (legs tucked, tail wrapped), they effectively hide their skeletal landmarks. In the 3D printing process, we have to consider support generation. When we orient a model in the slicer software (the program that prepares the 3D model for the printer), we look for overhangs that need support scaffolding.
If you send us photos of a cat that looks like a hovercraft (no legs visible), and you ask for a standing or sitting pose, the sculptor has to guess the leg length and joint positioning.
The "T-Pose" Equivalent
We don't expect you to make your cat stand on two legs like a video game character. However, we need to see the "anchor points."- Knees and Elbows: Try to capture a photo where the cat is standing or sitting up straight enough that we can see the bend of the elbow and the hock of the rear leg.
- The Neck Connection: Ragdolls have thick ruffs that hide the neck. Try to get a shot where they are looking up slightly (dangle a toy above their head). This stretches the neck and shows us how the head connects to the shoulders, preventing the "floating head" look on the final sculpture.
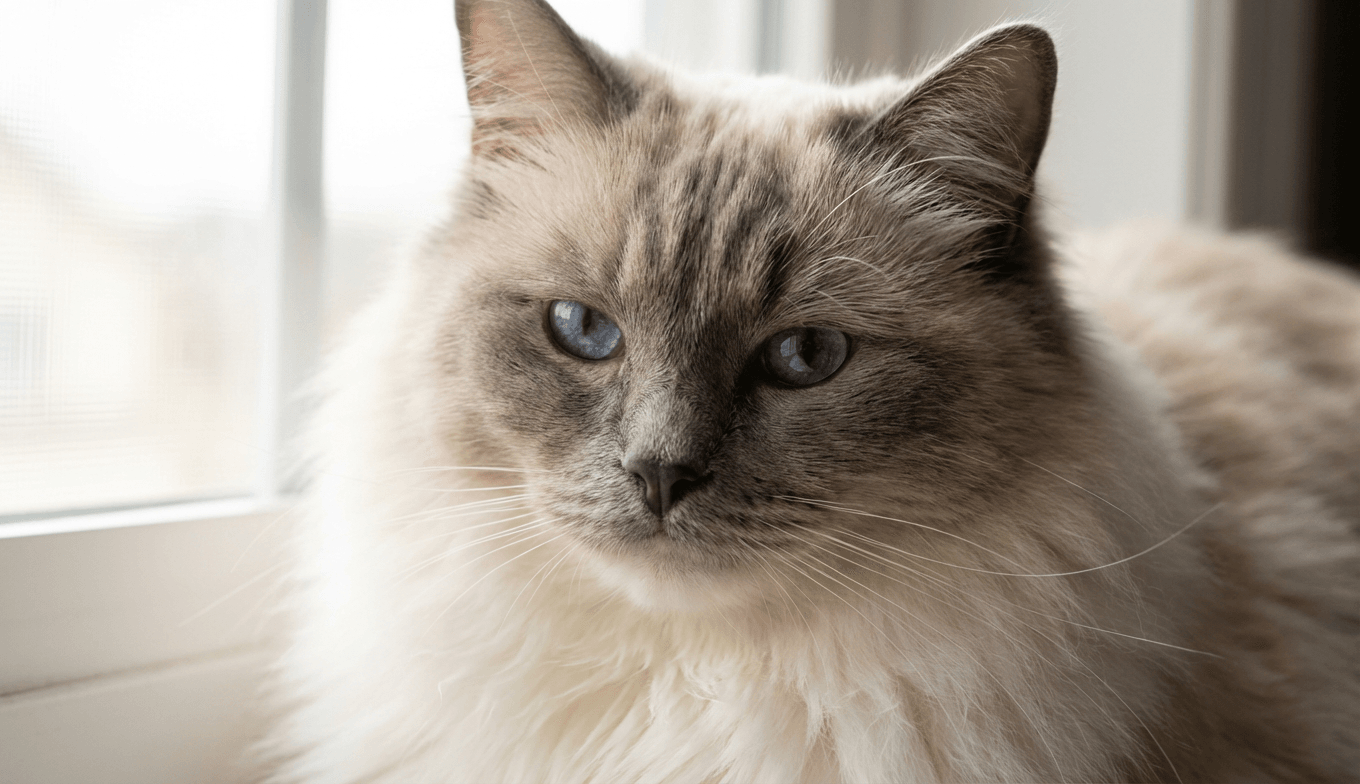
The Colorpoint Contrast Trap
Ragdolls present a unique dynamic range issue: a body that is nearly white and a face (mask), ears, and tail that are dark seal, blue, or chocolate.
Digital camera sensors struggle to expose for both extremes simultaneously. Usually, your phone will look at the white body, say "too bright!", and darken the whole image. The result? The body looks great, but the face becomes a black void where the eyes and nose disappear.
The Two-Shot Solution
Don't try to get it all in one frame. 1. Exposure A (The Body): Tap your phone screen on the white chest fur. Take the shot. This captures the coat texture. 2. Exposure B (The Face): Tap your phone screen on the dark face mask. The image will brighten significantly, blowing out the white fur, but revealing the pupil shape, nose leather texture, and whisker pads.Our sculptors at PawSculpt use a composite workflow. We will take the geometry data from Exposure A and the facial feature data from Exposure B to create the final mesh. It’s a bit like forensic reconstruction—we piece the truth together from multiple angles.
Macro Details: The "Grain" of the Print
One of the most common failure modes we see in custom figurines isn't a print failure—it's a detail failure. The customer receives the box, opens it, and feels that the figurine is "too smooth."
This usually happens because the reference photos were taken from too far away. 3D printers using 4K or 8K mono screens can print details you can barely see with the naked eye. If you zoom in on your photo and it gets pixelated, that pixelation is the limit of the detail we can sculpt.
The Close-Up Audit
We recommend a series of "texture swatches" alongside your main poses:- The Ear Tuft: Ragdolls often have lynx tips or heavy furnishings inside the ear. Get a macro shot of this.
- The Tail Plume: The tail hair texture is often coarser or wavier than the body hair.
- The Paw Tufts: Those tufts of fur between the toes ("toebeans") are a signature Ragdoll trait. They are also incredibly difficult to sculpt without a clear reference. If we guess, they look like solid wedges. If we have a photo, we can sculpt the individual wisps.
Post-Processing: Please, No Filters
This is the engineer in me begging you: Do not apply "Portrait Mode" or Instagram filters to your reference photos.
Portrait mode uses software to blur the background (simulating bokeh). The problem is that the software frequently struggles with fur. It blurs the edges of the cat's ears and whiskers because it thinks they are part of the background.
If you send us a Portrait Mode photo, the sculptor sees an ear that dissolves into fuzz. We need the raw, sharp, "ugly" data. We want to see the stray hairs, the asymmetrical markings, and the crusty bit near the eye. We aren't judging your cat's grooming; we are hunting for biological truth.
A Note on Post-Curing and Surface Finish
Why does all this texture mapping matter? It comes down to the final stage of manufacturing: the finish.
After the figurine is printed, washed in isopropyl alcohol, and UV cured, it goes to painting. If the surface is smooth (because the photos were flat), the paint has nowhere to "grip" visually. A wash (a watery dark paint used to accentuate details) will just slide off a smooth surface.
But if we have captured that raking-light texture, the surface of the figurine will have microscopic peaks and valleys. When our artists apply a wash, the pigment settles into the valleys, instantly creating the look of deep, layered fur. The texture you capture in your living room with a desk lamp directly dictates how realistic the final paint job looks.
Capturing the Spirit
We talk a lot about geometry, microns, and light physics. But at the end of the day, we know why you're doing this. You aren't trying to 3D print a generic cat; you're trying to preserve your cat.
There is a specific way your Ragdoll’s fur kinks behind their ears when they wake up. There is a specific density to their tail when they are happy. These are the things that make your heart ache when you think about them. By taking the time to capture these "data points" correctly—using shadow, angles, and close-ups—you aren't just helping us make a product. You are helping us translate a memory into matter.
The best figurines we’ve ever produced at PawSculpt started with a pet owner who got down on the floor, moved a lamp, and snapped a photo that looked a little weird, but showed the truth.
Frequently Asked Questions
My Ragdoll passed away and I only have old photos. Can you still make a figurine?
Yes, absolutely. While this guide outlines the ideal scenario, our team has years of experience working with imperfect data. We can use "generic" anatomical references for the breed to fill in the gaps, while using your photos to capture the specific markings and facial features. We may ask you more questions during the sculpting phase to ensure we get the personality right.How many photos should I upload for the best result?
Quality beats quantity, but we typically recommend 5-8 photos. We need: 1. Front face (eye level) 2. Left profile (full body) 3. Right profile (full body) 4. Rear view (to see tail and back markings) 5. Top-down view 6. 2-3 close-ups of unique features (face mask, tail, paws)My cat is solid white. Is that harder to sculpt?
Solid white cats are the ultimate challenge for photography, but once we have the geometry, they are beautiful to sculpt. For white cats, the "raking light" tip in this article is non-negotiable. You must use side shadows to define the fur, or the photos will be unusable.Can I use a video instead of photos?
Yes! A high-resolution video (4K is best) where you slowly walk around the cat (or rotate the cat, if they tolerate it) is fantastic. It allows our sculptors to pause frame-by-frame and see how the anatomy shifts in 3D space. Just ensure the lighting is good, as discussed above.Why do the eyes look different in the figurine than in my photos?
Camera lenses, especially on phones, have a "focal length" that can distort faces (making the nose look bigger and ears smaller). Our sculptors correct for this lens distortion to create a biologically accurate representation. If the figurine looks slightly different than the photo, it's often because we've corrected the "fisheye" effect of the phone camera to look more like the cat does in real life.Ready to Get Started?
Now that you know what goes into creating the perfect pet figurine, it's time to bring your vision to life. Our master sculptors are ready to capture every detail that makes your pet unique.
Free instant AI preview • 3D artist preview within 7 days • 5 free revisions
