How to Photograph a Hyperactive Australian Shepherd's Merle Coat for a Sharp Sculpt
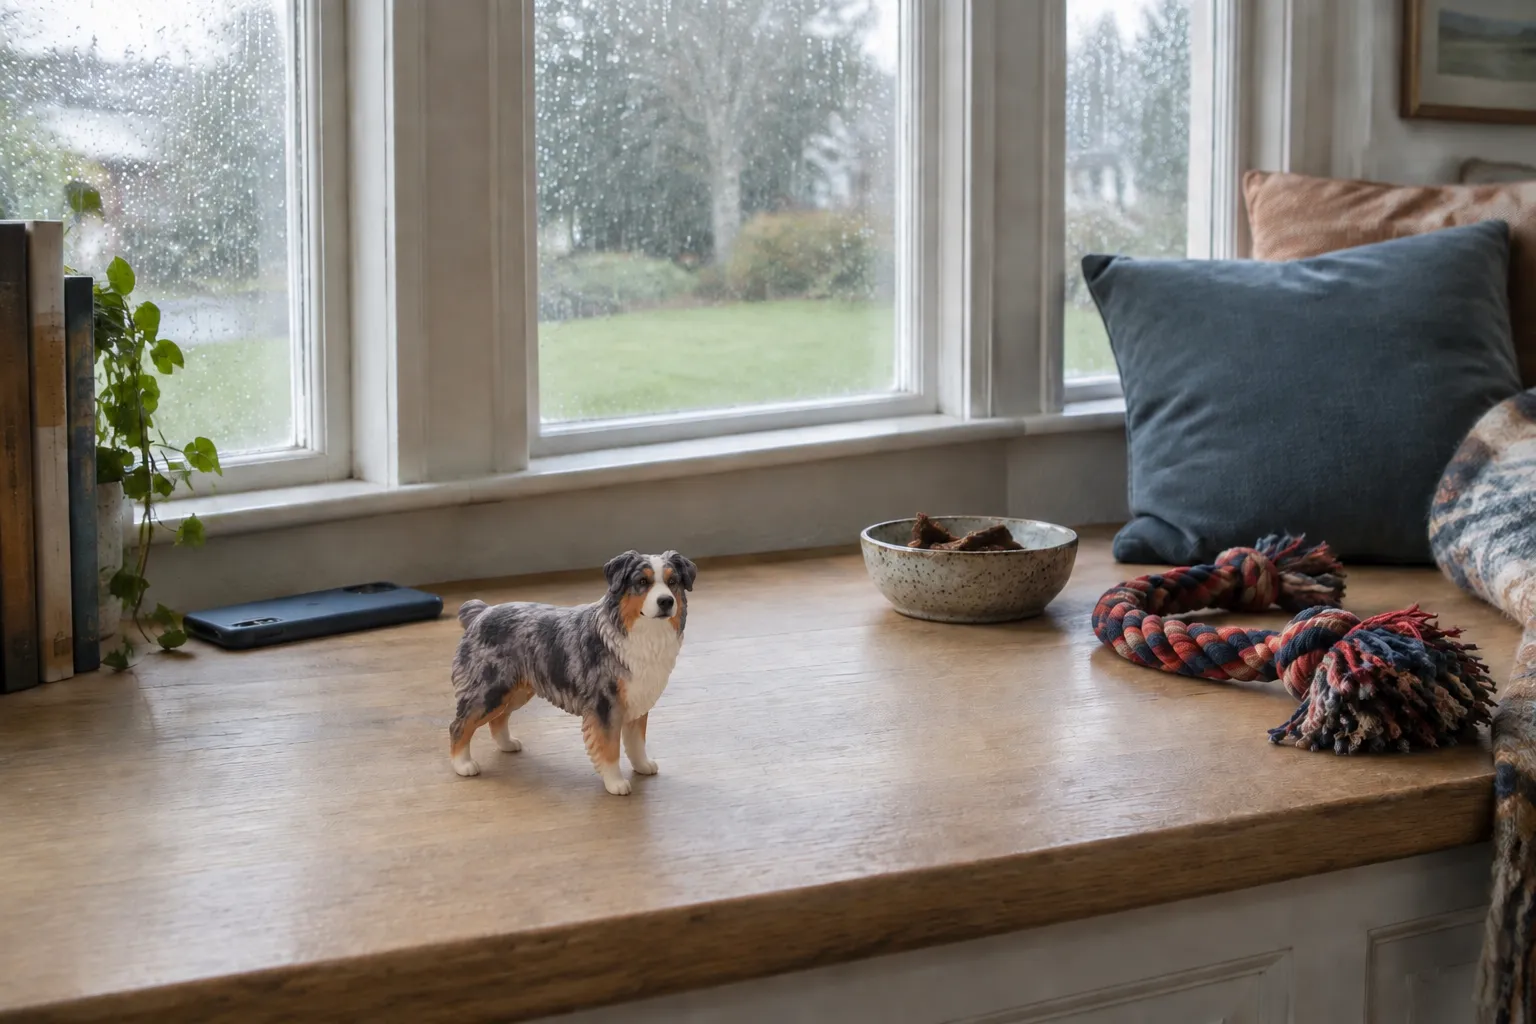
The camera comes up, the shutter fires, and the frame is empty. Learning to photograph an energetic dog means anticipating where the merle will hold still long enough to read.
To photograph an energetic dog like an Australian Shepherd for a sharp sculpt, shoot in bright, even daylight, get down to eye level, and capture several clear angles of the face and marbled coat. Use burst mode to freeze motion, then choose frames where the merle pattern and body pose are both in focus.
Quick Takeaways
- Bright, indirect daylight reads the merle pattern most accurately; harsh midday sun blows out the light patches and buries the dark ones in shadow.
- Get to the dog's eye level and shoot several angles ... front, three-quarter, and profile ... so an artist can understand the coat in three dimensions.
- Use burst mode and a fast shutter to freeze a head-tilt or a settled sit; you only need a handful of sharp frames, not hundreds of blurry ones.
- Merle is a mottled, marbled coat pattern, and it's the single hardest thing to capture well ... prioritize even exposure over a "perfect" pose.
- A sculpted figurine is one keepsake option among photos, prints, and written records; it works best when your references are clear enough to guide the artist.
Why the Merle Coat Is the Real Challenge
Most photography advice for dogs treats the coat as a background problem. With an Australian Shepherd, the coat is the subject. Merle is a coat pattern that mottles the base color into irregular patches ... think of dark marbling scattered across a lighter field, sometimes blue-gray, sometimes red, often with patches that fade at the edges rather than ending in a clean line. No two merle dogs carry the same map. That irregularity is exactly what makes the dog recognizable, and exactly what a phone camera tends to flatten.
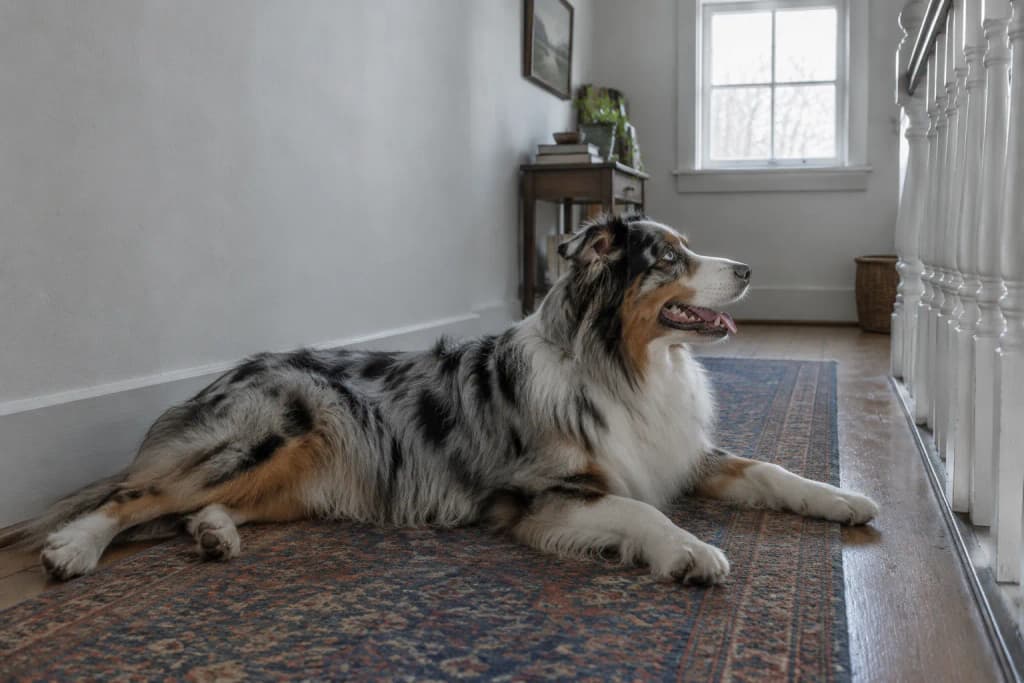
Here's the practical problem. A merle coat contains both very light and very dark areas sitting right next to each other. Cameras meter for an average brightness across the frame, so they routinely overexpose the pale marbling (washing it toward pure white) or crush the dark patches into a featureless black. Either mistake erases the pattern. When you look at the photo later, your brain fills in the detail from memory ... but an artist working only from that image can't. They see white where there was silver-blue, and black where there was a soft charcoal swirl.
So the goal of your photo session isn't a magazine cover. It's a set of honest, evenly lit references where the actual distribution of light and dark reads clearly. Get that right and everything downstream ... the sculpt, the color, the likeness ... has something true to work from.
What "sharp sculpt" actually depends on
A figurine is built from a digital sculpt, and a sculpt is only as informed as its references. Two things matter most: the form (the shape of the head, the set of the ears, the posture) and the pattern (where the merle falls across that form). A single photo can show one or the other well, but rarely both. That's why the rest of this guide leans on multiple angles rather than one hero shot.
Set the Stage Before You Pick Up the Camera
The fastest way to photograph a hyperactive dog is to spend your energy on the environment first, not the dog. An Aussie will not hold a pose because you ask. It will hold a pose for a second or two, by accident, in a spot it already finds interesting. Your job is to make sure that when those seconds happen, the light and the background are already correct.
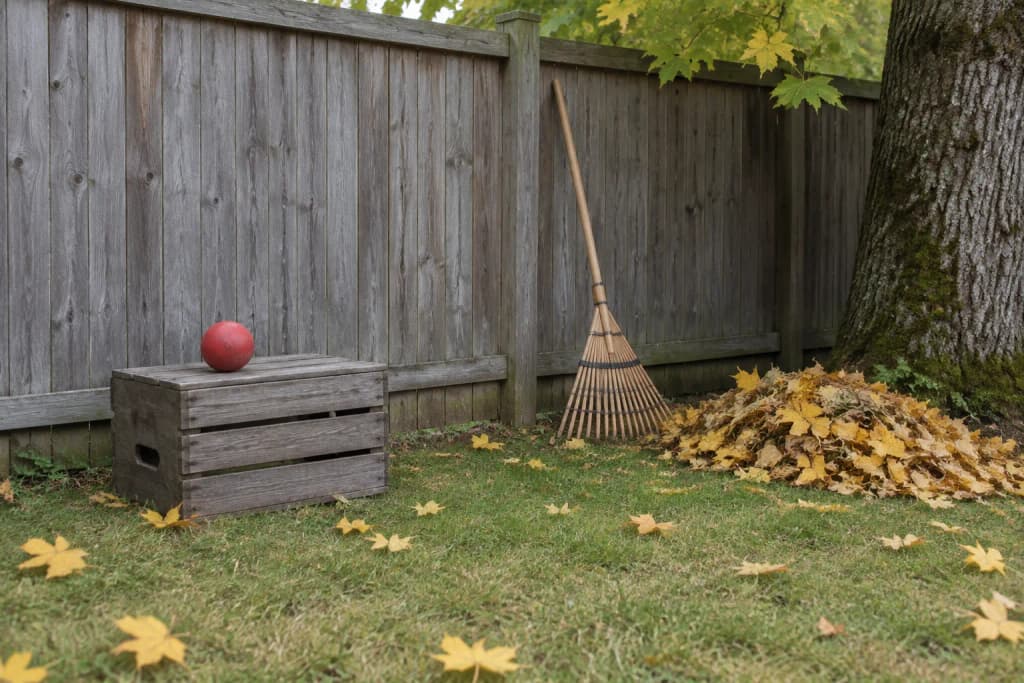
Find soft, bright light. Open shade on an overcast day is close to ideal ... plenty of brightness, no hard shadows, and even coverage across the coat. Indoors, position the dog a few feet from a large window so daylight rakes across the fur without direct sun hitting it. Avoid overhead household lighting, which casts color and leaves the eyes in shadow.
Kill the clutter. A busy background competes with a busy coat. A plain wall, a wood floor, a patch of grass, or a neutral blanket all work. You want the merle to be the most detailed thing in the frame.
Clean the lens. This sounds trivial and it is the single most skipped step. A smudged phone lens softens exactly the fine marbling you're trying to preserve. Wipe it before every session.
Have treats and a helper ready. One person handles the camera, one handles the dog. Attention and stillness both spike right after a treat, which is your window.
Imagine a Saturday morning: the light through the kitchen window is thin and gray-blue, the floor is bare, and the dog is still half-asleep. You set a treat on the counter, kneel down, and for three seconds the ears go up in a bright, curious tilt while the marbled coat catches the flat window light. That is the frame ... and you only got it because the room was ready before the dog was.
The Camera Settings That Actually Matter
You do not need a professional camera. A modern phone is more than capable. What matters is overriding the automatic decisions that fight against a merle coat.
Turn on burst mode. Hold the shutter and let the camera fire a rapid sequence. For a dog that won't sit still, this is non-negotiable. Out of twenty frames from a single head-tilt, one or two will be sharp and well-composed. You delete the rest. Burst mode turns "impossible to photograph" into "pick the best of the batch."
Lock focus on the eyes. Tap the dog's face on your screen so the camera focuses there and holds it. Sharp eyes anchor the whole likeness; a sharp coat with soft eyes reads as lifeless.
Nudge exposure down slightly. On most phones, tapping to focus brings up a brightness slider. Pull it down a touch. It is far easier for an artist to recover pattern from a slightly dark photo than from a blown-out white one. Protect the highlights ... the pale marbling ... first.
Avoid flash and heavy filters. On-camera flash flattens the coat and throws unnatural color, distorting the very pattern you're documenting. Portrait-mode blur and beauty filters smooth away fine detail. Shoot clean; you can always crop later.
Shoot at your highest resolution. Detail you don't capture can't be added back. More pixels give an artist more room to read the marbling.
Work the Angles: A Practical Shot List
One photo is never enough. A sculpt is a three-dimensional object, and the artist needs to understand your dog from more than one side. Think of yourself as building a small dossier. Here's the order that works.
Start with the calm shots, end with the character shots. Get your clean, informative angles while the dog is settled, then chase the personality poses once you've banked the essentials.
- Straight-on face, at eye level. Kneel or lie down so the lens is level with the dog's eyes. This is your master reference for the head shape and the facial merle pattern. Fill the frame with the face.
- Three-quarter view. Have the dog turn its head slightly so you see the front and one side at once. This single angle tells an artist more about the shape of the skull and muzzle than any other.
- Full profile. A clean side view establishes the length of the muzzle, the ear set, and how the coat pattern wraps around the body.
- Full body, standing or sitting. Step back and capture the whole posture. This locks in proportions ... leg length, chest depth, tail ... that close-ups can't show.
- The head-tilt or personality frame. The bright, curious tilt an Aussie does so well. This is the pose that makes the figurine feel like your dog and not a generic breed model.
- A coat detail close-up. One tight shot of a patch of merle where the light and dark marbling is clearly separated. This is your color-and-pattern ground truth.
If your dog will only tolerate a short session, prioritize the straight-on face, the three-quarter, and the full body. Those three cover form; the coat close-up covers pattern. Everything else is a bonus.
Match the pose to the size you have in mind
PawSculpt figurines run from 2.5 to 6 inches tall, and a smaller figure naturally shows less fine detail than a larger one. If a signature pose ... a dramatic head-tilt, a specific sit ... matters to you, capturing it clearly in your references gives the artist the best chance of translating it faithfully at whatever size you choose. You can weigh the sizes and options on the custom sculpture page once you know which frames you love.
From Photos to a Physical Figurine: What the References Feed
It helps to understand where your photos actually go, because it explains why the guidance above matters. A figurine like this isn't painted or hand-finished after the fact ... the color and form are built into the object from the start, which means the source images carry real weight.
Here's the approved workflow, plainly. First, your reference photographs are reviewed. Then an artist digitally sculpts the portrait ... interpreting your dog's form and coat into a three-dimensional model on a computer. You confirm that artist preview before anything is printed. Once you approve, the model is printed in full color on a Mimaki 3DUJ-553 printer, equipment that supports more than 10 million colors. After printing, the supports are removed, the surface is inspected, and a transparent protective coat is applied for indoor display.
Two things about that process should shape how you shoot.
The color is printed, not added later. Because the printer builds color directly into the resin, the merle pattern in your photos is the pattern the artist works to reproduce. Full-color capable equipment gives an artist a wide palette to interpret those blues, grays, and coppers ... but it can only interpret what your references actually show. A washed-out photo doesn't become a richer figurine; it becomes a guess.
You get to correct the interpretation. The result is a sculpted portrait ... an artistic interpretation of your dog, not a photo-exact copy ... and you're not locked into the first attempt. The first artist preview typically arrives within seven days after complete references are provided and the order enters the design stage, and the studio includes five revisions on that preview. If the marbling on the left flank isn't reading right, or the ear tilt is off, that's what the revision rounds are for. Good references make those rounds about refinement rather than rescue.
Imagine opening the preview on a weeknight: the digital model rotates on your screen, the silver-blue marbling catches a rendered light, and you notice the eye color skews slightly too pale. You note it, send it back, and the next version corrects it. That back-and-forth is the point of confirming before printing.
Is a Figurine the Right Keepsake for Your Dog?
Straight talk: a custom figurine is one option, not the only one, and it isn't the right call for everyone. It's worth being honest about where it fits.
A framed photograph is immediate, cheap, and captures a literal moment. A commissioned drawing or painting offers a flat artistic interpretation. A written record ... the odd habits, the sounds, the routines ... preserves the parts a camera never catches. A 3D figurine does something different: it turns the dog into a small physical object you can hold and set on a shelf, rendered in the round rather than on a flat surface. For a breed as visually distinctive as a merle Aussie, that dimensionality is a genuine draw, because the coat wraps around a real form the way it did on the dog.
The tradeoffs are real, and worth naming. A figurine costs more than a print and takes longer to arrive. PawSculpt figurines are priced by size ... $429 for 2.5 inches, $489 for 3 inches, $589 for 4 inches, $789 for 5 inches, and $999 for 6 inches, in USD ... and delivery runs 27 to 40 days after final payment in the US, or 33 to 47 days internationally. There's no separate shipping fee added at checkout for worldwide delivery, though international customers remain responsible for any local customs duties, taxes, or import fees. If you need something today, a printed photo wins. If you want a lasting three-dimensional portrait and you're willing to wait, the figurine earns its place.
The decision often comes down to your references. If you have (or can capture) clear, well-lit photos of your dog's face and coat, you're well positioned to get a likeness you'll be happy with. If your only images are blurry action shots, spend an afternoon on a proper session first ... it costs nothing and changes the outcome more than any upgrade you can buy.
A Realistic Session Plan for a Dog That Won't Sit Still
Pulling it together, here's how a single productive session goes when the subject has energy to burn.
Tire the dog out first. A walk or a game of fetch before the session buys you a calmer, more cooperative subject. A satisfied Aussie holds still; a bored one does not.
Prep the space while the dog is busy. Clean the lens, set up near your window or in open shade, clear the background, and put treats within reach.
Shoot in short bursts, then rest. Fire your burst-mode sequences during the brief windows of stillness ... right after a treat, right after a name-call that triggers the head-tilt. Don't fight for a long, continuous session; steal a series of short ones.
Bank the essential angles early. Get the straight-on face, three-quarter, and full body before the dog's patience runs out. Chase the personality shots afterward.
Review before you quit. Zoom in on a few frames on the spot. Are the eyes sharp? Can you actually see the light-and-dark separation in the merle, or has it washed out? If the pattern isn't reading, adjust your exposure down and shoot another round while you still have the dog's attention.
Curate ruthlessly afterward. From a burst session you might keep six to ten images total: a few clean angles, one strong personality frame, one coat close-up. Quality and clarity beat volume every time. Whether those references feed a figurine, a painting, or just a better photo on the wall, the same set serves you well.
Frequently Asked Questions
What is the best light for photographing a merle coat?
Bright, indirect daylight works best. Open shade or a spot near a large window gives even light that shows the light and dark marbling clearly, without the blown-out highlights or crushed shadows that harsh sun creates.
Do I really need multiple angles for a good sculpt?
Yes. A sculpt is three-dimensional, so an artist needs to understand the dog from several sides. Aim for a straight-on face, a three-quarter view, a full profile, and a full-body shot at minimum.
How many photos should I send for a custom figurine?
Quality matters more than quantity. A handful of sharp, well-lit references covering the face, coat pattern, and full body from a few angles is far more useful than dozens of blurry action shots.
How long does a PawSculpt figurine take to arrive?
The first artist preview typically arrives within 7 days after complete references are provided and the design stage begins. Delivery is 27 to 40 days in the US, or 33 to 47 days internationally, after final payment.
Will the figurine look exactly like my photo?
No. The result is a sculpted portrait ... an artistic interpretation of your dog rather than a photo-exact copy. You confirm the artist preview before printing, and five revisions are included to refine the likeness.
Can I fix the coat pattern if the preview looks off?
Yes. You confirm the artist preview before anything is printed, and the studio includes five revisions on that preview, so you can request corrections to the merle pattern, pose, or specific details.
Ready to Turn Your Best Frames Into a Sculpted Portrait
Once you've captured a set of clear, well-lit references ... a sharp face, a few honest angles, and one good look at that marbled coat ... you're in a strong position to commission a likeness you'll actually recognize. If a three-dimensional keepsake is the direction you want, you can review the sizes, add-ons, and workflow on the custom pet sculpture page, read the process details on the PawSculpt FAQ, or reach out with questions about your specific dog through the contact page. And if you decide a print or a painting suits you better for now, the photography still pays off. Good references are never wasted.