Your Best Calico Photo Is the Wrong One: How to Shoot Patchy Faces for a Sculpt
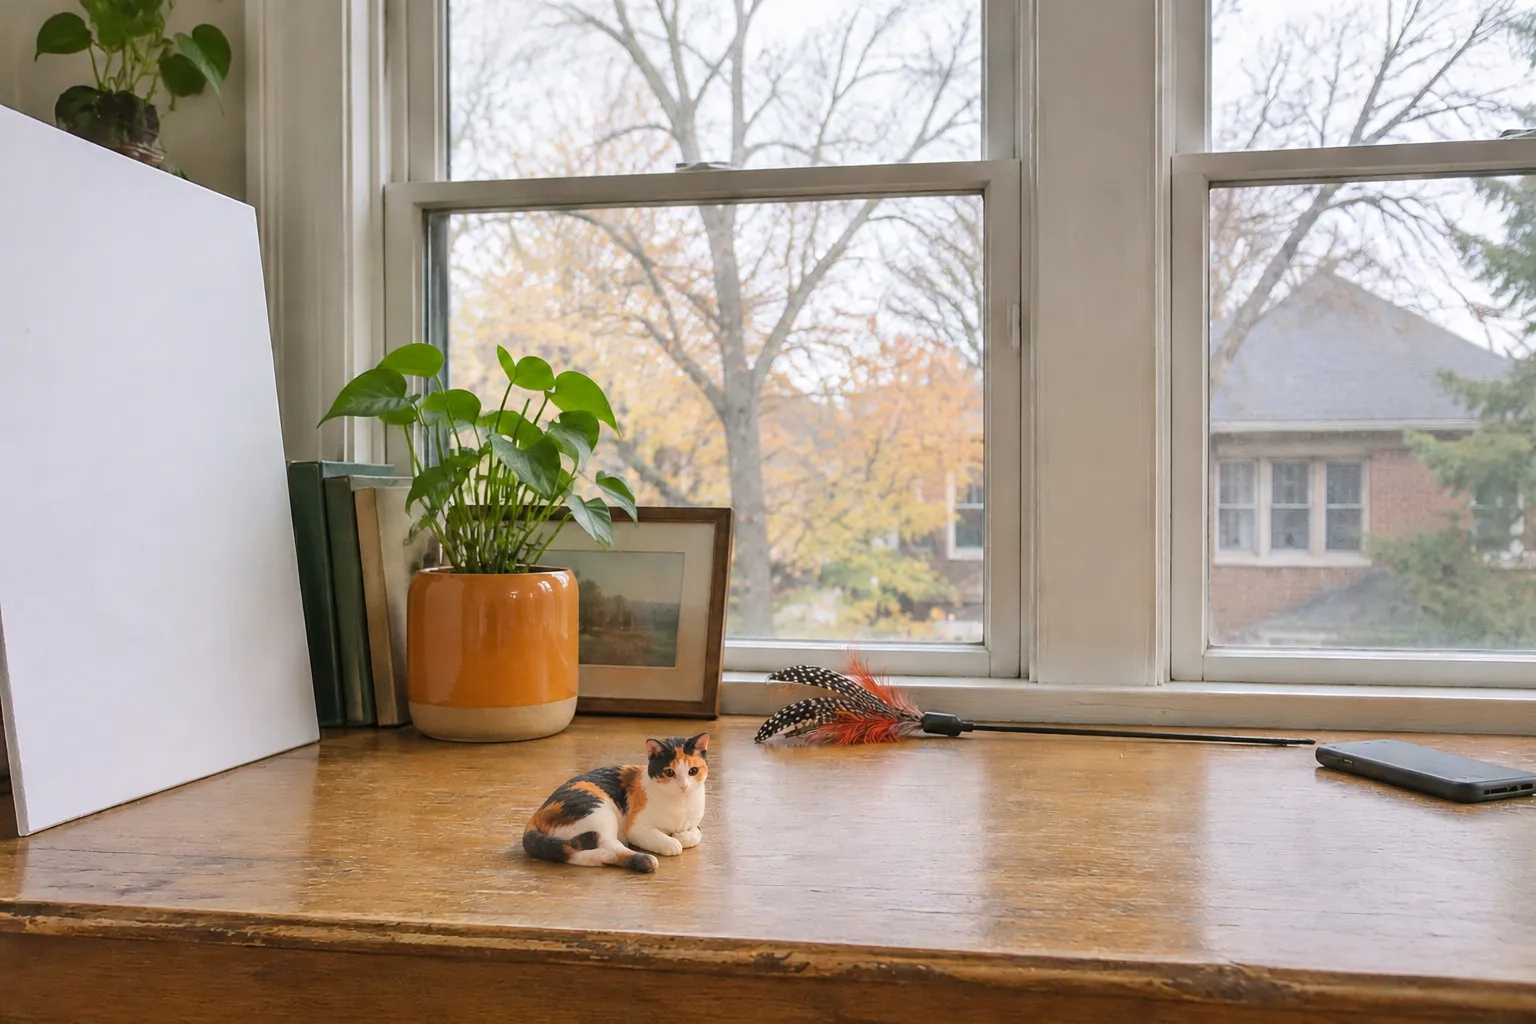
“Send the hallway one, she looks perfect in it.” In that photo, warm lamp light turns her orange patch gold and the black patch over her eye sinks into the shadow by the coat hooks, which makes it a weak choice among your calico cat figurine photos.
The photo you love most often shows one flattering angle in warm light, which hides half of a calico's patches and shifts their colors. For a sculpt, shoot a set instead: even daylight, eye level, both sides of the face, the top of the head, the chin, and the body, with no filters. Keep the favorite for expression.
Quick Takeaways
- A sculpture can be turned around, so the artist needs to see the sides of your cat you rarely photograph, including the top of the head, the chin, and the back.
- Warm indoor bulbs, flash, and filters change how orange, black, and white fur reads. Indirect daylight from a window gives the most honest colors.
- A split or patchy face needs a straight-on shot plus a separate left and right profile, because each side can tell a different story.
- Send your favorite photo too, labeled as the one for personality and pose rather than for markings.
- The artist preview is where you check patch placement against your photos. Use your revisions on markings first, since the approved model is what gets printed.
Why the Photo You Love Is Usually the Wrong Reference
Most of us pick favorite pet photos for mood. We choose the sleepy blink, the head tilt, the glow of a late afternoon. Those qualities are exactly what make a photo feel like your cat, and they are often what make it hard to sculpt from.
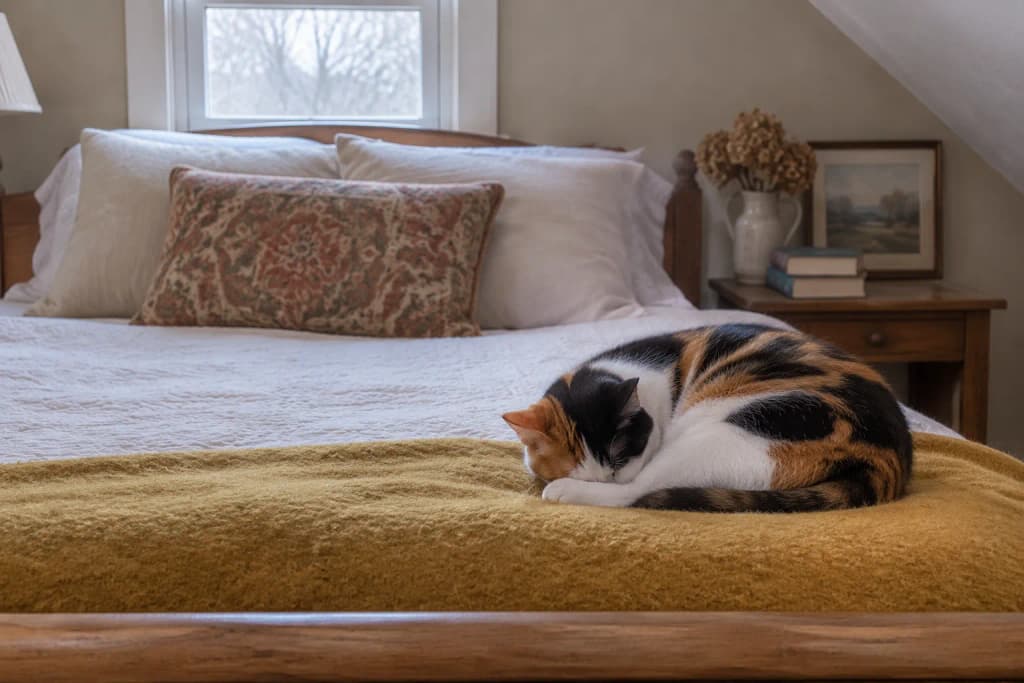
A sculptor working on a calico is solving a mapping problem. Every orange, black, and white area has a shape, an edge, and a position on a three-dimensional head. A single flattering photo answers some of those questions and quietly hides the rest. Here is how that plays out in practice:
- If the light is warm, white fur reads cream and orange fur reads deeper. Nobody looking at the photo can tell whether your cat's white bib is truly white or slightly ivory.
- If the face is turned three-quarters, the far cheek is foreshortened or hidden. On a cat whose face is split into two colors, that hidden side holds half her identity.
- If shadows fall across dark patches, black fur and shadow merge into one shape. The edge where black meets orange disappears, and that edge is often the detail owners notice first.
- If portrait mode or a filter is on, ear edges and whiskers get blurred, fur texture gets smoothed, and colors shift toward whatever the filter favors.
There is also the problem of the parts nobody photographs. Think about how often you have a clear picture of the top of your cat's head, or the underside of her chin, or the patch that sits between her shoulder blades. A finished figurine shows all of those surfaces. Anything the photos don't show has to be interpreted, and on a patchy cat, interpretation can mean guessing where a patch ends.
None of this means your favorite photo is useless. It carries expression, posture, and the specific way she holds her ears when she's content. That information matters a lot. It just needs support from photos taken for a different job.
What Happens to Your Photos After You Send Them
Knowing the workflow helps you understand which photos carry weight. At PawSculpt, the process runs in this order:
- Your reference photographs are reviewed.
- An artist digitally sculpts the portrait.
- You confirm the artist preview before anything is printed.
- The approved model is printed in full color on a Mimaki 3DUJ-553, a printer whose equipment supports more than 10 million colors.
- Supports are removed.
- The surface is inspected.
- A transparent protective coat is applied.
Two parts of that sequence matter most for a calico.
The first is the digital sculpt. Your photos are the artist's main source for shape and color, so their quality sets the ceiling on how well the patches can be placed. Clear, evenly lit photos from several angles give the artist fewer gaps to fill.
The second is that the approved model is printed in full color. The color layout you approve in the preview is the layout you are choosing to print. That makes the preview your main checkpoint, and it makes good references worth the effort before the preview is even made.
The printer's color range is a capability of the equipment. It does not mean every figurine uses that full range, and it can't add information your photos never contained. If a patch is hidden in shadow in every photo you send, the color capability of the printer doesn't change that.
It also helps to set expectations at the start. A sculpted figurine is an artistic interpretation of your cat. It will not be a photo-exact copy, and for a calico that is worth keeping in mind. The goal is a portrait where the markings read as hers.
Setting Up Light That Keeps Orange, Black, and White Honest
A calico's coat puts three very different colors side by side. Pure white reflects a lot of light, black absorbs it, and orange sits in between and shifts easily under colored bulbs. Light that flatters one of those colors usually distorts another. Even, neutral light gives each patch a fair chance.
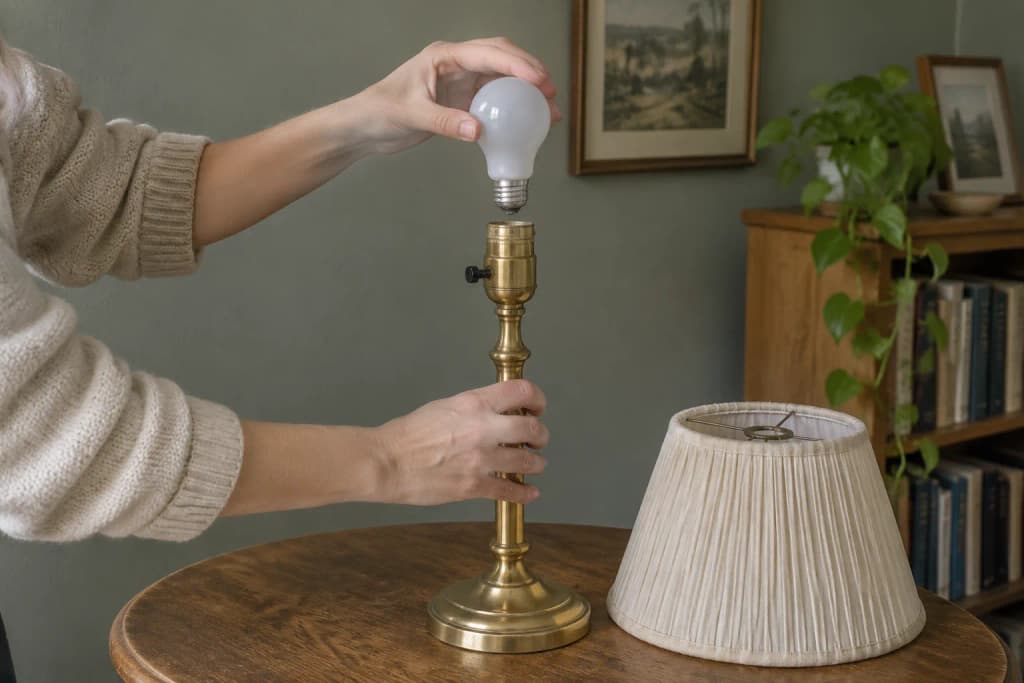
Use window light, not lamps
Indirect daylight near a window is the simplest setup most of us have at home. Turn off overhead lights and lamps while you shoot. Mixing warm bulbs with cool daylight puts two color temperatures on one face, and the patch nearest the lamp ends up a different shade from the patch nearest the window.
An overcast day is often easier than a sunny one. Clouds spread the light, so you get fewer hard shadows and fewer bright stripes across the fur. If the sun is coming straight in, hang a thin white curtain or sheet over the glass, or move to a window that isn't getting direct sun.
Skip the flash
Flash flattens fur into a single surface and can bleach white areas so their edges vanish. It can also put a bright reflection in the eyes. If the room is too dark without flash, move closer to the window or wait for a brighter part of the day.
Give the white fur something to compare against
Place a plain sheet of white printer paper somewhere in one or two frames, beside her or on the sill. It gives anyone looking at the photo a known reference for "white," which makes it easier to tell whether her bib is bright white or slightly warm. This is especially useful if your cat has softer gray and cream patches instead of strong black and orange, since those colors are easy to misread.
Turn off the extras
Before you start, switch off portrait mode, beauty filters, and any automatic "enhance" setting your phone offers. Don't edit afterward either. Raising contrast or saturation can make the photo prettier while making it less accurate. If you can't resist editing one for yourself, send the unedited original as the reference.
The Shot List for a Split or Patchy Face
Think of this as coverage. A few clear photos of each angle help more than dozens of nearly identical shots from the same spot. Hold the phone at her eye level whenever you can. Photos taken from standing height look down on the face and compress the forehead, which distorts where the patches sit.
- Straight-on face. Eyes level with the lens, both ears visible. This shows how the face divides between colors and whether the split runs down the nose or off to one side.
- Left profile. Her whole head from the side, nose to the back of the skull.
- Right profile. The same view from the other side. If her face is patchy, these two photos may look like two different cats, which is exactly why both are needed.
- Top of the head. Shoot from above while she's sitting or lying down. This shows how patches meet between the ears, an area that almost never appears in everyday photos.
- Chin and chest. Get low, or catch her looking up at a toy. Calico markings on the chin and throat are easy to miss and show clearly on a figurine.
- Ears, front and back. If one ear is orange and the other is black, or the backs differ from the fronts, capture both.
- Each side of the body. Standing or walking, so the full pattern along the flank is visible.
- Back and tail. From behind and slightly above. Tail markings often change partway along, and they are visible on a finished piece.
- Paws. If her feet are different colors from each other, or if the pose you want shows a paw clearly, photograph them up close.
- The pose you want. If you're hoping for a head tilt or one paw tucked under, try to catch it, even if the light isn't perfect.
- Your favorite photo. Include it, and say plainly that it's there for expression and personality.
Getting a moving cat to cooperate
Few cats will hold still for a full shot list, so plan for several short sessions instead of one long one. A feather toy is useful here. Move it slowly to one side and her head usually follows, which gives you a profile without handling her. Use burst mode so a quick turn of the head gives you several frames to choose from.
Let her settle on her own spot first. If she likes a windowsill or a cushion in a sunny corner, set up there instead of carrying her somewhere new. Stop when she's done. Your photo set can be built over a few days.
Imagine a Saturday morning. The window glass is still cool to the touch, and your cat has claimed the sill beside the basil pot, her fur warm and a little staticky when you run your palm down her back. You draw the feather toy slowly left and catch her right side, then right for her left, while the coffee on the counter goes lukewarm. By the time she flops onto the cushion with her chin up, you have both profiles, the top of her head, and the white throat she usually keeps tucked away.
Sending Your Photo Set and Using the Preview Well
Good photos still need a little organizing. The artist is reading your references without the context you carry around in your head, so help them see what you see.
Label everything
Rename files or add a short note to each one: "left profile," "top of head," "favorite, for expression." It takes five minutes and saves anyone working from them from guessing which side of the face they're looking at.
Describe what the camera misses
You know your cat in ways a photo can't show. Write down the details you'd point to if she were sitting in front of someone:
- "The black patch over her right eye wraps under her chin."
- "There's a small orange fleck on the left side of her nose."
- "Her back left foot is white, the others are orange."
- "The white on her chest is wider than it looks in the hallway photo."
If you can, mark up one or two photos with arrows. A simple screenshot with a circle drawn on it works fine. Specific notes like these are easier to act on than "please get her markings right."
It is common for owners to feel a pull toward sending only the photos that look like the cat they love. That instinct makes sense. Here, the less flattering, evenly lit photo is often the one that helps the artist most.
Send complete references early
The first artist preview is typically delivered within 7 days after complete references are available and the order enters the IN_DESIGN status. Missing angles mean waiting while new photos are taken, so finishing your shot list before you order keeps things moving.
There is also a practical reason to settle your photos and pose early. The deposit is 40%, and a full refund is available before the order enters the server-recorded IN_DESIGN status. Once the artist starts modeling, the deposit becomes non-refundable. Decide on the pose, the pets, and any props you want before that point. The FAQ page covers the deposit and status details.
Check the preview against your photos
You confirm the artist preview before printing, and five revisions are included. When the preview arrives, open it next to your photo set and compare one area at a time:
- Face split: does the dividing line fall where it does in your straight-on photo?
- Each profile: do the cheek patches match the left and right shots?
- Top of head and ears: do the patches meet between the ears the way they do on her?
- Chin, chest, and paws: are the smaller white and colored areas where you expect them?
- Back and tail: does the tail pattern change at the right point?
Many owners look at the face first and approve once it feels right. On a calico, check the back and the underside too, since those are the places where missing photos tend to show. Point to a specific photo in each revision note, such as "see top-of-head photo, the orange patch should reach the left ear." That kind of note is easier to act on than "the head looks off."
If you can't take new photos
Sometimes the cat in question is no longer here, and the photos you have are the photos there will ever be. If that's your situation, send everything, including blurry, badly lit, and partial shots. A dark photo of her back may still show where a patch sits. Write down whatever you remember about her markings, even if it's only "the orange went down her left shoulder." If you're unsure whether your photos give enough to work from, ask the team before ordering so you can decide with full information.
Timing, Sizes, and Costs to Plan Around
Once your photos are ready, the remaining decisions are size, extras, and timing. PawSculpt figurines range from 2.5 to 6 inches. If your cat has very small markings, such as a single fleck on the nose, ask how they will read at the size you're considering before you choose.
| Size | Single figurine (USD) | Set of 12 (USD) |
|---|---|---|
| 2.5-inch | $429 | $4499 |
| 3-inch | $489 | $4999 |
| 4-inch | $589 | $5999 |
| 5-inch | $789 | $7999 |
| 6-inch | $999 | $9999 |
Add-on prices, in USD:
- Second pet: $179
- Extra pet (4-inch and larger only): $199
- Extra toy, such as the feather toy she always chases: $30
- Nameplate: $9
- Rush: $29
- Diamond glass base: $29
- Black crystal base: $39
A black acrylic base is included. If you're adding a second pet, the same shot list applies to them, and their photos need the same even light.
How the timeline works
| Stage | Typical timing |
|---|---|
| First artist preview | Within 7 days after complete references and IN_DESIGN |
| US delivery | 27 to 40 days after final payment |
| International delivery | 33 to 47 days after final payment |
Delivery is counted from final payment, so the time you spend reviewing the preview and paying the balance comes before that window starts. No separate shipping fee is added at checkout for worldwide delivery. International customers remain responsible for local customs duties, taxes, or import fees.
For Christmas 2026, the last order-by date is November 10, 2026 for US delivery and November 3, 2026 for international delivery. Ordering by those dates only works if you confirm the preview and pay the balance promptly, so have your photo set finished before you order. Orders placed after the cutoff are delivered in January. The artist preview, which arrives within about 7 days of IN_DESIGN, can be shared as the gift in the meantime.
Care and display
The finished figurine gets a transparent protective coat and is meant for indoor display on a shelf. Picture where it will sit and whether the patches you care most about will face the room.
Is a figurine the right keepsake?
A figurine is one way to keep a calico's markings close, and it isn't the only one. If what you love most is the expression in one particular photo, a framed print of that photo may suit you better. A written description of her quirks, a painting, or a photo book built from your new shot list are all worth considering. A sculpt makes the most sense when you want something you can turn in your hand and see from every side, including the patches between her ears that no single photo shows.
Frequently Asked Questions
How many photos should I take of my calico for a figurine?
Aim for coverage over count: a straight-on face, both profiles, the top of the head, chin and chest, each side of the body, back and tail, plus your favorite for expression. A few clear shots per angle beat many similar ones.
Should I edit or filter my cat photos to make the colors pop?
No. Filters, portrait mode, and contrast edits shift colors and blur fur edges. Send unedited originals taken in indirect daylight. Add a sheet of white paper to one frame so the true white of her fur is easy to judge.
Will the figurine match every one of my calico's patches exactly?
A sculpted figurine is an artistic interpretation, not a photo-exact copy. You confirm the artist preview before printing and have five included revisions, so use them to check patch placement against your photos.
What if I only have old or imperfect photos of my cat?
Send all of them, including blurry or partial shots, since each may show a patch from a new angle. Write down the markings you remember, and contact the team before ordering if you are unsure the photos are enough.
When should I order a calico figurine for Christmas 2026?
The last order-by date is November 10, 2026 for US delivery and November 3, 2026 for international. Confirm the preview and pay the balance promptly. Orders after the cutoff arrive in January.
When Your Photo Set Is Ready
If you've worked through the shot list and have both profiles, the top of her head, and the chin she rarely shows, you're giving an artist what a patchy face needs. You can start a custom calico cat sculpture with PawSculpt and send your labeled photos, your notes, and the hallway favorite that captures her personality. You'll see the artist preview and confirm it before anything is printed.