How to Photograph a Fluffy, Hyper Samoyed Before You Order a Figurine
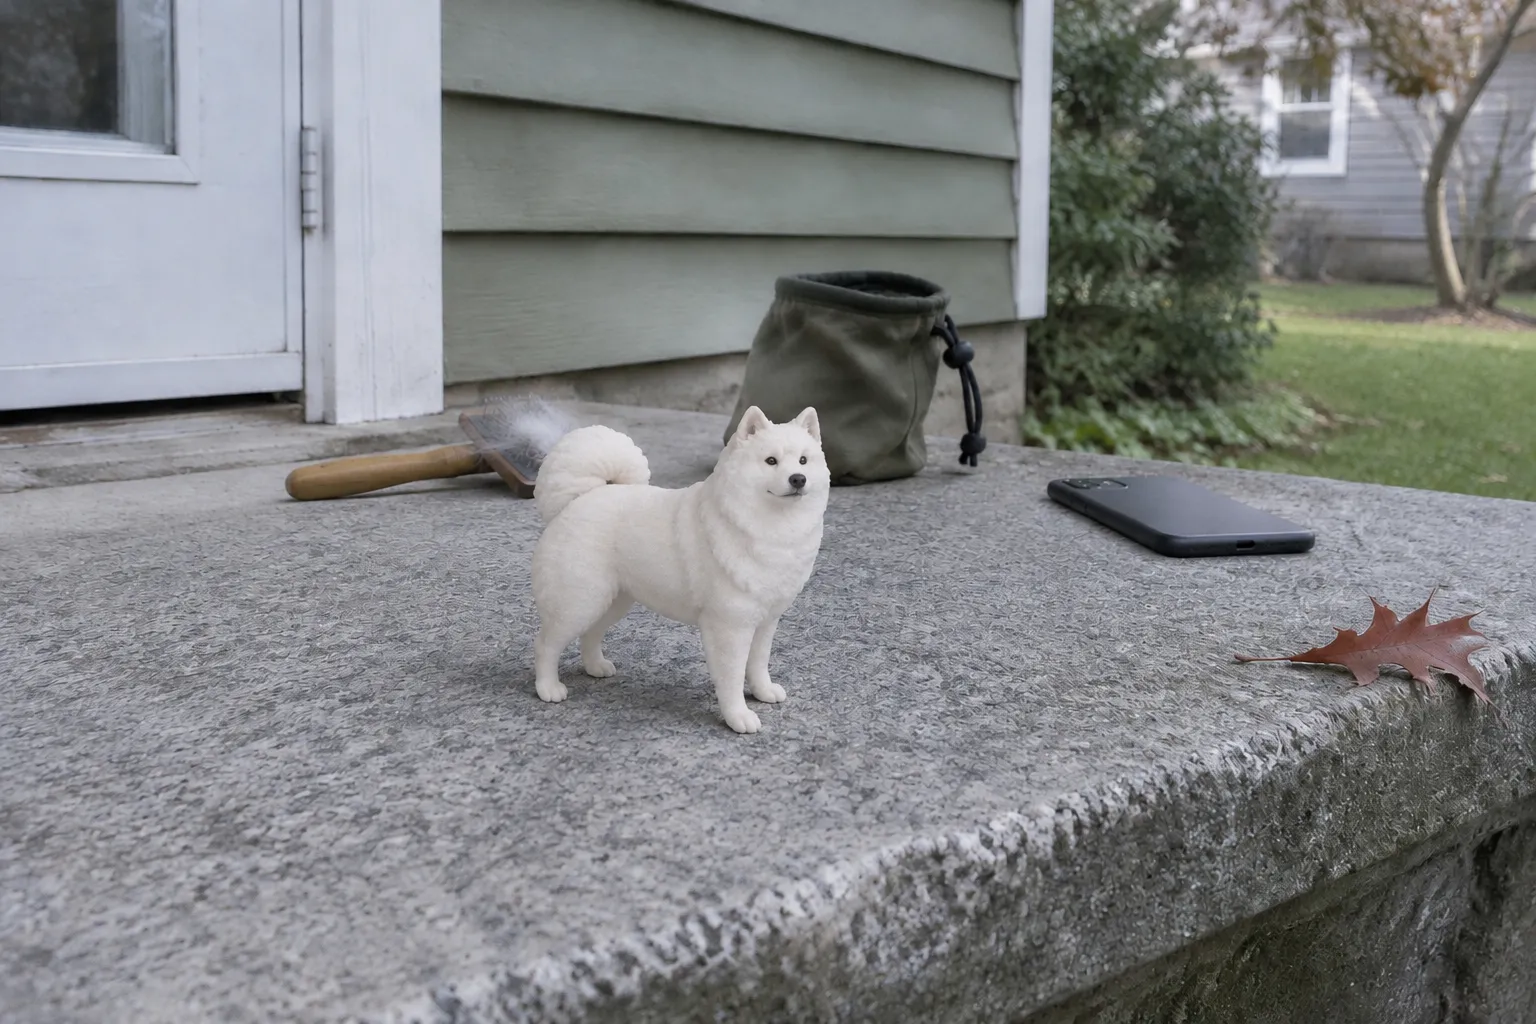
At your desk, the photo upload finishes just as Koda thunders down the hallway, nails clicking, and every one of the forty shots shows a white blur with a black nose. Trying to photograph Samoyed fluff for a figurine is practically a shared rite of passage.
Photograph your Samoyed in soft, even daylight, lower your exposure so the white coat keeps its texture, and shoot at your dog's eye level in short bursts. Cover the front, both sides, the back, and close-ups of face, paws, and tail, so an artist can read the shape under all that fluff.
Quick Takeaways
- White fur loses its texture fast in harsh light. Open shade or a bright window beats direct sun every time.
- Coverage matters more than count. A small set of sharp photos from every side tells an artist more than fifty near-identical selfies.
- Work with your dog's energy. Short sessions, a helper, and well-timed sounds get you further than trying to force a long sit.
- Send unedited originals. Filters and brightening can erase the very detail that defines a long-coat dog.
- Complete references keep your timeline moving. The first artist preview typically arrives within 7 days after complete references are available and the order enters design.
Why a White, Fluffy Coat Is So Hard to Capture
If your camera roll is full of glowing white ghosts, you're not alone. A bright white coat is one of the toughest subjects a phone camera can face, and the reasons are mechanical, not personal.
Here's the chain of cause and effect.
- Your camera tries to make the whole scene look "average" in brightness.
- A big white dog pushes the scene bright, so the camera either darkens everything else or gives up on the fur.
- In strong light, the fur's highlights clip to pure white.
- Clipped white has no texture. No strands, no shadows, no layers.
- Without texture, there's no visible shape under the coat.
That last point matters most for a figurine. A long double coat can hide the structure underneath it: where the shoulders sit, how deep the chest runs, how the neck ruff frames the face. When the fur goes flat white in a photo, the body inside it disappears.
So your goal isn't just a "nice" picture. It's a readable one. You want light that rakes gently across the coat and leaves small shadows between the tufts. Those shadows are the map.
There's a second challenge too: the contrast between white fur and dark features. Black eye rims, a dark nose, dark lips. When the camera exposes for the fur, those features can sink into black. When it exposes for the face, the fur blows out. Soft, even light shrinks that gap so both ends survive.
The good news? You don't need a studio. You need the right time of day, a couple of phone settings, and a plan for the zoomies.
Working With a Hyper Dog Instead of Against It
Let's be honest about the soundtrack of these photo sessions. The jingle of tags as your dog spins. The thump of a tail against the couch. The rattle when they shake off mid-pose and every strand rearranges. Then, right when you raise the phone, the sudden scrabble of paws on the floor as they decide the session is over.
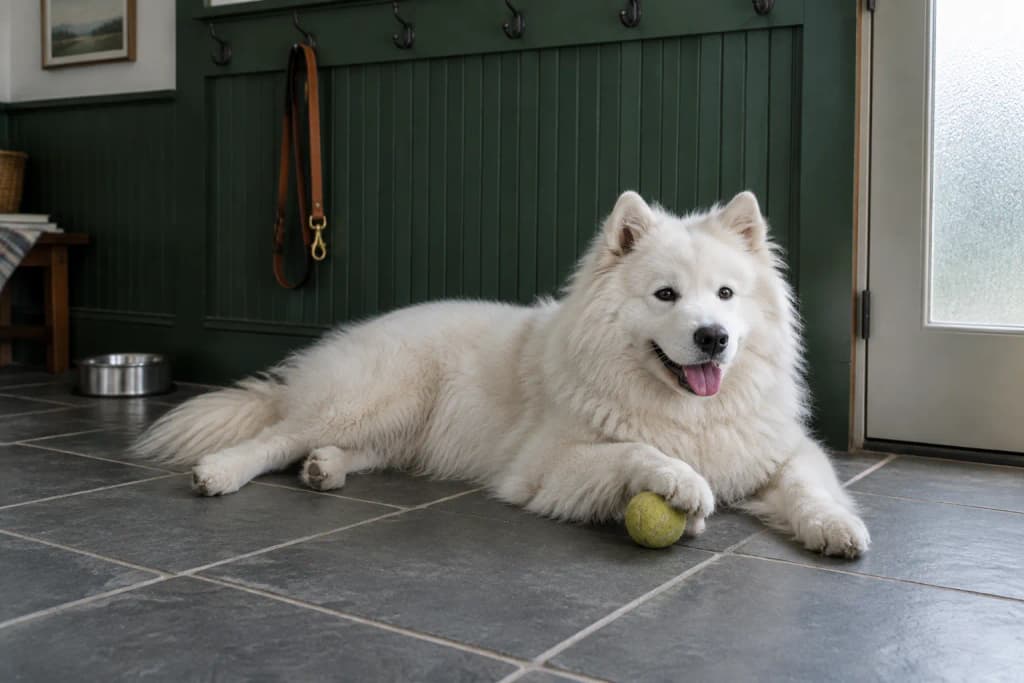
It's common to feel like you're failing at something simple. You're not. Hyper dog photography is a timing problem, and timing problems have solutions.
Pick your window
You know your dog's rhythm better than any guide does. Maybe there's a lull after a walk, after dinner, or in the late afternoon when the house goes still and you hear that long, heavy sigh as they flop onto the rug. That's your window. Plan the shoot around it rather than around your own schedule.
Keep sessions short
Think in rounds, not marathons. A few minutes of shooting, a break, then another round. Ending while things are still fun tends to make the next round easier for both of you.
Use sound strategically
Sound is your best remote control, and it works best when it's rationed.
- The squeaker. Hold a squeaky toy right above your lens. One squeak, then shoot. If you squeak constantly, it turns into background noise.
- The treat-bag crinkle. A quick crinkle can buy you a head-tilt. Save it for the moment you're framed and ready.
- A new sound. A kissy noise, a soft whistle, a word you rarely use. Novelty often earns a moment of attention.
- Nothing at all. Sometimes the most useful move is to stop talking, wait, and let your dog settle on their own.
Bring a helper
One person handles the dog and the sounds. The other handles the camera. This splits the job in two and frees you to watch the frame instead of juggling a leash, a toy, and a phone.
Turn on burst mode
When the action is fast, let the camera fire a rapid series. Out of a burst, one frame often catches the ears up, the eyes open, and the mouth in the shape you want. You'll delete a lot. That's fine.
Common Mistake: Trying to hold one long "sit, stay" session until you get the perfect shot. → Better Move: Run several short rounds timed to your dog's natural lull, and use one sound cue per shot so it keeps its pull.
The Reference Set: A Shot List for Long-Coat Dog Photos
Here's the shift in thinking that makes the biggest difference: you're not taking a portrait. You're collecting references. A portrait flatters from one angle. A reference set explains a dog from every angle.
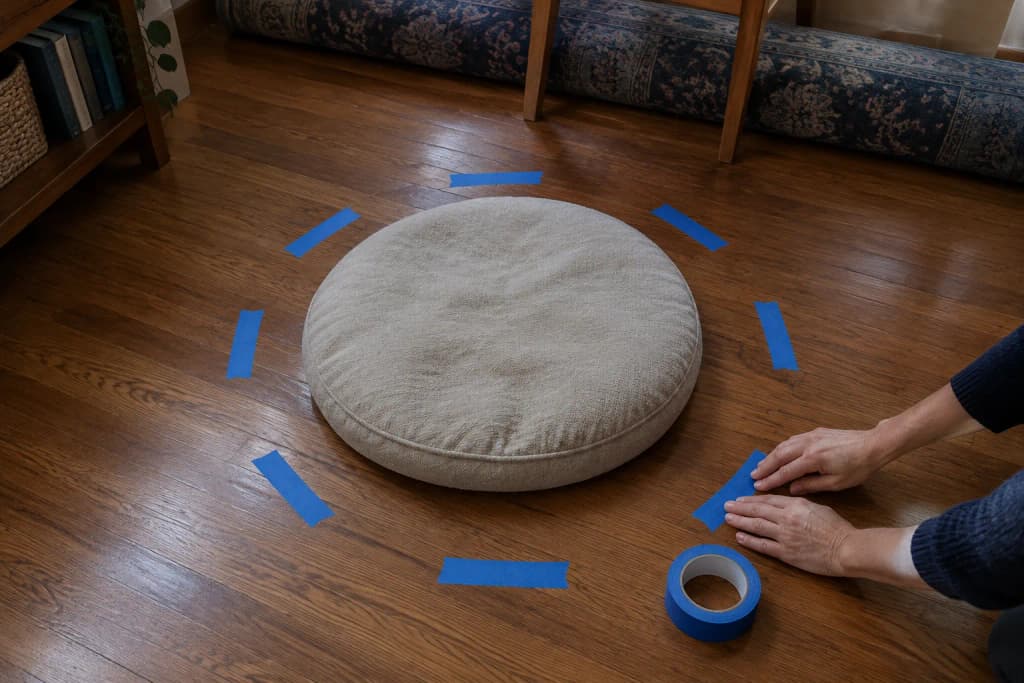
An artist building a three-dimensional sculpture has to understand the parts of your dog a single favorite photo never shows. The back of the head. The curl of the tail. The way the ruff thins out over the shoulders. Each angle answers a question.
Full-body angles
Get down to your dog's eye level for these. Shooting from standing height shrinks the legs and exaggerates the head.
- Straight-on front. Dog facing the camera, both front legs visible.
- Left side profile. The full body from nose to tail, standing if possible.
- Right side profile. Same again. Coats and markings aren't always symmetrical.
- Three-quarter view. Angled between front and side. This often reads the most naturally.
- Back view. Yes, really. The tail curl and rear fur shape live here.
- Top-down. One shot from above shows the overall body width and how the coat spreads.
Close-ups
- Face, straight on. Eyes, nose, and mouth in sharp focus.
- Face in profile. The length of the muzzle and the slope of the forehead.
- Eyes. Shape and color, especially in good light.
- Ears. Set, shape, and the fur around them.
- Paws. The fur between toes and the overall paw size.
- Tail. Both curled over the back and, if you can catch it, relaxed.
Expression and pose
Decide what you want the figurine to capture. Mouth open in that upturned grin people call the Samoyed smile? Mouth closed and dignified? A head-tilt? Collect clear examples of the expression you want so the artist doesn't have to guess.
Color and markings
Many white dogs aren't purely white once you look closely. There may be cream or biscuit tones on the ears, a slight tint around the muzzle, or a darker patch somewhere unexpected. Photograph these in natural light and mention them in writing. A short note like "faint cream shading on the ear tips" gives useful context alongside the image.
Companions and props
If you want another pet or a favorite toy in the piece, photograph them with the same care: front, sides, and close-ups. A crumpled plush chew toy deserves its own reference shots too. If your dog has a favorite brush they lean into, that can be a sweet detail, but only include it if it means something to you.
Common Mistake: Sending only your favorite cute photo from above, with a big head and tiny body. → Better Move: Get down to eye level and add both side profiles, a back view, and close-ups so the artist can see the whole dog, not just the face.
Light, Background, and Phone Settings That Protect the Detail
This is where a white coat goes from blur to texture. None of it requires special gear.
Light
Best: open shade on a bright day. Think of the shady side of the house, a covered porch, or under a tree with sky visible. The light is bright but soft, and the fur keeps its shadows.
Also good: a large window with indirect light. Position your dog so the window light falls across them from the side or slightly in front. Avoid shooting with the window directly behind your dog, which turns them into a silhouette.
Tricky: direct midday sun. A sunny living room rug looks lovely, but a hard sunbeam can bleach the top of the coat while throwing deep shadows underneath. If the sun is pouring in, a sheer curtain softens it.
Avoid if you can: mixed lighting at night. Warm lamps plus a cool overhead light can tint white fur yellow on one side and blue on the other. That makes the true coat color harder to judge.
Background
A medium-toned background helps your camera behave. A tan rug, a gray couch, green grass, a wood floor. A stark white wall gives the camera nothing to anchor to and makes a white dog vanish into it. Very busy backgrounds make it harder to see where the fur ends.
Tidy the frame a little. A clutter-free background makes the outline of your dog easier to read.
Phone settings
- Tap to focus on the eyes. Sharp eyes make the whole reference more useful.
- Lower the exposure. After tapping, most phones let you drag a brightness control down a bit. Lower it until you can see individual strands in the brightest part of the coat. The image may look slightly dim. That's okay. Detail you capture can be brightened later; detail that clipped to white is gone.
- Turn off heavy portrait blur when shooting the body. Artificial background blur can smear the edges of fluffy fur, which is exactly the outline you want preserved. It's fine for a face close-up if the fur edges still look natural.
- Use burst mode for motion. Covered above, but worth repeating.
- Clean the lens. A smudged lens adds haze that makes white fur look even flatter. A quick wipe helps.
- Skip digital zoom. Walk closer instead. Zooming in digitally tends to soften detail.
Editing
Keep it minimal. Better yet, keep the originals and send those. Filters, beauty modes, and "brighten" sliders can strip the subtle texture and tint that make your dog look like your dog.
Common Mistake: Brightening and filtering your photos so the coat looks bright and clean. → Better Move: Send unedited originals and describe the coat color in a note. Real texture and real tint give an artist far more to work with than a polished image.
What Happens to Your Photos After You Order
Once you've got a solid reference set, it helps to know how those images get used. That way you can judge what's worth one more shooting session and what's good enough.
A figurine is one way to honor a dog you love. A framed print of your best shot, a photo book, a written note about their quirks, or a commissioned painting are all meaningful too. The reference work you do here pays off for every one of those options.
If a figurine is your choice, here's how PawSculpt handles it. The process is digital sculpting and full-color 3D printing, in this order:
- Reference review. Your photographs are reviewed first.
- Digital sculpting. An artist digitally sculpts the portrait.
- Artist preview. You confirm the artist preview before anything is printed.
- Full-color printing. The approved model is printed in full-color resin on a Mimaki 3DUJ-553. The equipment itself supports more than 10 million colors. That's a capability of the printer, not a promise about any single figurine.
- Support removal. Print supports are removed.
- Surface inspection. The surface is inspected.
- Protective coat. A transparent protective coat is applied.
Figurines range from 2.5 to 6 inches. The positioning is simple: a sculpted portrait, not a photocopy. An artist interprets your dog in three dimensions, so the result is an artistic interpretation rather than a duplicate of any one photo. That's exactly why a thorough reference set matters. The more the artist can see, the less they have to infer.
The timeline and refund boundary, in one view
Every value here comes straight from the published order terms.
| Stage | What applies |
|---|---|
| Deposit | 40% |
| Before the order enters IN_DESIGN status | Full refund available |
| Once the artist starts modeling | Deposit becomes non-refundable |
| First artist preview | Typically within 7 days after complete references are available and the order enters IN_DESIGN |
| Included revisions | 5 |
| Delivery, US | 27–40 days after final payment |
| Delivery, international | 33–47 days after final payment |
Two practical takeaways fall out of this table.
If-then #1: If your references are incomplete, the preview clock effectively waits. The 7-day typical turnaround starts after complete references are available. Doing the shot list up front keeps things moving.
If-then #2: If you're still deciding, decide before design begins. A full refund is available before the order enters IN_DESIGN. After the artist starts modeling, the deposit is non-refundable. So gather your photos, ask your questions, and then commit.
Worldwide delivery has no separate shipping fee added at checkout. International customers remain responsible for any local customs duties, taxes, or import fees.
For current photo guidance and order details, the PawSculpt FAQ is the place to check.
Planning around the holidays
If this is a Christmas 2026 gift, the dates are firm:
- US orders: order by November 10, 2026.
- International orders: order by November 3, 2026.
These are the last order-by dates. After ordering, confirm the preview and pay the balance promptly, since delivery windows count from final payment.
Missed the cutoff? Orders placed after it are delivered in January. The artist preview still arrives within about 7 days of IN_DESIGN, and you can share that preview as the gift itself. Wrapping a printed preview with a note that says "the real one is on its way" works surprisingly well.
Frequently Asked Questions
How many photos should I take of my Samoyed before ordering a figurine?
Focus on coverage rather than a number. Aim for a straight-on front, both side profiles, a back view, a top-down shot, and close-ups of the face, eyes, ears, paws, and tail, all sharp and in soft light.
Can I use older photos if my dog won't sit still now?
Yes, a mix of older and newer photos can help. Choose the sharpest, best-lit ones and add a written note about anything that has changed, such as coat length, shading, or the expression you want captured.
Will the figurine look exactly like my photos?
No. It is a sculpted portrait and an artistic interpretation, not a photo-exact copy. You confirm the artist preview before anything is printed, and 5 revisions are included.
What if my Samoyed's fur looks pure white with no detail in my photos?
Retake them in open shade or soft window light and lower your phone's exposure until strands show. The first preview typically arrives within 7 days after complete references are available and the order enters IN_DESIGN.
Can my other pet or my dog's favorite toy be included?
Yes. A second pet is $179 and an extra toy is $30. Photograph them from the front, sides, and close up, just as carefully as your Samoyed.
When should I order for Christmas 2026?
US orders by November 10, 2026, and international orders by November 3, 2026. Confirm the preview and pay the balance promptly. Later orders arrive in January, and the preview can be shared as the gift.
Your Photos Are Ready. What's Next?
If you've worked through the shot list, you already have something valuable: a clear, honest record of your dog from every side. That's worth keeping whatever you decide to do with it.
If a figurine feels right, PawSculpt single figurines are listed at $429 for 2.5 inches, $489 for 3 inches, $589 for 4 inches, $789 for 5 inches, and $999 for 6 inches. A nameplate, like one reading "Koda," is $9. Rush is $29, a diamond glass base is $29, and a black crystal base is $39.
You can review sizes and start an order on the custom pet sculptures page. If you're unsure whether your photos cover enough, or you have a question about your dog's coat or markings, reach out through the contact page before you commit. Asking before design begins costs nothing, and it keeps the full-refund window open while you decide.