The Dusting Dilemma: Cleaning Your Detailed Persian Cat Sculpt Without Damage
"A thing of beauty is a joy for ever: Its loveliness increases; it will never pass into nothingness." — John Keats
The salt air catches in the breeze here on the dunes, leaving a fine, sticky film on everything it touches—driftwood, sea glass, and memory alike. It reminds me of how time settles on the things we cherish. Just as the tide reshapes the shore, dust and environment slowly alter the surfaces of our most precious keepsakes, including the intricate, full-color resin figurines that capture the spirit of a beloved Persian cat.
Quick Takeaways
- Avoid water submersion — Resin is durable, but prolonged moisture can cloud the clear coat or cause swelling in hollow areas.
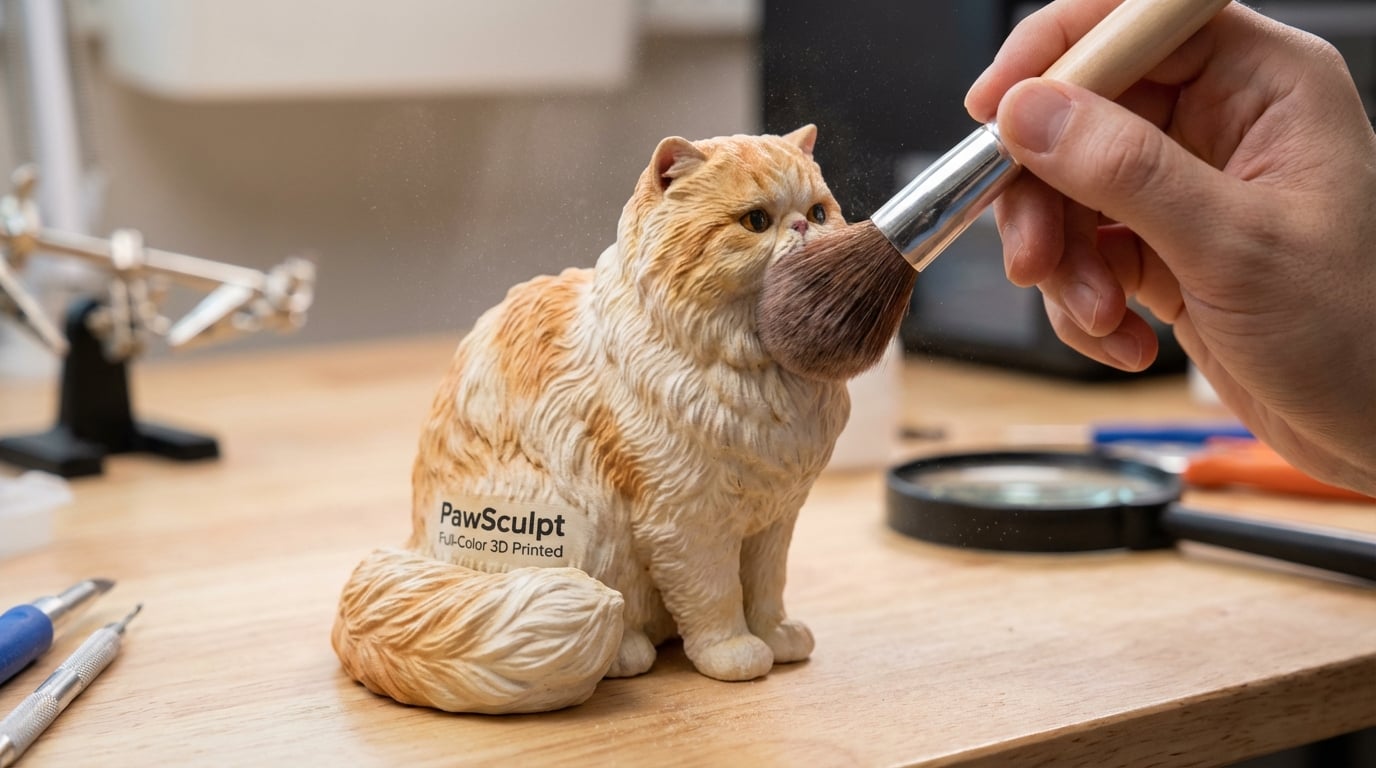
- Use softest-grade brushes — A high-quality makeup brush is superior to standard dusters for navigating deep fur textures.
- Compressed air is risky — High pressure can snap delicate whiskers; use a manual air bulb blower instead.
- Protect the finish — Learn how custom pet figurines are sealed to ensure you don't strip the protective UV coating.
The Micro-Geography of a Persian Sculpt
When we engineer a 3D print of a Persian cat, we aren't just printing a shape; we are printing a landscape. To the naked eye, it’s a fluffy cat. To a manufacturing engineer, it is a complex topography of overhangs, crevices, and fragile distinct features.
A Persian’s coat is defined by its loft and density. When our digital artists sculpt this in ZBrush, they are creating thousands of tiny valleys between the "clumps" of fur. In a full-color resin print (using PolyJet or similar jetting technology), these valleys are cured into solid plastic, but the surface texture mimics the flow of hair.
The Dusting Dilemma is this: The very details that make the sculpture look like your cat—the deep ruff around the neck, the feathery ear furnishings—are exactly where dust loves to hide. And because UV-cured resin has a specific surface energy, it can actually attract dust through static charge.
"We don't just clean an object; we tend to a memory. The care you take is a continuation of the love you gave."
Most people grab a paper towel or a stiff duster. That is a mistake. A paper towel, on a microscopic level, is like sandpaper. Rubbing it across the clear coat of a high-end print will eventually create micro-scratches that dull the vibrant colors embedded in the resin.
Understanding the Material: It’s Not Painted
Here is the counterintuitive insight most collectors miss: You are not cleaning paint.In our process at PawSculpt, the color is embedded directly into the resin voxels (3D pixels) during the printing process. There is no layer of acrylic paint to chip off. However, the print is finished with a specialized Clear Coat. This coat determines the gloss level (usually matte or satin for fur) and protects against UV light.
Your goal is to clean the Clear Coat without abrading it. If you scrub too hard, you polish the matte finish into a glossy spot, making your Persian look wet or plastic-like in that area.
The Toolkit: What to Use (and What to Avoid)
I’ve spent years on shop floors handling photopolymer parts. I’ve seen beautiful prints ruined by harsh chemicals. Here is the definitive breakdown of safe cleaning tools for resin art.
| Tool | Verdict | Why? |
|---|---|---|
| Makeup Brush (Kabuki) | BEST | Ultra-soft bristles won't scratch; dense head lifts dust effectively. |
| Canned Air | AVOID | Propellant is too cold (thermal shock) and pressure can snap thin tails/ears. |
| Manual Air Bulb | GOOD | Gentle, controlled puffs of air to dislodge dust from deep crevices. |
| Microfiber Cloth | OKAY | Good for smooth bases, but snags on detailed fur texture. |
| Alcohol/Solvents | NEVER | Will strip the clear coat and potentially fog the resin. |
| Water | CAUTION | Only damp, never wet. Resin can be hygroscopic over long periods. |
The "Dry Clean" Method (Standard Maintenance)
For weekly maintenance, you want to move the dust, not grind it in.- The Air Sweep: Start with a manual air bulb (the kind used for camera lenses). Puff air into the deep recesses of the Persian’s ruff and behind the ears. This dislodges the "settled" dust without touching the surface.
- The Brush Dance: Take a large, fluffy makeup brush. Use a dabbing motion rather than a dragging motion. You want the bristles to pick up the dust, not drag it across the surface.
- The Base Wipe: Use a clean optical-grade microfiber cloth for the smooth base of the statuette.
"The best cleaning tool isn't a chemical; it's patience. Treat the resin like you would the living cat—gently, and with respect for its fragile parts."
— The PawSculpt Team
Deep Cleaning: Dealing with Grime
Sometimes, a sculpt sits in a kitchen or a room with a fireplace, and it develops a sticky film. Dust sticks to the film, and air alone won't move it.
We see this often. A customer writes in, panicked because their white Persian figurine looks yellowed or dingy. It’s usually not the resin yellowing (our UV inhibitors prevent that); it’s cooking oils or smoke settling on the texture.
The Soap Suds Technique
Do not soak the figurine. Resin 3D prints are often printed hollow to save weight and cost, with drain holes hidden underneath. If you submerge the print, water enters the cavity. If it doesn't dry perfectly inside, it can cause the resin to swell or crack from the inside out weeks later.Instead, use foam.
- Create the Foam: Mix a drop of mild dish soap (no citrus, no heavy degreasers) in a cup of distilled water. Agitate it until you have a thick head of foam.
- Apply the Suds: Dip your soft brush into only the foam, not the water.
- Gentle Agitation: Lightly brush the foam over the soiled areas. The bubbles will lift the oils.
- The Rinse: Do not run under a tap. Use a spray bottle of distilled water to lightly mist the soap away, or dab with a damp cloth.
- Dry Immediately: Pat dry with a lint-free cloth. Do not use a hair dryer (heat can warp resin). Let it air dry away from direct sunlight.
Handling Fragility: The Persian Physiology
In the world of 3D printing, we talk about "aspect ratios"—how long and thin a feature is compared to its support. Persian cats are a nightmare of delicate aspect ratios.
Consider the whiskers. On a custom figurine, we often sculpt whiskers as solid geometry or slight ridges because printing hair-thin independent wires is too fragile for shipping. However, the ear furnishings (the tufts of hair inside the ears) and the tail plumes are often thin sheets of resin.
The "Snap" Risk:
Resin is strong in compression (pushing down) but weak in shear (snapping sideways).
- Never hold the figurine by the tail or the head.
- Always lift from the base or the main body mass (the torso).
- When dusting the tail, support the back of the tail with one finger while brushing with the other hand.
If you hit a snag with your cloth, stop. Do not pull. A microfiber loop can catch a tiny spur of resin (a support artifact or a fur detail) and snap it clean off. This is why brushes are safer than cloths for high-texture breeds like Persians.
Restoration: When Accidents Happen
Despite our best efforts, gravity is a relentless critic. If a figurine takes a tumble, the break usually happens at the thinnest points—ears or tails.
Because we use full-color resin, the material is consistent. A break usually reveals a white or translucent interior (depending on the core material used in the specific print technology), which can be jarring against the colored surface.
- Gel Control: Use the gel version, not the liquid. Liquid runs too fast and can ruin the finish surrounding the break.
- The Pin Trick: Don't apply glue from the bottle. Squeeze a drop onto a piece of cardboard. Use a sewing pin to pick up a tiny amount and place it on the break.
- Instant Bond: Resin bonds instantly with CA glue. You have zero time to adjust. Align it perfectly before the pieces touch.
Frequently Asked Questions
Can I use water to clean my 3D printed pet figurine?
You should avoid submerging the figurine completely. While the resin is cured, water can get trapped inside hollow cavities or eventually cloud the clear coat. The best method is to use a damp cloth or a soft brush with mild soapy foam, then dry it immediately.Why does my resin sculpture feel sticky?
If the figurine has been displayed in a kitchen or near candles, it may be a buildup of airborne oils. Clean it with the "soap suds" method mentioned above. If the figurine was recently unpacked and feels tacky, it might be a reaction to extreme heat during shipping, though this is rare with fully cured professional prints.How do I fix a broken ear on a resin cat statue?
Resin repairs best with Cyanoacrylate (Super Glue) gel. Do not use hot glue (it's too thick) or wood glue (it won't bond). Apply a microscopic amount using a pin or toothpick to avoid overflow, as the glue can melt the clear coat if it smears.Will sunlight fade the colors of my 3D printed pet?
We use UV-resistant clear coats to protect the vibrant colors of the print. However, no material is completely immune to the power of the sun. Over years, direct UV exposure can cause the clear coat to yellow or the pigments to shift. We recommend displaying your keepsake in a spot with indirect natural light.Ready to Celebrate Your Pet?
Every pet has a story worth preserving, written in the unique pattern of their coat and the tilt of their head. Whether you're honoring a beloved companion who's crossed the rainbow bridge or celebrating your furry friend's unique personality, a custom PawSculpt figurine captures those details that make your pet one-of-a-kind.
Free instant AI preview • 3D artist preview within 7 days • 5 free revisions
