The 'Eye-Level' Rule: How to Photograph Your Lizard for the Perfect 3D Model
Does your camera roll look less like a National Geographic spread and more like a series of blurry, top-down photos where your reptile looks like a colorful smudge?
Quick Takeaways
- Get on their level — Place your lens parallel to the lizard's eye, not above it, to capture accurate proportions.
- Ditch the flash — Reptile scales are highly reflective; use diffused natural light to avoid white-out spots.
- Use the "Clock Method" — Photograph your pet from 12, 3, 6, and 9 o'clock angles for full 3D reference coverage.
- Secure the memory — Turn those perfect shots into a permanent keepsake with a custom 3D figurine that captures every scale.
The Physics of Perspective: Why Top-Down Fails
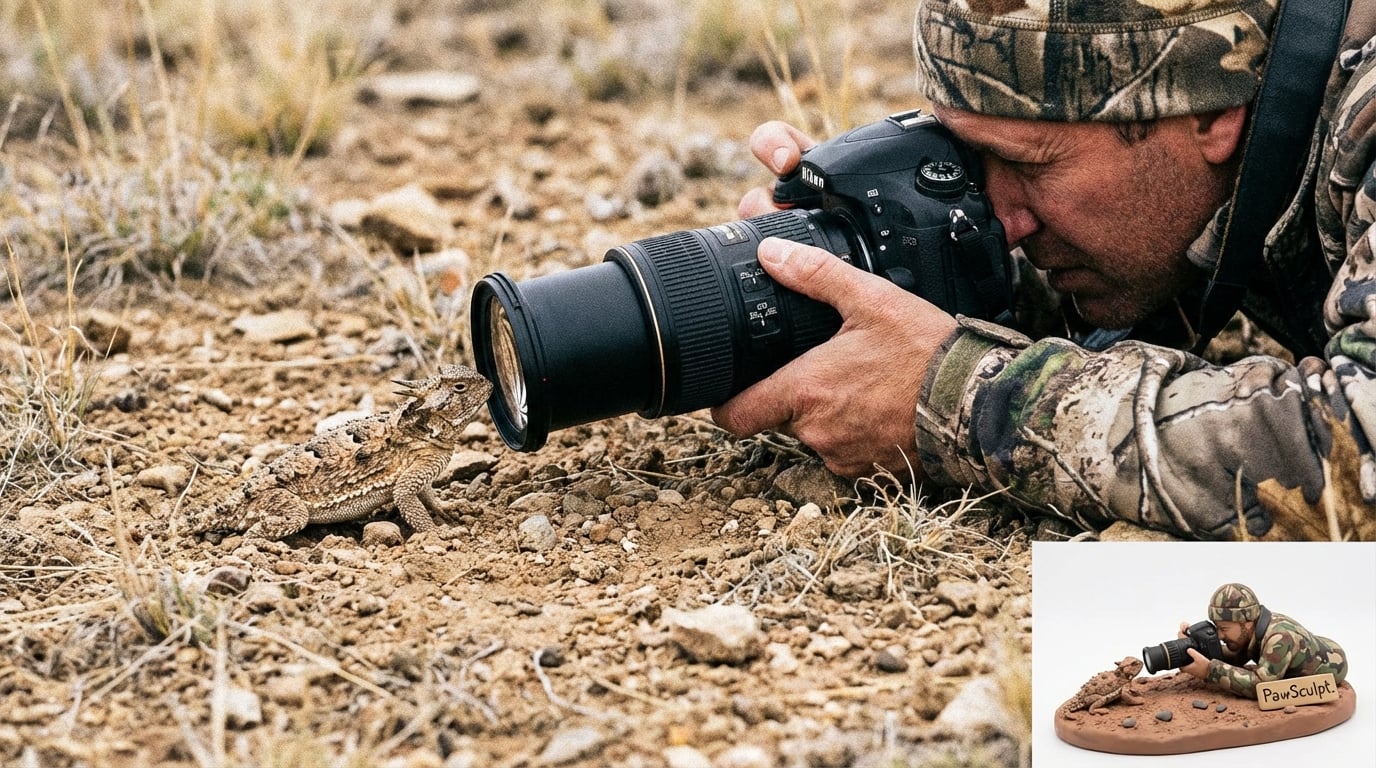
Most pet owners make the same fundamental mistake when photographing lizards: they stand up. It’s a natural human habit. You are tall; the lizard is small. You look down at them. But when you point a camera downward at a reptile, you destroy the geometry of the animal.
From a top-down perspective, a Bearded Dragon looks like a flattened pancake. A Leopard Gecko loses the definition of its jawline. A Chameleon becomes a thin green line. Photography is about translating 3D reality into a 2D plane, and eventually, back into a 3D printed model. To do that effectively, you must eliminate the height difference.
The rule is simple: If your chest isn't touching the floor, you are too high up.
When you shoot from eye level, you capture the "architecture" of the lizard's face. You see the depth of the snout, the ridge of the brow, and the curve of the belly. This is crucial for our digital sculptors. If we only see the top of the head, we have to guess the depth of the jaw. We don't like guessing. We want precision.
"A photo taken from above documents a pet. A photo taken at eye level captures a personality."
The "Beanbag" Stabilization Technique
You don't need a tripod. In fact, tripods are often too tall for reptiles. Use a beanbag, a bag of rice, or even a folded towel. Place your phone or camera on this soft mount directly on the surface where your lizard is resting. This stabilizes the shot for crisp focus—essential for capturing scale texture—and forces the lens into that critical eye-level position.Lighting Scales, Not Fur: The Anti-Flash Mandate
Fur absorbs light; scales reflect it. This is the single biggest difference between photographing a Golden Retriever and a Blue-Tongue Skink. If you use a camera flash on a lizard, the light bounces off the smooth surface of the scales, creating harsh white hotspots (specular highlights) that obscure the color underneath.
When we create a full-color 3D print, the machine interprets color data from your photos. If the photo shows a giant white spot on the lizard's flank because of a camera flash, the texture information for that area is lost.
The Window Diffuser Setup
The best light for lizard photography tips involves soft, directional daylight. 1. Set up a table next to a large window. 2. Do not put the lizard in direct sunlight (this creates harsh shadows). 3. If the sun is too bright, tape a sheet of white printer paper or a thin white pillowcase over the window glass.This turns the harsh sun into a giant "softbox," illuminating the iridescent quality of the scales without blinding the animal or creating glare.
Lighting Source Comparison for Reptiles
| Light Source | Effect on Scales | Suitability for 3D Modeling | Verdict |
|---|---|---|---|
| Camera Flash | Harsh glare, white spots, "red-eye" effect | Poor (Hides texture data) | ❌ Avoid completely |
| Direct Sunlight | High contrast, deep shadows, squinting pet | Fair (Can distort shapes) | ⚠️ Use with caution |
| Diffused Window Light | Soft gradients, true color rendering | Excellent (True-to-life color) | ✅ The Gold Standard |
| Overhead Room Lights | Yellow/Orange tint, unnatural shadows | Poor (Alters color accuracy) | ❌ Turn them off |
The 360-Degree Reference: The "Clock Face" Method
If you are taking photos solely for Instagram, one good angle is enough. If you are taking photos for a PawSculpt custom figurine, we need data. Our artists model your pet digitally in 3D space. They need to know what happens on the "dark side of the moon"—the side of the lizard you aren't currently looking at.
We recommend the "Clock Face" method. Imagine your lizard is sitting in the center of a clock.
- 6 O'clock (Front): direct face-on. This establishes the width of the eyes and the shape of the snout.
- 3 O'clock (Right Profile): Full body side view. This is critical for the spine curvature and tail length.
- 9 O'clock (Left Profile): The other side. Reptile markings are rarely perfectly symmetrical. We need to see both sides to print the color accurately into the resin.
- 12 O'clock (Rear/Top): Now, and only now, can you take a top-down shot. This helps us map the pattern on the back.
Pro Tip: Do not move the lizard. Move yourself. If you try to rotate the lizard, they will likely walk away or change their posture. You need to orbit around them like a satellite.
Macro Details: Capturing the Grain
Reptiles are textured creatures. A dog figurine can get away with a general "fur" texture, but a lizard figurine requires specific geometry. The bumps on a Bearded Dragon, the crests on a Crested Gecko, the smooth armor of a Skink—these are physical structures, not just colors.
To capture this, you need to utilize the "Macro" capability of your camera.
Phone Camera Settings
Most modern smartphones have excellent macro modes, often represented by a flower icon.- Lock Focus: Tap and hold on the lizard's eye until you see "AE/AF Lock" (on iPhone) or the lock icon (Android). This prevents the camera from refocusing on the background if the lizard shifts slightly.
- Digital Zoom is the Enemy: Do not pinch-to-zoom. This degrades image quality. Move the physical phone closer to the subject until the camera struggles to focus, then pull back an inch.
"In the world of 3D modeling, blurry photos are just guesses waiting to happen. Sharp photos are blueprints."
— The PawSculpt Team
Managing the Subject: The Temperature Trick
Dogs can be bribed with treats to sit still. Cats can sometimes be coerced with toys. Lizards operate on a different battery: heat.
A cold lizard is a slow lizard, but a freezing lizard is a stressed lizard. A hot lizard is a fast lizard. You need the "Goldilocks" zone.
The counterintuitive insight here is to photograph them after a large meal. Reptiles often enter a state of "rest and digest" after eating. They are content, their belly is full (which looks healthy and robust for the figurine), and they are less likely to bolt across the table.
Alternatively, try the "morning warm-up" window. Catch them about 15 minutes after their lights turn on. They are awake and alert, but haven't soaked up enough thermal energy to sprint. This gives you a roughly 10-minute window to get your reptile macro photos before they become too active.
Environment Control: Get Them Out of the Tank
You cannot take a high-quality reference photo through glass. Aquarium glass adds distortion, reflections, and usually has water spots or dust that the camera will focus on instead of the lizard.
- Clear a table or a section of the floor.
- Lay down a neutral background. A gray or white pillowcase works best. Avoid busy patterns (like a floral bedspread) which confuse the eye and make it hard to see the outline of the toes and tail.
- Place a familiar object in the center, like a piece of drift wood or a slate rock from their enclosure. This gives them a "base" to hold onto, making them feel secure.
When a lizard feels secure, they posture up. They lift their head. They extend their legs. This is the pose you want to immortalize in a figurine, not the "scared pancake" look they adopt when flat on a slippery floor.
Troubleshooting Specific Features
Different reptiles present different challenges for 3D modeling references. Here is how to handle the tricky bits.
The Tail Fade
Many lizards have tails that fade in color or change pattern towards the tip. Ensure you get a close-up of the tail tip. Often, photos focus on the head and the tail blurs out. We need to see where the color shifts.The Underbelly
While we don't need a photo of their stomach, we do need to see where the side color transitions to the belly color. This is the "lateral line." When taking your eye-level side profile photo, ensure the camera is low enough to see the start of the underbelly scales.Transparent Spikes
For Iguanas or Bearded Dragons, the spikes can be translucent. Photographing them against a dark background can sometimes highlight the definition of the spikes better than a white background. If your lizard has significant spikes, take one set of photos against a dark shirt or cloth to show the silhouette clearly.Why Technical Precision Matters for 3D Printing
At PawSculpt, we don't paint our figurines. We use advanced full-color 3D printing technology where the color is injected directly into the resin, voxel by voxel. This means the pattern on your figurine isn't a layer of paint sitting on top; it is integral to the material itself.
Because we aren't painting by hand, we can't "fudge" the details. The digital model must be precise. The clearer your 3D reference photos, the more accurately we can map those pixels to the physical object. We are essentially cloning your pet's appearance into a digital sculpture, then manifesting it into reality. The camera is the scanner; you are the operator.
"Your lizard's pattern is as unique as a fingerprint. Clear photos let us preserve that identity forever."
Summary of the "Eye-Level" Workflow
- Prep: Clean a table near a window. Lay down a plain gray cloth. Place a rock/branch.
- Subject: Feed the lizard, wait 20 minutes. Place them on the rock.
- Position: Put your phone on a beanbag/support on the table surface.
- Shoot: Capture the 12, 3, 6, 9 o'clock angles.
- Detail: Move in for macro shots of the head and unique markings.
- Review: Zoom in on your screen. Can you see individual scales? If yes, you're done.
By following these steps, you stop taking snapshots and start taking reference data. The result is a better photo album for you, and a flawless blueprint for us to create a tribute to your scaly companion.
Frequently Asked Questions
Can I use photos from my phone for a 3D model?
Absolutely. Modern smartphones (iPhone, Pixel, Samsung Galaxy) have incredible cameras that are more than capable of capturing the necessary detail. The quality of the photo usually depends more on the lighting (using natural window light) and stability (using a beanbag) than the camera itself. Ensure you use the "Macro" or "Portrait" mode if available to get sharp details of the scales.How many photos do I need to send for a custom figurine?
Quality beats quantity, but coverage is key. We recommend sending 5 to 10 photos. The essential four are the "Clock Face" angles: direct front, left side, right side, and top-down. Beyond that, include close-ups of the face and any distinct patterns, scars, or tail regenerations that make your lizard unique.My lizard changes color when "fired up." Which color should I photograph?
You should photograph the version of your pet you want to see on your shelf forever. Most reptile owners prefer the "fired up" or vibrant coloration. You can encourage this coloration safely by ensuring they are warm or offering a high-value treat right before the photo session. If they are shedding (looking dull or gray), wait until the shed is complete before taking your reference photos.Do you hand-paint the lizard figurines?
No, we do not use paint brushes or acrylics. PawSculpt utilizes industrial full-color 3D printing. The color is printed directly into the resin material layer by layer. This allows us to capture the complex, organic gradients and intricate spotting of reptile scales that are incredibly difficult to replicate with traditional hand-painting.Ready to Celebrate Your Pet?
Every pet has a story worth preserving. Whether you're honoring a beloved companion who's crossed the rainbow bridge or celebrating your furry friend's unique personality, a custom PawSculpt figurine captures those details that make your pet one-of-a-kind.
Free instant AI preview • 3D artist preview within 7 days • 5 free revisions
