The Complete Guide to Photographing a Calico's Patchwork Coat for a Worthwhile Sculpt
The clinic door chimes, a dog barks twice down the hall, and Patches presses into the back of her carrier while you scroll your camera roll for one clear photo of her coat. Forty pictures, and every one is an orange-and-black blur on a dark couch.
To photograph a calico coat for a calico figurine, shoot in bright, indirect daylight at your cat's eye level and cover every side: face, both flanks, back, chest, tail, and paws. Skip filters and portrait blur. The sculpt is an artistic interpretation, so complete, honest references and a careful preview review matter more than one flawless shot.
Quick Takeaways
- Bright, indirect daylight beats flash, lamps, and direct sun for showing where one patch ends and the next begins.
- Cover the whole cat. Face, left side, right side, back, chest, tail, and paws each carry patch information an artist can't guess.
- Build a simple "patch map" before you shoot. It becomes your shot list now and your preview checklist later.
- Turn off filters, beauty modes, and portrait blur. Edited color misleads more than it helps.
- A figurine is one option among framed photos, written keepsakes, and other art. Weigh price, size, and timing before you commit.
Why a Calico Coat Is Harder to Photograph Than It Looks
Here's the real problem. A calico coat puts bright white, warm orange, and dark patches in the same frame. Your phone camera wants to average all of that into one tidy exposure. It usually fails in one of two directions.
Expose for the dark patches, and the white areas glow into flat, featureless shapes. Expose for the white, and the dark patches sink into mud. The orange shifts too. Under a kitchen bulb it turns brassy. Under a blue evening sky it goes dull.
Then there's the pattern itself. Some calicos have crisp, island-like patches. Others have soft, smudgy blends where orange fades into black. An artist needs to see which kind your cat has, and where each border sits. A soft blend photographed out of focus looks exactly like a camera mistake.
And most of us photograph our cats from one angle: face forward, on the couch, at night. That's the photo you love. It's also the photo that says almost nothing about the left shoulder, the base of the tail, or the patch that only shows when she stretches.
For any unusual coat pattern sculpt, your photos are the blueprint. The artist can't walk over and look at your cat. What isn't in the pictures has to be interpreted, and interpretation is where surprises come from.
The good news: none of this needs a fancy camera. It needs a plan, decent light, and about twenty minutes spread across a couple of calm days.
Before You Shoot: Build a Patch Map
This is the step most people skip, and it does the most work.
A patch map is a quick inventory of your cat's markings, written in plain words. No art skills required. Grab a notebook or your phone's notes app and sit with your cat, or with your clearest existing photos.
First, list every marking you can see. Be specific about side and position:
- Orange patch over the left eye
- Black "saddle" across the middle of the back
- White bib and chest
- Tail mostly black with an orange tip
- White front paws, one back paw with an orange sock
Next, circle your top three. These are the non-negotiables: the markings that make her look like her when you glance across the room. Maybe it's the split face. Maybe it's the lopsided nose smudge.
Then, if you like, sketch a rough cat outline from four views (front, back, left, right) and shade the patches in. Stick figures are fine. You're building a reference for yourself, not a portfolio.
Your patch map does two jobs:
- It becomes your shot list. Every marking on the map should appear clearly in at least one photo.
- It becomes your preview checklist. When the artist's preview arrives, you'll compare it against the map instead of trying to remember everything on the spot.
That second job matters more than people expect. A preview is exciting to open. Excitement makes it easy to miss that the orange sock moved to the wrong leg.
Set the Scene: Light, Background, and Camera Settings
Get these three things right and most of the hard work is done.
Light
Find a spot near a window during the day, but out of the direct sunbeam. Bright, indirect light shows texture and patch edges without harsh shadows. An overcast day is excellent, honestly.
Avoid these:
- Direct sun. That sunlit windowsill is a perfect cat spot and a tough photo spot. Hard light creates deep shadows that look like dark patches.
- Flash. It flattens texture and can bounce off eyes.
- Mixed lighting. A lamp on one side and a window on the other gives you two different color casts on one cat. Turn the lamps off.
- Evening indoor light. It shifts orange and muddies the dark patches.
Background
Choose something plain and mid-toned: a gray blanket, a beige rug, a wooden floor. A stark white sheet makes white fur disappear. A black couch swallows the dark patches. Busy patterns compete with her pattern.
Camera settings
You don't need manual mode. Do this on your phone:
- Wipe the lens. Pocket lint softens everything.
- Turn off filters, beauty modes, and any "vivid" color setting.
- Turn off portrait mode. The fake background blur often eats fur edges, ears, and whiskers.
- Use the main lens, not ultra-wide. Ultra-wide close-ups stretch faces and paws out of proportion.
- Tap the screen to focus on the coat, then drag the exposure slider down slightly if the white fur is glowing.
- Use burst mode for movement. You'll get blinks and blurs, but one frame usually lands.
Get down to her level. Sit on the floor. Photos taken from standing height look down on the back and squash the face, which distorts the proportions an artist relies on.
Sound is your secret tool
Cats track sound, and you can use that. The crinkle of a familiar toy, a soft tap on the floor, the rattle of a favorite treat bag held just above the lens. Each one gives you a split second of attention, ears forward, face toward the camera. Save your best sound for the face shots, since those need eye contact most.
The Shot List: Every Angle a Sculpt Needs
Work through this list over a few short sessions. Don't try to get everything in one sitting. Short sessions with breaks are easier on both of you.
The essentials:
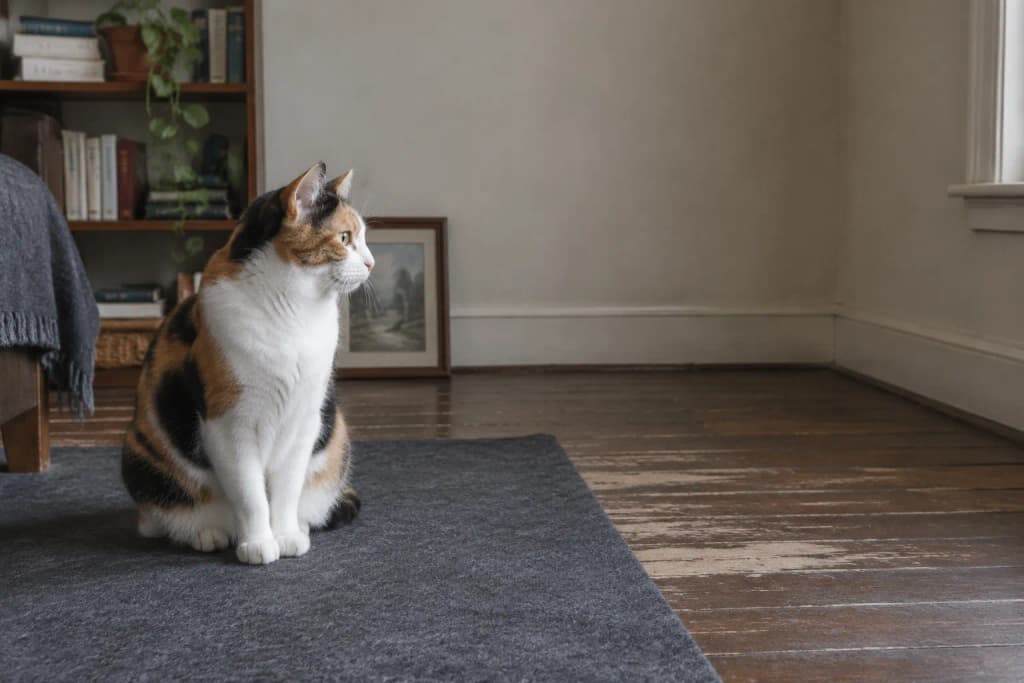
- Face, straight on, at eye level. Eyes open, ears visible. This is your anchor shot.
- Face, three-quarter view, both sides. Shows how facial patches wrap around the cheeks.
- Left side, full body, standing. The whole flank from nose to tail tip.
- Right side, full body, standing. Never assume the two sides match. On a calico, they almost never do.
- Back, from slightly above. Catches the saddle, shoulder patches, and the base of the tail.
- Chest and bib. Often a white area, so watch your exposure here.
- Tail, fully visible. Coloring along the tail is easy to miss and easy to get wrong.
- Paws. All four if you can manage it. Note which ones are white, which have socks or spots.
The calico extras:
- Patch border close-ups. Fill the frame with the spot where two colors meet. These tell the artist whether a border is crisp or blended.
- Nose and muzzle close-up. Small smudges here carry a lot of personality.
- Eye close-up in good light. Eye color reads very differently in dim light.
- Toe beans, if they're mixed colors. Some cats have a mix of pad colors. If yours does and you care about it, get a shot.
The pose reference:
If you want a specific pose, photograph her in it. Sitting upright with the tail curled around the paws? Catch that pose from the front and both sides. If her head tilt is the thing you love, shoot it more than once.
Bonus context:
- A photo of her favorite toy, if you're thinking of including one.
- Photos of a companion pet, if they'll share the figurine. Same shot list applies.
How many photos is enough? There's no magic number. Coverage beats count. Thirty near-identical couch photos tell an artist less than ten photos that cover every side. Check your list against your patch map. If a circled marking isn't clearly visible somewhere, you're not done.
Imagine… a Saturday morning, kettle ticking as it cools, the radiator clanking on, and your calico stretched along the hallway floor in the gray window light. You sit down cross-legged, phone at her eye level, and crinkle the paper from the treat bag. Her ears snap forward, the shutter fires in a quick burst, and you've got the left flank and that orange sock in four frames before she rolls over with a thump. Two minutes, one item checked off your patch map, and you're back to your coffee.
Mistakes That Blur the Coat (and How to Fix Them)
Relying on one hero photo. Your favorite picture probably shows her best side, in your favorite light. Keep it, send it, and send the coverage shots too. The hero photo shows personality. The coverage shows the coat.
Editing the color. Warm filters make orange glow. Contrast boosts make black richer. They also make your references less accurate. Send originals. If you've already edited your favorites, try to find the unedited versions in your library.
Shooting through glass. Windows add reflections and a slight color tint. If she's on the sill, shoot from inside the room, not from the yard.
Only top-down shots. Looking down at a lounging cat is the most natural angle and the least useful for proportions. Get low.
Night photos under lamps. They're often your most affectionate shots, and the worst for color. Use them for mood and pose. Don't rely on them for patch color.
Ignoring the less-photogenic side. Every cat has a side you rarely photograph. Find it. That's often where the surprises are.
Old or low-resolution photos only. Sometimes the clearest images are years old, or new photos aren't possible. That's okay. Send the clearest ones you have, include several angles if they exist, and be upfront that this is what's available. If you're unsure whether your references are enough, ask the studio about your photos before you order.
What Happens After You Send the Photos
Knowing the workflow helps you send better references and set realistic expectations. Here's how it runs at PawSculpt:
- Reference photographs are reviewed. This is where your coverage shots earn their keep.
- An artist digitally sculpts the portrait. The work happens in 3D software, building the form, pose, and coat pattern from your photos.
- You confirm the artist preview before printing. Nothing goes to print until you approve it.
- The approved model is printed in full color. The printer is a Mimaki 3DUJ-553, a full-color 3D printer.
- Supports are removed. Printing requires temporary support structures, which come off after the print.
- The surface is inspected.
- A transparent protective coat is applied.
The finished piece is full-color resin, between 2.5 and 6 inches depending on the size you choose. The color comes from the full-color print itself. The finishing steps after printing are support removal, inspection, and the clear protective coat.
A straight word on color
The Mimaki 3DUJ-553 supports more than 10 million colors. That's a statement about what the equipment can do. It is not a promise that every order uses that full range, or that every shade on your phone screen will reproduce exactly.
A screen glows. A resin surface reflects room light. They'll never look identical, and the same figurine will look a little different on a sunny shelf versus under a reading lamp. That's one more reason accurate, unedited references matter: they give the artist the truest starting point.
The preview is your quality checkpoint
The first artist preview typically arrives within 7 days after complete references are available and the order enters the IN_DESIGN stage (the point where the artist begins modeling). "Complete references" is doing real work in that sentence. Gaps in your photos can mean questions before modeling starts.
Five revisions are included. Use them thoughtfully. Pull out your patch map and check:
- Are your three circled markings present and in the right place?
- Do the left and right sides match your left and right photos?
- Is the tail coloring right?
- Are the paw colors on the correct paws?
- Do the patch borders look crisp or blended, as they should?
Batch your notes. One clear list of five changes gets better results than five separate messages about one change each.
And keep the core idea in mind: this is a sculpted portrait, not a photocopy. The goal is a piece that reads unmistakably as your cat, interpreted as a small sculpture. Not a photo-exact replica, which isn't what this process produces.
Deposit and refund boundary
Ordering starts with a 40% deposit. A full refund is available before the order enters IN_DESIGN, which is recorded on the studio's server. Once the artist starts modeling, the deposit becomes non-refundable.
Practical translation: get your photos sorted and your mind made up before modeling starts. If you have questions about the process, the FAQ on orders, previews, and refunds is the place to check first.
Is a Calico Figurine Worth It? An Honest Look
It depends on what you want to hold on to. Here's a no-nonsense way to decide.
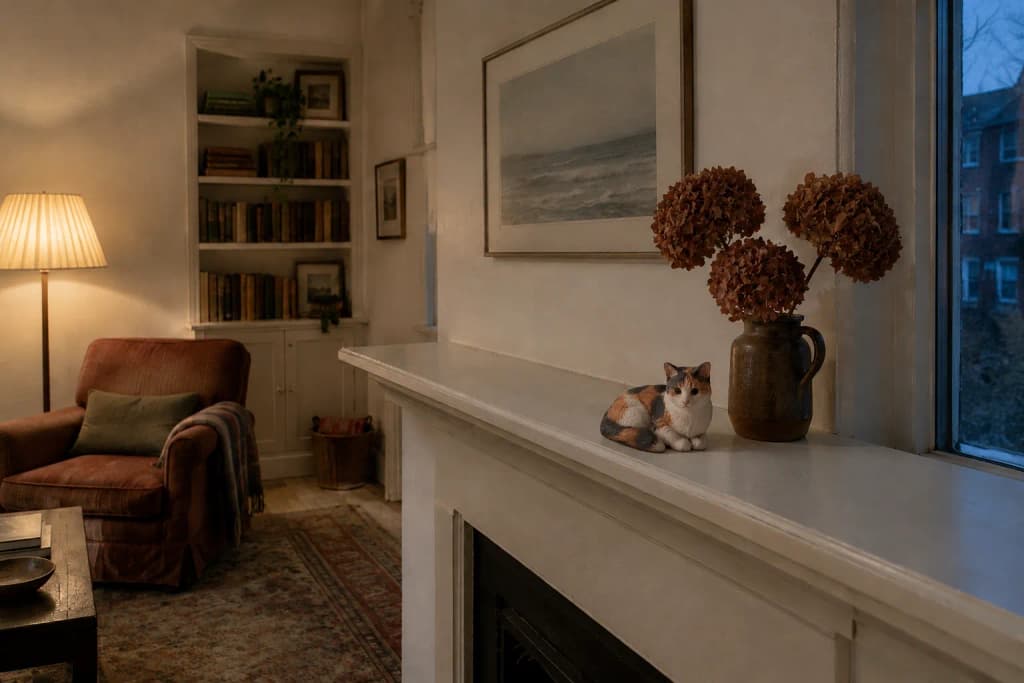
When a figurine makes sense
- The pattern is the point. A calico's coat wraps around the whole body. A photo shows one side. A sculpture can show the patches from every angle, which suits a pattern this specific.
- You want an object, not an image. Something you can pick up, turn over, set on a desk.
- You're comfortable with interpretation. You value an artist's take on your cat, and you'll engage with the preview.
- The budget and timeline fit. More on both below.
When another keepsake might fit better
- A framed photo is immediate, and your best window-light shot from this guide could be exactly the right print.
- Written memories, like a letter, a small book of her habits, or a list of the sounds of your days together, capture things no object can.
- Two-dimensional art, such as an illustration or painting from a local artist, is another way to get an interpreted portrait.
- Other keepsakes, like a collar, a favorite toy, or a paw print, carry meaning on their own.
None of these cancel each other out. Plenty of people pair a figurine with a photo album or a written piece. The photos you take for a sculpt are worth keeping regardless.
What it costs
These are the list prices for a single figurine:
| Size | Price (USD) |
|---|---|
| 2.5-inch | $429 |
| 3-inch | $489 |
| 4-inch | $589 |
| 5-inch | $789 |
| 6-inch | $999 |
Add-ons include a second pet ($179), an extra pet on 4-inch and larger sizes ($199), an extra toy ($30), a nameplate ($9), rush ($29), a diamond glass base ($29), and a black crystal base ($39). Sets of 12 are also available: $4,499 (2.5-inch), $4,999 (3-inch), $5,999 (4-inch), $7,999 (5-inch), and $9,999 (6-inch).
A thought on size for calicos specifically: the smaller the figurine, the smaller each patch becomes. At 2.5 inches, a marking the size of your thumbnail on the real cat ends up tiny. If your cat's identity lives in small details, like a nose smudge or a thin stripe, factor that into your size choice and your circled markings.
What it takes in time
After you approve the preview and pay the balance, delivery runs 27–40 days in the US and 33–47 days internationally. There's no separate shipping fee at checkout for worldwide delivery. International customers remain responsible for any local customs duties, taxes, or import fees.
Add the preview stage on top: the first preview is typically delivered within 7 days after complete references are available and the order enters IN_DESIGN, plus whatever time your revisions take.
If it's a holiday gift
For Christmas 2026, the last order-by date is November 10, 2026 for US delivery and November 3, 2026 for international delivery. Those are last-call dates, so confirm the preview and pay the balance promptly to stay on schedule.
Missed the cutoff? Orders placed afterward are delivered in January. The artist preview still arrives within about 7 days of IN_DESIGN, and you can share it as the gift itself, with the finished piece to follow.
Frequently Asked Questions
How many photos should I take for a calico figurine?
There is no fixed number. Aim for coverage: face, both sides, back, chest, tail, and paws, plus close-ups of patch borders. Ten photos covering every angle beat thirty similar couch shots.
Will the figurine match my cat's coat exactly?
No. It is a sculpted portrait and an artistic interpretation, not a photo-exact replica. You review the artist preview before printing, and five revisions are included to refine the patches.
Can I use old photos if I cannot take new ones?
Yes. Send the clearest images you have from as many angles as possible and say what is available. If you are unsure your references are enough, contact the studio before ordering.
What if I change my mind after ordering?
A full refund is available before the order enters IN_DESIGN status. The 40% deposit becomes non-refundable once the artist starts modeling, so settle your photos and decision first.
How long does the whole process take?
The first preview typically arrives within 7 days after complete references and IN_DESIGN. Delivery is 27 to 40 days in the US and 33 to 47 days internationally after final payment.
Can I include another pet or a favorite toy?
Yes. A second pet is $179, an extra pet on 4-inch and larger sizes is $199, and an extra toy is $30. Photograph them with the same care as your calico.
Ready to Turn Your Photos Into a Portrait?
If you've worked through the shot list, you already have the hard part done: a clear, honest record of your cat's coat from every side. That record is worth keeping whether or not you order anything.
If a sculpted portrait feels right, PawSculpt's artists digitally sculpt from your references, you approve the preview before anything prints, and the finished figurine is printed in full color on a Mimaki 3DUJ-553. Bring your patch map, add a "Patches" nameplate if you like, and start your custom calico figurine when you're ready.