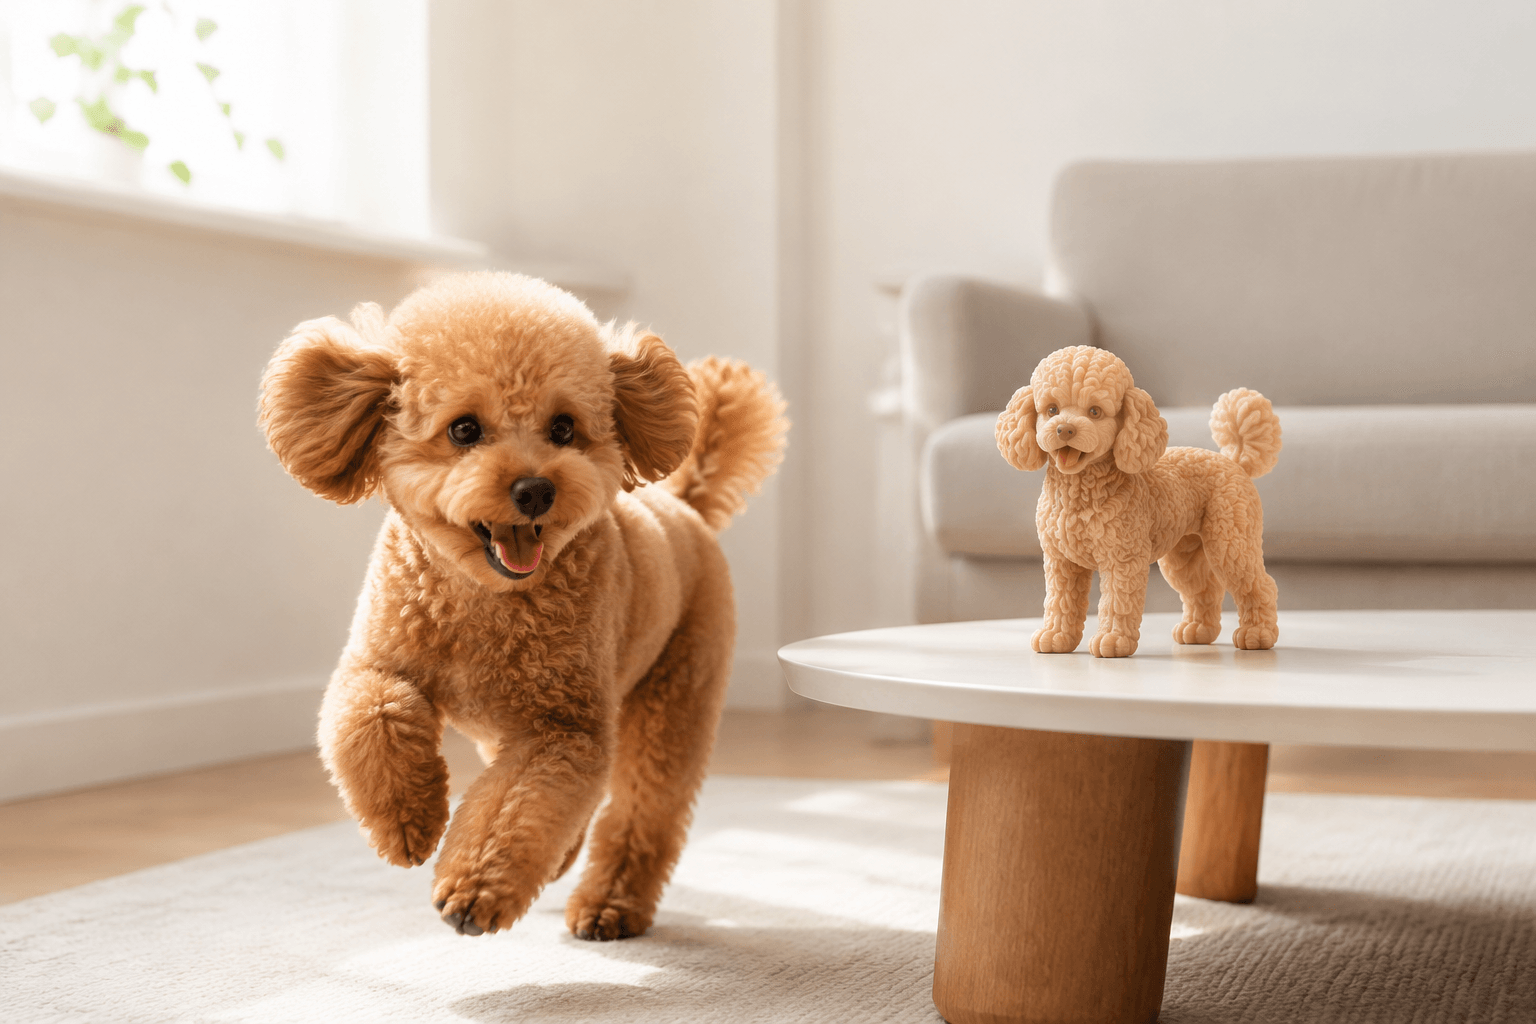
How to Photograph a Hyper Poodle (Curls and All) for a Satin-Finish Resin Sculpt
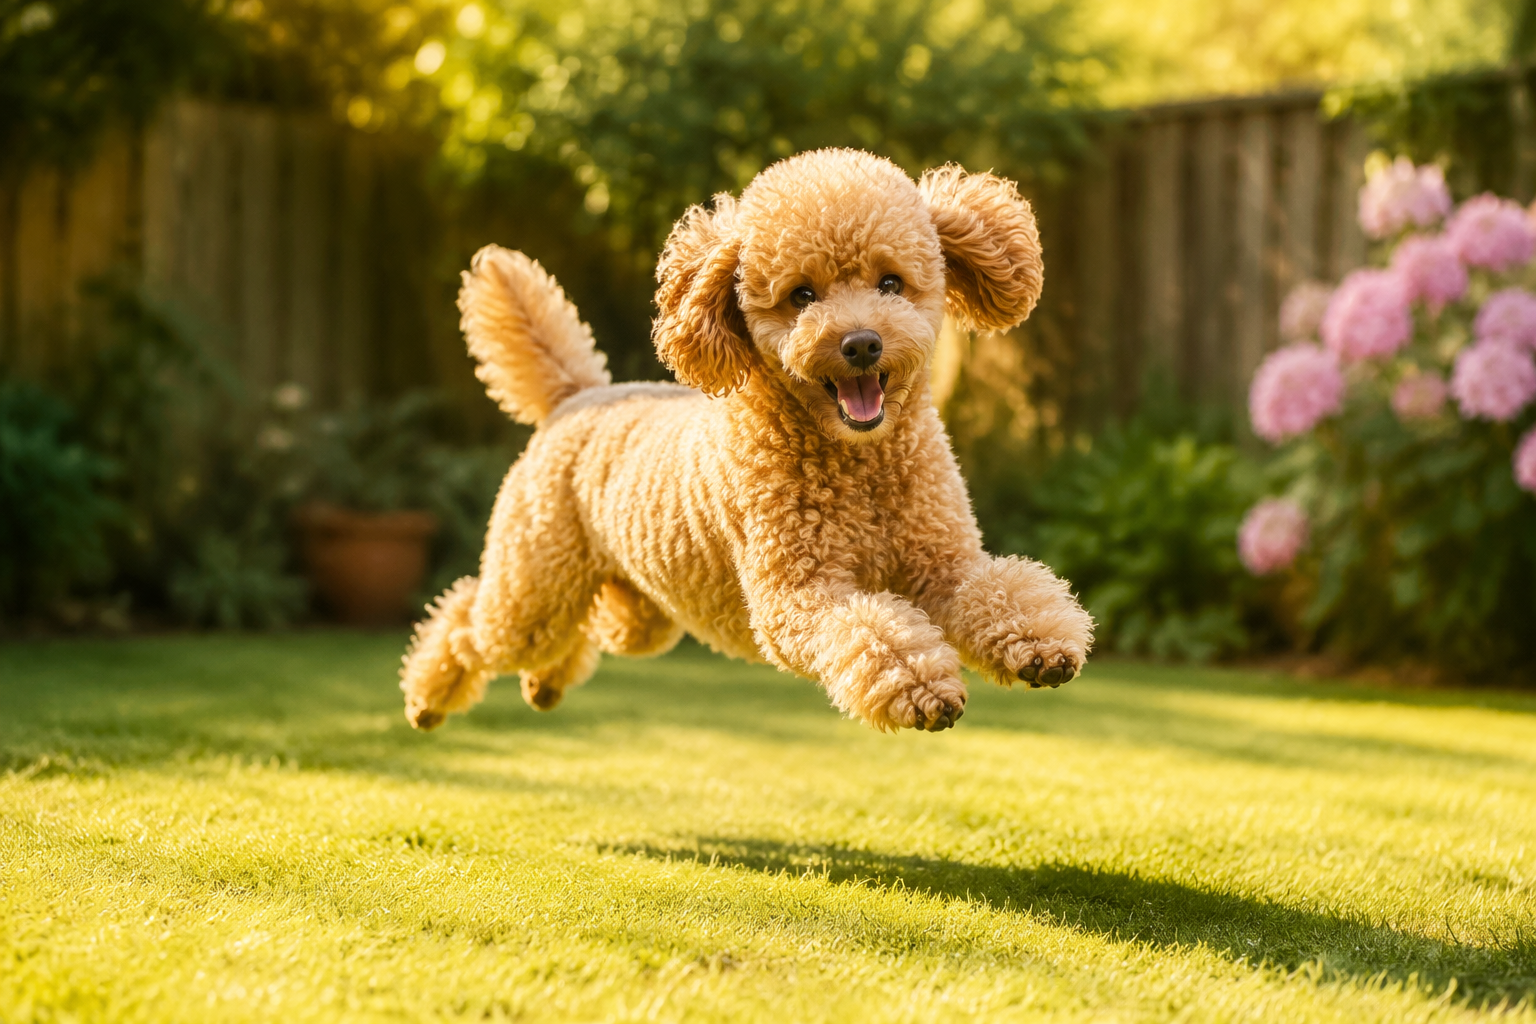
The skittering of toenails on concrete, then a blur of apricot curls launching off the workbench—that's what it sounds like to photograph a hyper dog in a garage. You crouch, phone ready, and the poodle is already three feet to your left, ears flopping, tongue out, utterly thrilled that you're down at his level.
Quick Takeaways
- Shoot from your dog's eye level — kneel or lie down so the camera matches their height, not yours.
- Tire them out first, then catch the settle — the best reference photo comes in the calm after the zoomies.
- Curly coats need raking side light — flat front light erases the very texture a sculptor needs to see.
- Capture coat flow, not just cuteness — a dozen angles of fur direction beat one perfect headshot for custom pet figurines.
- Satin finish hides print grain beautifully — it reads as soft fur sheen, not glossy plastic.
Why a Curly Coat Is the Hardest Reference Photo You'll Ever Take
Here's the thing nobody tells you. A short-haired Lab or a sleek Doberman is actually easy to shoot for a sculpt. The form underneath is right there—you can see the shoulder, the ribcage, the line of the spine. The coat just sits on top like a coat of paint.
A poodle hides everything.
That cloud of curls—whether it's a tight lamb cut or a fuller, fluffier teddy-bear trim—floats away from the body. It blurs the silhouette. It makes the legs look like columns and the chest look like a beach ball. And when a digital artist sits down to sculpt your dog, the very first question they ask is the one your photos usually can't answer: where does the real dog end and the floof begin?
So the goal when you photograph a hyper dog with a curly coat isn't to get the cutest shot. It's to get honest information. Two completely different jobs.
"Curls don't sit still and neither does a poodle. We're not chasing a perfect pose—we're chasing the truth of how the coat moves."
We've worked with thousands of pet families, and poodle photos are consistently the ones that come in needing the most follow-up. Not because owners take bad pictures. Because they take flattering pictures. Soft front-on lighting, the dog looking adorably up at the camera, the curls a gentle uniform haze. Gorgeous for your phone wallpaper. Nearly useless for understanding three-dimensional structure.
Let's fix that.
The Counterintuitive Part: Sharpness Matters Less Than You Think
Most photo guides scream about resolution. Megapixels, crisp focus, no motion blur. And sure, a sharp photo helps.
But for a curly coat sculpt, what a 3D artist needs more than razor sharpness is separation—being able to tell the curls on the leg from the curls on the belly, the topline of the back from the fluff of the tail. A slightly soft photo with good directional light and clear coat separation beats a tack-sharp photo lit flat from the front. Every time.
We'd rather have a faintly blurry side shot where we can read the coat flow than a pin-sharp portrait where the whole dog reads as one undifferentiated cloud.
Setting the Stage: Why the Garage Is Secretly Perfect
You'd think a sun-drenched park would be the dream location. It's not. Open shade and harsh midday sun both fight you—one flattens everything, the other carves hard shadows that lie about where the body actually is.
A garage, of all places, is one of the best photo studios you already own.
Roll up the door halfway on an overcast day or in the late afternoon. You get a big, soft wall of directional light pouring in from one side. That side light is the secret weapon for a curly coat. It rakes across the curls, catching the top of each tuft and dropping the underside into gentle shadow. Suddenly you can see texture. You can see which way the fur flows.
Here's the practical setup, step by step:
- Clear a 6x6 foot zone near the open garage door. Sweep it. Remove anything your poodle could dive behind (they will try).
- Put the dog between you and a plain wall. A blank garage wall, a sheet, a closed section of door—anything that isn't visually busy. Clutter behind the dog makes the silhouette impossible to read.
- Position the light to the side. The open door should be at roughly a 45 to 90 degree angle to your dog, not behind you and not behind them.
- Get a non-slip surface down. A rubber mat or a towel. A poodle scrambling on smooth concrete won't stand naturally, and you need natural standing posture.
"Side light is the difference between sculpting a poodle and sculpting a fog bank."
The garage trick works because it's contained. A hyper dog in an open yard has a hundred directions to bolt. In a garage with one open door and a clear zone, you've quietly removed most of the escape routes without making it feel like a trap. The dog stays loose and happy, and you stay in control of the frame.
The Pre-Shoot Burn (This Is the Real Secret)
The single biggest mistake people make? Trying to photograph the poodle before exercise.
A wired poodle will not stand. Won't sit. Won't do anything but vibrate. So flip the order.
Burn the energy first. Ten to fifteen minutes of hard play—fetch, tug, a few laps of the yard, whatever spikes their heart rate. Then bring them into your garage setup. You're not looking for an exhausted dog flopped on the floor. You're looking for that golden window right after the peak, when they're panting happily, standing square, finally willing to hold a position for two seconds at a time.
That window lasts maybe five to ten minutes. Have your camera ready before you start the burn, not after.
The Photo Sequence: What a Sculptor Actually Needs
Let me walk you through this the way we'd coach a customer on the phone. There's a specific order, and there's a reason for each shot.
A digital artist building your figurine works from reference photos the way a tailor works from measurements. Miss an angle and they're guessing. Guessing is where figurines stop looking like your dog and start looking like a dog.
Here's the priority list of shots, from most to least critical:
| Shot | Why It Matters | Pro Tip |
|---|---|---|
| Full side profile (both sides) | Defines the topline, leg length, and true body proportions under the coat | Stand the dog square; shoot at their chest height |
| Front-on, standing | Shows chest width, leg spacing, face symmetry | Get them to look just past the lens, not at it |
| 3/4 angle (front corner) | Captures how the muzzle, chest, and shoulder connect in 3D | The single most useful "personality" angle |
| Top-down | Reveals back width and where the coat sits widest | Hold a treat overhead, shoot straight down |
| Face close-up | Eye shape, stop, ear set, the expression that's them | Fill the frame; don't crop the ears off |
| Coat detail (legs, tail, ears) | Tells us curl size and fur direction across different zones | Get close enough to see individual curl clumps |
Notice what's at the top. The side profile, not the face. People always want to lead with the adorable face shot, and we love those—but the profile is the structural backbone of the whole sculpt.
Shoot at Their Level. Always.
If you take one thing from this entire post, take this: get down.
Photographing a dog from standing height is the most common error we see, and it wrecks proportions. Shooting down at a poodle foreshortens the body, balloons the head, and shrinks the legs. The digital sculpt built from those photos comes out looking stumpy and wrong, and nobody can quite say why.
Kneel. Better yet, lie down on that garage floor. Get the lens at the level of your dog's chest. A hyper dog photographed at eye level looks like themselves; photographed from above, they look like a different, squashed dog.
So what? It matters because a sculptor can't un-distort perspective. Whatever your camera saw, that's the proportion they work from. Garbage angle in, garbage proportion out.
Catching Stillness in a Dog That Doesn't Do Still
A poodle in that post-burn window still won't pose on command. So stop asking for poses. Create moments instead.
- The freeze-and-watch. Toss a toy past the dog—not for them to fetch, just to make them stop and track it. For half a second they go statue-still, ears up, fully alert. That's your shot. Burst mode, hold the button.
- The name-turn. Have a helper say the dog's name from off to the side. The head turns, the eyes brighten, and you catch that engaged expression that flat posed photos never get.
- The settle-sit. After enough play, most dogs will offer a natural sit. Don't command it. Wait for it. A volunteered sit has relaxed, honest body language; a commanded sit often has stiff, anxious lines.
Use burst mode the entire time. On any modern phone, holding the shutter fires off dozens of frames a second. You'll delete ninety percent. The keeper frame—the one where the curls catch the light and the eyes are sharp—lives somewhere in that burst. You just have to fire enough to catch it.
We had a customer once, a standard poodle named after a jazz musician, who would not stop spinning. Three hundred and forty photos. The owner was ready to give up. Frame 311 was perfect—square stance, side light raking the curls, that cocked-ear "what's that?" look. One frame out of three hundred-plus. That's normal. That's the job.
"Every whisker tells a story. With a poodle, every curl does too—our job is to read which ones make your dog unmistakably theirs."
— The PawSculpt Team
From Curly Photos to a Satin-Finish Resin Figurine
This is where people get the most curious, so let's open the shop door and show you how it actually works. Because understanding the process changes how you shoot. When you know what the sculptor does with your photos, you take better photos. Simple as that.
There's a lot of confusion out there about how custom figurines get made, so we'll be straight with you about ours.
Step One: Digital Sculpting (No Clay, No Carving)
Your photos go to a master 3D sculptor who builds your dog inside digital modeling software—the same family of tools used for film and game characters (ZBrush, Blender, that world). They start with the silhouette from your profile shots, block in the body masses, then refine.
For a poodle, this is where the side profile earns its keep. The artist establishes the real body underneath, then sculpts the curl texture on top of it. They're constantly cross-checking your photos—does the chest match the front-on shot? Does the muzzle length match the profile? This is a digital model, sculpted on screen. Nothing is carved by hand from a block.
The coat is the artistry. A good sculptor doesn't model every individual curl (that would print as mush). They suggest curl clumps and flow—the way the fur sweeps off the shoulder, bunches at the hip, fluffs at the ear. Your coat-detail close-ups are the entire reference for this step. Skip them and the curls become generic.
Step Two: Full-Color 3D Printing
Here's where our process differs from a lot of what you've seen, and it's worth understanding.
We use full-color 3D printing. The figurine is printed in color, directly, from a UV-cured photopolymer resin with the pigments embedded right into the material. Think of it as color printed into the object, voxel by voxel (a voxel is just a 3D pixel—a tiny cube of material with its own color), rather than a plain white model that gets colored afterward.
So your poodle's apricot, or silver, or that café-au-lait fade so many poodles have—that color is part of the resin itself, printed in. There is no painting step. No brushes, no acrylics. The machine lays down both the shape and the color together.
Why does this matter to you as the photographer? Because your photos are the color reference. If your photos are heavily filtered, shot under weird yellow garage bulbs, or color-cast from a sunset, the print can inherit that wrong color. Shoot in neutral daylight (that overcast garage-door light again) so your dog's true coat color makes it into the resin.
A few process realities a practitioner would mention:
- Orientation matters. How the model sits on the print bed affects where tiny support marks land. Printers angle the model to keep supports off the face and other high-visibility areas. Supports are little scaffolds that hold up overhanging parts during printing—legs, tails, and chins all tend to need them.
- Layer height is a tradeoff. Finer layers (often in the 25 to 50 micron range—a micron is a thousandth of a millimeter) give smoother surfaces but take longer. Coarser layers print faster but show more grain. There's no free lunch; it's always detail versus time.
- Hollowing and drain holes. Larger pieces are often partially hollow with small drain holes so uncured resin can escape during cleaning. Solid resin in a big model can trap stress and, occasionally, crack as it cures.
Step Three: Post-Processing and That Satin Finish
Out of the printer, the model gets washed to remove uncured resin, then fully cured under UV light so the resin reaches its final hardness. Then supports are removed and those contact points are gently sanded smooth.
The last manual step is the finish. And for a curly poodle, finish choice genuinely changes how the figurine reads.
A high-gloss clear coat looks wet and plasticky—wrong for fur. A satin-finish resin figurine is the sweet spot. Satin is a soft, low-sheen clear coat that protects the surface and catches light gently, the way real fur does. It also does something clever: the fine layer grain from 3D printing reads, under satin light, as subtle coat texture rather than as machine lines. The finish and the medium work together.
"Glossy makes resin look like plastic. Satin makes it look like fur caught in afternoon light."
That's the counterintuitive bit for a lot of folks—they assume shinier means more premium. For a curly coat, the opposite is true. Restraint reads as realism.
What to Expect from the Process
We won't pin you to exact timelines or policies here, because those shift and we'd rather you get current details straight from the source. The general arc looks like this:
| Stage | What Happens | Your Role |
|---|---|---|
| Photo submission | You send your reference shots | Send variety: profiles, angles, coat detail |
| Digital sculpting | Artist hand-models your dog in 3D | Review the digital preview, give feedback |
| Revisions | Adjustments to likeness, pose, coat | Be specific—"ears sit higher," "muzzle shorter" |
| Full-color printing | Model is 3D printed in full color | Wait (the hard part) |
| Finishing | Cure, support cleanup, satin coat | Nothing—this is on us |
For the specifics—turnaround windows, how revisions work, the guarantee—head to pawsculpt.com where it's all laid out and kept current. The one thing we'll commit to in writing: you see a digital preview and get to weigh in before anything prints. That's where your earlier photo effort pays off, because a sculptor working from rich reference needs far fewer rounds of "that's not quite him."
A Counter-Point: When to Stop Chasing the Perfect Shot
We've spent this whole post pushing you toward more angles, better light, the structural profile over the cute face. So let us push back on ourselves for a second, because intellectual honesty matters more than a tidy argument.
Sometimes the perfect reference shoot isn't possible. And that's okay.
Maybe you're reading this after your dog has passed, and all you have is what's already on your phone—a handful of imperfect snapshots, none of them a clean side profile. Maybe your poodle is elderly and genuinely can't do the post-burn window anymore. Maybe your dog is so anxious that a garage setup with side lighting would just stress them out, and no figurine is worth that.
Here's the truth from years of doing this: a skilled sculptor can do remarkable work from imperfect photos. Profile shots help enormously, but they're not a hard requirement. A good artist knows poodle anatomy. They can infer the body under the coat from a few decent angles plus their own knowledge. We've built loving, accurate figurines from a single slightly blurry photo because it was the only one that existed.
So don't let the pursuit of the ideal reference stop you from starting at all. The advice in this post is how to make a sculptor's job easier and your likeness sharper. It is not a gate you have to pass through. If you've got three okay photos and a dog who's no longer here to pose, those three photos are precious and they are enough to begin.
The perfect shoot is a luxury. The memory is the point.
Caring for Your Satin-Finish Resin Poodle
Once your figurine arrives, a little care keeps it looking right for decades. Resin is durable but not indestructible, and the satin finish has its own quirks.
- Keep it out of direct, prolonged sunlight. Quality pieces use UV-resistant resin, but no material loves years of harsh window sun. A bookshelf away from the glass is ideal.
- Dust with a soft, dry brush (a clean makeup brush is perfect for getting into curl detail). Skip the wet wipes and household cleaners—solvents can dull or cloud a satin coat over time.
- Don't display it somewhere it'll get knocked. Thin parts—a raised paw, an ear tip, a tail—are the most fragile spots on any resin figurine. Resin is a touch brittle by nature; that's the tradeoff for holding crisp detail.
- Mind temperature extremes. Don't leave it in a hot car or on a heat vent. Resin can soften and warp under sustained heat.
None of this is fussy. A figurine on a shelf, dusted now and then, will outlast the phone you photographed your dog with.
Frequently Asked Questions
What photos work best for a custom poodle figurine?
Lead with side profiles from both sides—they define the body proportions hidden under the coat. Then add a front-on standing shot, a 3/4 angle, a face close-up, and a few coat-detail shots of the legs, ears, and tail. Shoot everything at your dog's eye level in soft, even light so the sculptor gets honest structure and true color.
How do you photograph a hyper dog that won't hold still?
Tire them out first, then shoot in the calm window right after the peak energy. Have your camera ready before you start playing. Use burst mode constantly, and create still moments by tossing a toy for them to track or having a helper say their name to trigger a brief, alert pause.
Why is a curly coat so hard to capture for a sculpt?
Because curls float away from the body and blur the true outline, a sculptor struggles to see real proportions underneath. The fix is raking side light—light coming from one side rakes across the curls, separating them and revealing both the coat flow and the body structure beneath.
Are PawSculpt figurines hand-painted?
No. We use full-color 3D printing, where the color pigment is embedded directly into the resin as the figurine is printed, layer by layer. There are no brushes or paints involved. The only manual finishing step is applying a protective satin clear coat that gives it a soft, fur-like sheen.
Why choose a satin finish over a glossy one?
A satin-finish resin figurine has a soft, low sheen that catches light the way real fur does. Gloss looks wet and plasticky—great for a sports car, wrong for a poodle. Satin also makes the fine print grain read as natural coat texture rather than machine lines, so the whole piece looks more like fur.
Ready to Celebrate Your Pet?
Every pet has a story worth preserving. Whether you're honoring a beloved companion who's crossed the rainbow bridge or celebrating your curly-coated bundle of energy, a custom PawSculpt figurine captures the details that make your dog one-of-a-kind—right down to the curl flow you worked so hard to photograph. Master 3D sculptors translate your reference shots into a full-color resin piece with that soft satin finish, so the dog who never stood still finally holds the pose forever.
Create Your Custom Pet Figurine →
Visit pawsculpt.com to learn more about our preview process, revisions, and quality guarantee
