Into the Void: Lighting Techniques to Capture a Black Cat's Eyes
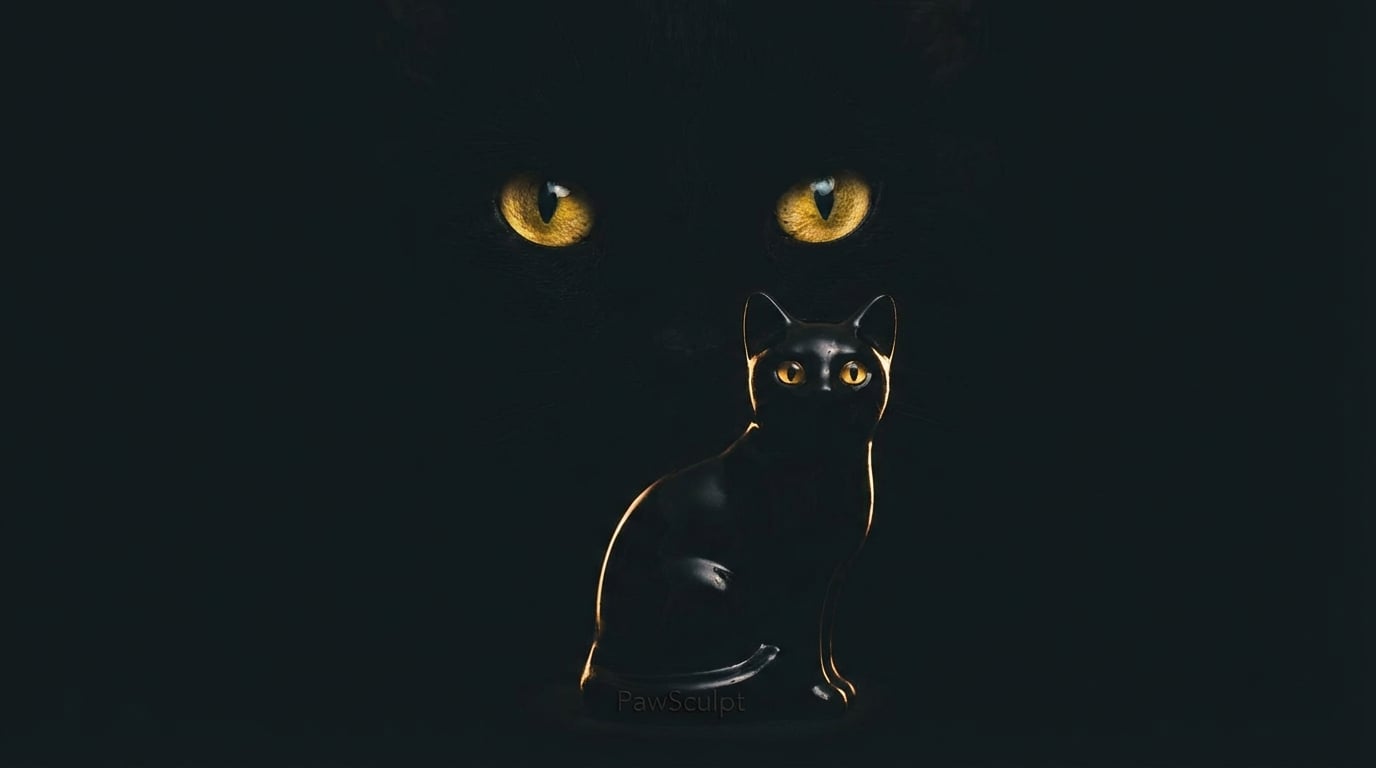
You’re crouching on the cold basement floor near the egress window, smartphone raised, trying to capture the subtle sheen of your pet's midnight coat. But looking at the screen, you don't see those piercing gold eyes or the velvet texture—just a shapeless, dark silhouette. This is the central challenge of black cat photography.
Quick Takeaways
- Diffuse light is non-negotiable — harsh direct sun turns black fur into a flat, white glare.
- Focus on the "catchlights" — if you can’t see the reflection in their eyes, the photo will look lifeless.
- Underexpose slightly — tap your phone screen and drag the sun icon down to keep blacks rich, not grey.
- Background contrast is key — never photograph a black cat against a dark sofa if you want visible edges.
- Great photos create better art — clear lighting helps PawSculpt’s digital artists model your pet's anatomy accurately.
The Physics of the "Void": Why Your Camera Struggles
Here is the thing about photographing black cats that most people don't realize: you aren't actually photographing color. You are photographing specular highlights.
In our workshop, when we are running quality control on a dark resin print, we have to use specific raking lights to see the surface imperfections. Black absorbs light. It is the absence of reflected color. When your camera sensor looks at a black cat, it panics. The auto-exposure meter tries to turn that "void" into 18% grey (the average brightness of a scene), which results in a washed-out, noisy image where your cat looks like a fuzzy grey blob.
To get a photo that actually looks like your pet—and one that is usable for our 3D modeling process—you have to stop trying to light the fur and start trying to light the shape of the fur.
"Photographing a black cat isn't about capturing darkness; it's about controlling where the light reflects."
The "Angle of Incidence" Rule
In additive manufacturing, we think constantly about geometry. For your cat, think of their fur not as a carpet, but as thousands of tiny, cylindrical mirrors.If you point a light directly at them (like a camera flash), those tiny mirrors bounce the light straight back at the lens. You get that harsh, white glare that obliterates texture. But if the light comes from the side or above, the shadows created by individual hairs give the coat depth. This is what we call "form definition."
The Window Side-Swipe Technique
The single biggest mistake we see in the reference photos sent to us isn't the camera quality; it's the light source positioning. You don't need a DSLR. You need a window and a specific angle.
- Find a large window with indirect light (no beams of sun hitting the floor).
- Position your cat so the window is to their side (90 degrees from where you are crouching).
- Do not shoot into the window (backlit). Do not shoot with the window directly behind you (flat light).
Why this works:
Side lighting creates a gradient across the cat's face. One side is illuminated, revealing the texture of the fur and the color of the iris. The other side falls into shadow, which defines the curve of the cheekbone and the snout.
When our digital sculptors are modeling your pet in software like ZBrush, they rely heavily on these transition zones—where the light turns to shadow—to understand the underlying bone structure. If the photo is flat black, we have to guess the anatomy. If there is side lighting, we can see exactly how the fur flows over the shoulder blades.
Catchlights: The Secret to Living Eyes
If you look at a high-end custom figurine or a classic oil painting, the eyes always have a tiny white dot in them. That is the catchlight. It is the reflection of the light source on the cornea.
For black cats, the catchlight is vital. Without it, the eyes disappear into the face, and the cat looks like a silhouette cutout.
How to force a catchlight:
You need a light source that is physically large relative to the subject. A window is perfect. A softbox is great. A tiny camera flash is terrible because the catchlight becomes a harsh red-eye or a tiny pinprick that looks aggressive.
Pro Tip: If you are in a dark room (like that basement setting), hold a piece of white poster board or even a white pillowcase near your cat's face (out of frame). This acts as a reflector, bouncing soft light back into their eyes without washing out their black fur.
Exposure Compensation: Outsmarting Your Phone
Modern smartphones are incredible, but they are programmed to be average. They want the whole scene to be "medium bright." When you fill the frame with a black cat, the phone thinks, "Whoa, it's dark in here!" and ramps up the ISO (sensitivity).
The Result: Grainy, digital noise and a cat that looks dusty grey.
- Frame your shot.
- Tap on your cat's face on the screen.
- A yellow box with a sun icon usually appears.
- Drag that sun icon DOWN slightly.
This tells the camera, "Yes, I know it's dark, keep it dark." By underexposing slightly, you preserve the deep, rich black tones of the coat. It is much easier to brighten a shadow later than to fix a blown-out grey highlight.
Backgrounds: The Contrast Trap
We see this often in the lab: a customer sends a photo of a black cat sleeping on a navy blue blanket in a dim room. Even with our high-resolution monitors, we can't tell where the cat ends and the blanket begins.
To get a photo that truly pops—and serves as excellent reference material for a custom figurine—you need contrast.
- Best Backgrounds: Light grey, cream, soft pastels, or wood floors.
- Worst Backgrounds: Black leather, dark blue, deep red, or heavily patterned rugs (camouflages the silhouette).
If your cat's favorite spot is a dark chair, throw a light-colored blanket over it before you start your photo session. This creates "edge separation," allowing the camera (and our sculptors) to see the exact outline of the ears, tail, and paws.
From Photo to Figurine: The 3D Process
Why are we so obsessed with lighting? Because at PawSculpt, we don't just paint a generic cat model black. We use full-color 3D printing technology to replicate your specific pet.
The Digital Sculpting Phase
Our process starts with a human artist working in 3D space. They aren't carving clay; they are pushing and pulling "digital clay" (polygons) on a screen. To get the likeness right, they need to see the volume of the snout, the set of the eyes, and the unique cowlicks in the fur.If your photos are well-lit, the artist can sculpt the texture of the fur to match the direction it actually grows on your cat.
The Full-Color Print Difference
Here is a common misconception: people think we print a white plastic cat and then hire someone to paint it by hand. That is not how we do it.We use advanced additive manufacturing machines (think industrial-grade inkjet printers but for 3D objects) that jet liquid photopolymer resin mixed with cyan, magenta, yellow, black, and white pigments. The color is embedded directly into the material as it cures, layer by micron-thin layer.
This means we can achieve gradients and coat patterns that are incredibly difficult to do with a paintbrush. But, the machine only prints what the digital file tells it to. If the digital sculpture is based on a blurry, dark photo, the resulting figurine won't have the definition you want.
"A great reference photo is the blueprint for a great sculpture. We can't model what we can't see."
Reference Photo Guide for 3D Modeling
| Photo Type | What We Look For | Common Failure Mode | Lighting Tip |
|---|---|---|---|
| Face Front | Eye color, nose width, ear set | "Laser eyes" from flash | Use window light from the side to show nose depth. |
| Profile (Side) | Snout length, chin shape, neck arch | Silhouette only (no 3D detail) | Ensure light hits the cheekbone to define the jaw. |
| Full Body | Tail length, paw size, body condition | Cat curled in a ball (blob) | Wait for them to stand or sit up; shoot at their eye level. |
| Top Down | Coat markings, body width | Distorted perspective (big head) | Stand directly over them, but ensure you don't block the light. |
Post-Processing: Gentle Edits Only
You’ve taken the shot using the window technique. Now, you might want to edit it.
Do:
- Lift the Shadows: Use the "Shadows" slider to brighten just the dark areas slightly. This reveals the eyes without washing out the background.
- Increase Structure/Texture: A little bit of "Clarity" or "Structure" helps define the individual tufts of fur.
Don't:
- Oversaturate: Black cats often have reddish (rust) or brown undertones in the sun. If you crank the saturation, they might look purple or orange.
- Over-smooth: Avoid "beauty filters." We need to see the fur texture, not a blurred airbrushed look.
Capturing the Personality (The "X" Factor)
Beyond the technical specs of lumens and polygons, the best photos capture who the cat is. Is your void a regal guardian of the house? Or a goofy goblin who sleeps upside down?
When you are down there on the floor, wait for that moment of engagement. Make a noise—crumple a treat bag or scratch the floor—to get their ears to perk up. That alertness engages the facial muscles and opens the eyes wider, giving you that spark of life.
According to the ASPCA's guide on pet photography, patience is your most valuable tool. Animals pick up on frustration. If you are stressed about the lighting, your cat will look tense. Take a breath, reset, and let them get comfortable.
"Our artists look for the 'micro-expressions' in your photos—the way a left ear tilts or a specific eyebrow whisker curls. Those details define the soul of the figurine."
— The PawSculpt Team
Frequently Asked Questions
Why do my black cat photos always look blurry?
This is usually a shutter speed issue. Because black fur absorbs light, your camera tries to compensate by keeping the shutter open longer to let in more light. If your cat moves even a millimeter during that time, you get blur. The solution is to add more ambient light (open more blinds) so the camera can snap the picture faster.How many photos do I need for a custom figurine?
For our digital sculptors to create an accurate 3D likeness, we typically need 5 to 8 photos. We need a clear front view of the face, profiles of both the left and right sides, a full-body shot (standing is best), and a view of their tail. The more angles you provide, the more accurate the physical geometry of the print will be.Can you fix the eye color if it looks wrong in the photo?
Absolutely. This is one of the benefits of our process. Since we model the pet digitally first, we can manually set the eye color in the 3D software. If your photo has "laser eyes" from a flash, just tell us "his eyes are actually copper-gold," and we will program that color into the printer data.Do I need a professional camera for figurine reference photos?
Not at all. Most of the reference photos we receive come from iPhones or Androids. The resolution on modern phones is plenty high enough for our needs. The most important things are focus (tap the screen on the eyes!) and lighting. A sharp phone photo is better than a blurry DSLR photo.Ready to Celebrate Your Pet?
Every pet has a story worth preserving, and for black cats, that story is often hidden in the shadows. Whether you're honoring a beloved companion who's crossed the rainbow bridge or celebrating your furry friend's unique personality, a custom PawSculpt figurine captures those subtle details—the velvet texture, the regal posture, and that knowing gaze—that make your pet one-of-a-kind.
Free instant AI preview • 3D artist preview within 7 days • 5 free revisions
