How to Read a Digital Sculpt Proof and Know Your Siamese's Face Is Truly Right
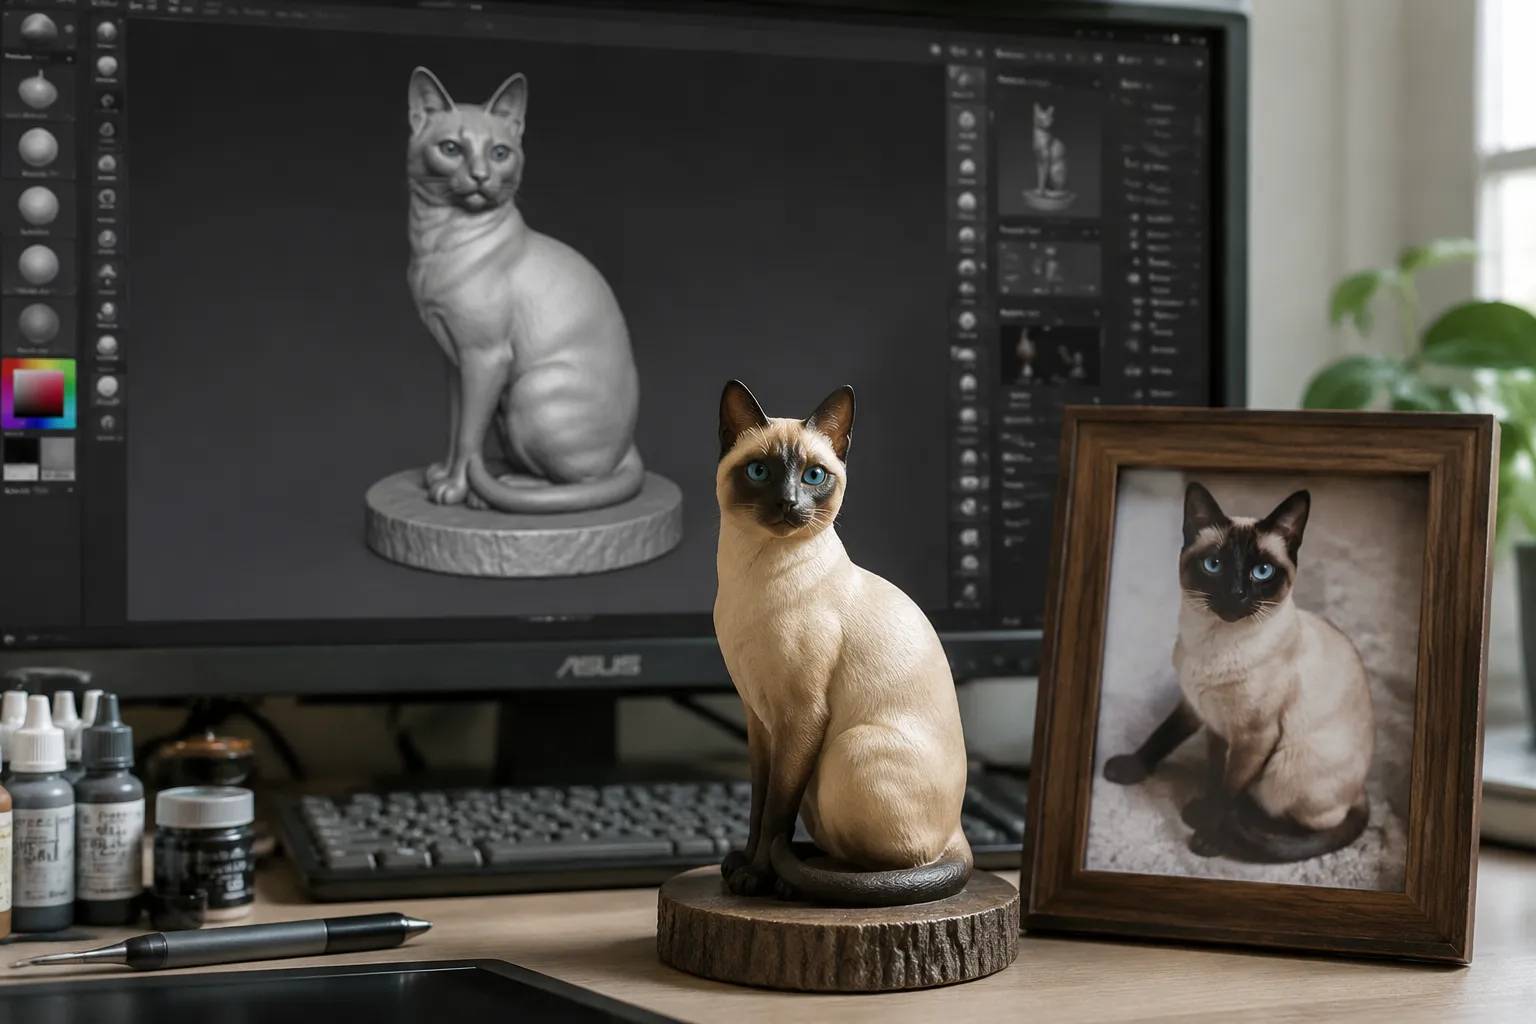
You keep tilting your laptop toward the kitchen window, then away from it, trying to catch the light on the digital sculpt proof that just landed in your inbox. It's your Siamese. Almost. The eyes are that impossible blue. But something about the cheeks makes your stomach drop a little.
Quick Takeaways
- Judge the muzzle wedge first — a Siamese face lives or dies by its bone structure, not its color.
- Rotate the proof in motion — static screenshots flatten depth and hide the real shape errors.
- Check eye placement against your own reference photo — slant angle and spacing read "Siamese" before anything else.
- Color points come last — for full-color 3D printing details and how proofs work, explore PawSculpt's custom figurine process before you fixate on shading.
- Trust the "off" feeling — your brain recognizes your cat faster than your conscious eye can explain why.
Why Your Brain Knows the Face Is Wrong Before You Do
Here's something we see almost every week. A customer opens their proof, stares at it for thirty seconds, and writes back: "I can't explain it, but that's not quite him."
They're right. Almost always.
There's a reason for that, and it's not vague pet-parent sentiment. Your brain has a dedicated region called the fusiform face area that processes faces holistically — all at once, as a single gestalt, rather than feature by feature. It's the same machinery that lets you spot a friend in a crowd from the back of their head.
That system runs on your cat, too. You've logged thousands of hours looking at that specific face: the morning headbutt, the loaf on the windowsill, the slow blink across the kitchen at dinnertime. Your visual cortex has built a high-resolution template, and any deviation trips a quiet alarm.
So when you feel that "off" sensation looking at a custom Siamese figurine proof, don't dismiss it. That feeling is data. The hard part — the part this whole guide exists to solve — is translating the feeling into words a sculptor can actually act on.
"Your eyes already know the answer. Our job is helping you find the words for it."
Because "it just looks wrong" doesn't help a 3D artist fix anything. "The muzzle reads too round and the eyes sit a hair too high" does. The goal here is to move you from the first sentence to the second.
What a Digital Sculpt Proof Actually Is
Let's get the vocabulary straight, because it changes how you should look.
A digital sculpt proof is a rendered image (or short rotating video) of the 3D model an artist has built in software like ZBrush or Blender before anything gets printed. Think of it as the blueprint stage. Nothing physical exists yet. The model is pure geometry — millions of tiny polygons forming the surface of your cat — sometimes shown in flat gray clay, sometimes with color and markings applied.
This is the moment that matters most. Fixing the face in the digital stage costs a few clicks. Fixing it after printing costs a whole new print.
That's the single biggest thing pet owners misunderstand. They treat the proof like a formality — a "yeah, looks good" rubber stamp on the way to the real thing. It's the opposite. The proof IS the real thing, just before it gains a body.
The Counterintuitive Truth: Color Is the Last Thing You Should Check
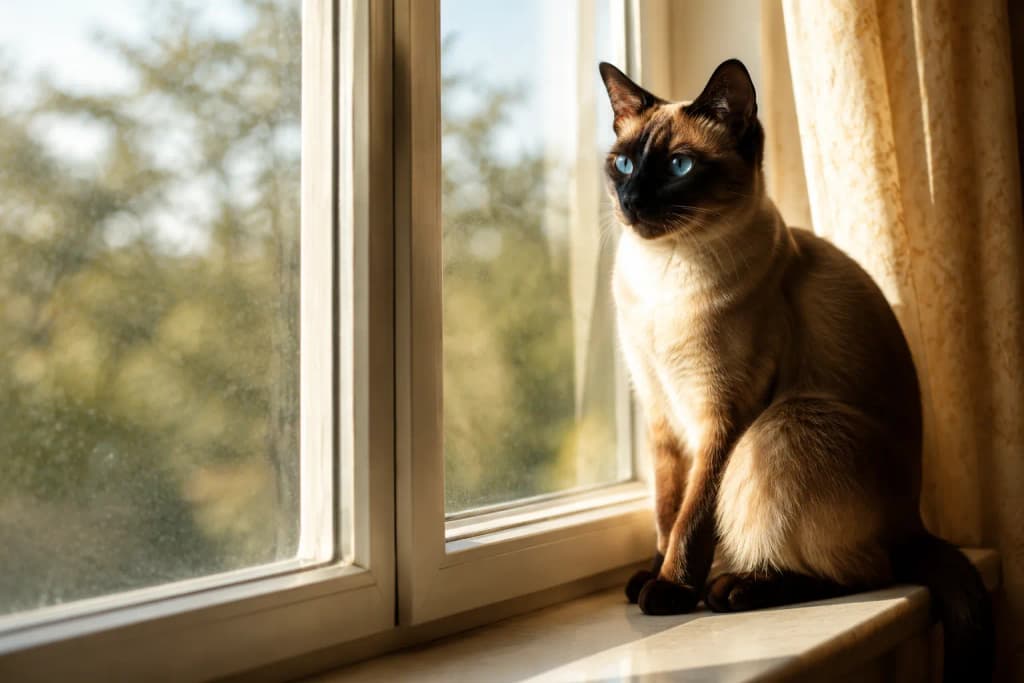
Most people do this backward. They open the proof and go straight for the coat — the cream body, the dark points, that seal-brown mask. It's the most emotionally recognizable part, so it grabs the eye first.
But coloring is the easiest thing to adjust in a digital file. A point that's too light, a mask that needs to creep further up the forehead — those are surface tweaks. The artist can shift them without rebuilding anything.
The geometry underneath is what you can't easily fake. And it's what your brain is actually reacting to when something feels wrong.
Here's the order we'd tell our own families to use:
- Head shape and muzzle wedge — the foundational architecture
- Eye placement, size, and slant — the emotional center of the face
- Ear set and proportion — Siamese ears are dramatically large and low
- Expression and "set" of the features — the personality layer
- Color, points, and markings — the last 10 percent
If the bones are right and the color is slightly off, you have a fixable Siamese. If the color is perfect but the skull is wrong, you have a beautiful figurine of a cat that isn't yours.
"Get the skull right and the soul follows. Get the color right alone and you've painted a stranger."
The Siamese Problem Specifically
Siamese cats are uniquely hard to get right, and uniquely easy to get wrong, because their entire identity is built on extremes of shape.
Most cat breeds forgive a soft muzzle or a slightly round eye. The Siamese does not. A modern show-type Siamese has a long, flat-planed wedge head — picture a triangle that starts at a narrow muzzle and flares straight out to the ear tips with no break, no cheek pinch, no stop. The traditional or "applehead" Siamese is rounder and chunkier. These are radically different skulls.
If your cat is a sleek wedge and the proof comes back with apple-cheeks, the whole thing collapses. So before you even judge the work, you need to know which Siamese you have. For a clear breakdown of conformation differences, the Cat Fanciers' Association breed profile is a solid reference — though honestly, your own cat in your own photos is the only standard that matters here.
How to Actually Read the Proof, Step by Step
Pour the coffee. Sit down. This takes about fifteen focused minutes, and rushing it is the most expensive mistake you can make at this stage.
Step One: Put Your Reference Photo Right Next to the Proof
Open the exact reference photo the sculptor worked from, and put it side by side with the proof on the same screen. Same size. Same approximate angle.
Do not judge the proof in isolation. Your memory of your cat is emotional and forgiving; the photo is neutral. We've watched customers swear a proof was wrong, then put it beside their own submitted photo and realize the proof was faithful — their memory had drifted.
So what? Because the sculptor can only build from what the camera saw. If the photo shows a three-quarter turn with one ear flattened, that's the data they had. Comparing proof-to-memory sets everyone up to fail. Comparing proof-to-photo is fair to both of you.
Step Two: Demand Motion, Not a Snapshot
This is the insider tip almost nobody knows.
A single rendered still image lies. It lies because lighting, angle, and a flattering camera position can hide real geometry problems — or invent ones that aren't there. A muzzle that looks too long head-on can look perfect in profile.
Ask to see the model rotating — a turntable video, or at minimum proofs from the front, both profiles, and a three-quarter view. A good studio expects this. At PawSculpt, the digital proof stage is built around letting you actually approve a 3D model of your pet from multiple angles, because we learned long ago that one hero shot hides a multitude of sins.
When the model turns, watch the silhouette. The outline. That's where shape errors scream the loudest:
- Does the wedge stay crisp from the front but turn mushy in profile?
- Does the forehead-to-nose line have the right slope?
- Does the chin recede or jut?
"A still photo flatters. A rotating model confesses. Always ask the model to turn."
Step Three: Read the Muzzle Like an Engineer
The muzzle is where Siamese identity concentrates. Look for three things.
Length and taper. Run your eye from the inner corner of the eye down to the nose leather. On a wedge Siamese, that's a long, clean, narrowing line. If the proof shortens it, the cat reads as generic-domestic instead of Siamese.
Cheek fullness. This is the number one error we see on Siamese proofs. The wedge type should have flat cheek planes — almost gaunt. Sculptors, working from instinct, tend to add roundness because most cats are rounder. Catch it here.
The chin and bite line. A weak or over-tucked chin throws the whole profile off. Check that the chin lines up under the nose, not behind it.
Here's a practical heuristic from years of looking at these: the cheeks are the canary. If something feels off and you can't place it, look at the cheeks first. Nine times out of ten, that's the culprit.
Step Four: The Eyes — Slant, Spacing, and Size
Siamese eyes are almond-shaped and set on a slant that follows the line of the wedge, angling up toward the ears. Round eyes, or eyes set on a flat horizontal line, instantly de-Siamese a face.
Check three measurements against your reference:
- Slant angle — do the outer corners lift toward the ears?
- Spacing — Siamese eyes sit about one eye-width apart; too close reads anxious, too far reads dopey
- Size relative to head — proportion matters more than absolute size
And the color. That blue is the signature, sure. But notice — we're only getting to color now, at step four, sub-point three. That's intentional.
One thing to know about how the blue appears in the final piece: in full-color 3D printing, the eye color is printed directly into the resin material itself, voxel by voxel, not applied as a glossy layer on top. So when you judge eye color on the proof, you're judging a render that approximates how embedded pigment will look once it's a solid object and sealed under a clear protective coat. Screen blue and resin blue aren't identical. More on that below.
Step Five: Ears, and the Trap of the "Default Cat"
Siamese ears are enormous and set low and wide — they continue the line of the wedge outward. A common proof error is "default cat ears": too small, set too high and upright, like a tabby.
Watch the ear base especially. The width between the ears at the skull, and how low they attach, defines the breed silhouette as much as the muzzle does.
So what? Because from across the room — which is how your figurine will usually be seen, on a shelf — the head-and-ear silhouette is the first thing anyone registers. Get the ears wrong and it stops reading as Siamese before anyone's close enough to see the eyes.
Myth vs. Reality: What Pet Owners Get Wrong About Proofs
We hear the same misconceptions constantly. Let's bust the big three.
Myth: "If the color is right, the figurine will look like my cat."
Reality: Color is the surface. Bone structure is the recognition. Your brain identifies your cat by the shape of the face, not the shade of the fur. A perfectly colored wrong-shaped head will still feel like a stranger.
Myth: "The screen proof is exactly what the printed figurine will look like."
Reality: A monitor emits light; resin reflects it. Colors will shift slightly, and a clear coat adds a subtle sheen the flat render can't show. Reputable studios calibrate for this, but expect a small, natural translation — not a flaw.
Myth: "Asking for changes means I'm being difficult or the artist failed."
Reality: The proof exists precisely so you can request changes. This is the cheap, fast, no-waste moment to be picky. A good studio wants your notes now, not your disappointment later. Revisions at the digital stage are the entire point.
That second myth deserves a beat. We've had customers panic that the blue looked "too electric" on screen, only to be relieved when the printed piece read as the soft, deep sapphire they remembered. Screens oversaturate. Knowing that in advance saves a lot of needless worry.
Understanding How the Proof Becomes a Real Object
To judge a proof well, it genuinely helps to understand what happens after you approve it. Not because you need to become a technician — but because knowing the process tells you what's worth scrutinizing now versus what gets handled later.
Here's the honest walk-through of how we work.
From Photo to Sculpt
It starts with your photos. A master 3D sculptor studies your reference images — ideally several angles, good light, the cat relaxed — and builds the model digitally from scratch. They're checking proportions, the flow of the coat, the anatomy of the wedge, the set of the eyes.
This is digital sculpting. Nobody is carving clay. The "hands" are working a stylus and software, pushing and pulling virtual surface until your cat emerges. The skill is real and hard-won; it's just expressed through a screen instead of a chisel.
The proof you receive is a render of this digital model. That's why your feedback at this stage is so powerful — you're editing a file, not a finished thing.
The Print Itself
Once you approve, the model goes to a full-color resin 3D printer. This is where PawSculpt's technology differs from the cheaper route of printing a blank white model and coloring it afterward.
Our process prints color directly into the material. The machine deposits UV-cured photopolymer resin with the pigment embedded inside it, building your cat up in microscopically thin horizontal layers. The color isn't sitting on the surface where it can chip — it's part of the resin itself, all the way through.
Layer thickness typically lands somewhere in the 25–50 micron range (a micron is a thousandth of a millimeter — finer than a human hair). Thinner layers mean smoother surfaces and crisper detail, at the cost of longer print times. It's a tradeoff every studio balances.
Post-Processing — and What We Don't Do
After printing comes cleaning, full curing under UV light, and careful support removal. Supports are temporary scaffolds the printer builds to hold up overhangs — an outstretched paw, the underside of a chin — and removing them cleanly without leaving marks is genuine craftsmanship.
Then a clear protective coat goes on. That's the one hands-on finishing step, and it does two jobs: it shields the surface and gives a consistent sheen.
What we don't do: there's no hand-painting stage, no brushes, no acrylics, no waiting for paint to dry. The color came out of the printer already in the resin. We're upfront about this because it's both more honest and, frankly, more durable. Embedded color can't flake off the way surface paint can.
The result has an authentic quality — vibrant full color with a fine natural grain from the layering, sealed and protected. Not a flawless plastic toy. A real object with real texture.
"Every whisker tells a story. Our job is to capture the ones that matter most — in the geometry, before a single layer is ever printed."
— The PawSculpt Team
A Quick Reference: What Happens at Each Stage
This table maps the journey so you know where your input lands and where it doesn't.
| Stage | What Happens | Your Role |
|---|---|---|
| Photo review | Sculptor studies your reference images | Send clear, multi-angle photos |
| Digital sculpting | Model built in 3D software | Wait — this is the artist's craft |
| Sculpt proof | Render sent for your approval | Scrutinize closely, request changes |
| Full-color printing | Resin printed with embedded color | None — approval already locked it in |
| Post-processing | Cleaning, curing, support removal, clear coat | None — finishing is on us |
Notice where your power concentrates: the proof stage. Everything before it is craft you can't control, and everything after it is execution. The proof is your one window. Use it fully.
The Photos That Make or Break Your Proof
You can't judge a proof fairly if you fed the sculptor weak source material. Garbage in, garbage out — and with a breed as shape-defined as the Siamese, marginal photos cause most of the problems we see.
Here's what actually works, and why.
| Photo Element | What to Aim For | Why It Matters for Siamese |
|---|---|---|
| Angles | Front, both profiles, three-quarter | Captures the wedge from every plane |
| Lighting | Soft, even, natural daylight | Reveals true point color and bone structure |
| Eye level | Camera at the cat's eye height | Prevents distorted muzzle proportions |
| Expression | Calm, alert, ears neutral | Shows the real ear set and eye slant |
| Resolution | Sharp, in focus, well-lit | Lets the sculptor see fine facial planes |
A few hard-won notes.
Shoot at their eye level, not from above. Phone-from-standing shots foreshorten the muzzle and make the wedge look shorter than it is. Get down on the floor. We mean it.
Daylight beats lamps. Indoor bulbs cast yellow or orange that masks the true contrast between the cream body and the dark points — the exact contrast that defines your cat. A spot near a window on an overcast day is ideal.
Get the ears neutral. A photo where your cat's ears are flattened in annoyance gives the sculptor bad data about ear set. Wait for the calm, alert look.
"The figurine can only be as faithful as the photo it was born from. Light your cat like you love them."
One more, on smell of all things — because the photos that capture the truest expression are usually the candid ones. The shot of your Siamese mid-stretch on the blanket that still holds their warm, slightly-toasted-bread scent. The relaxed face you catch when they don't know you're filming. Those beat any posed portrait. The personality lives in the unguarded moment, and the sculptor can feel the difference even working from pixels.
Reading Between the Pixels: Subtle Tells of a Good Proof
Once the big shapes check out, here's how seasoned eyes evaluate quality — the stuff that separates a good proof from a great one.
Surface Flow and Coat Direction
Even before any color, a quality sculpt shows the flow of the coat in the geometry — the direction fur lies, the subtle planes of the face, the way the short Siamese coat hugs the muscle. On a sleek breed this is subtle but present. A flat, featureless surface is a sign of a rushed model.
Symmetry — But Not Too Much
Check that the two sides of the face are balanced. Eyes level, ears matched, muzzle centered.
But here's the counterintuitive part: a perfectly symmetrical face looks dead. Real cats are slightly asymmetrical, and the best sculpts preserve a touch of your cat's specific quirks — the ear that sits a hair lower, the eye that's a touch bigger. If the proof is robotically perfect, it may have lost the individuality that makes it your cat. Mention this if you spot it.
The Raking-Light Check (Borrow Our Trick)
In our quality control, we inspect surfaces under raking light — light coming from a low, sharp angle across the surface that throws every bump and dip into shadow. It reveals flaws a flat front-light hides.
You can do a version of this with the proof. If you're given a turntable, watch how light slides across the muzzle and forehead as it rotates. Smooth, intentional transitions are good. Random lumpiness in the geometry is worth flagging.
Expression: The Hardest Thing to Name
This is the soul layer, and it's the toughest to articulate. Your cat has a default expression — imperious, sweet, perpetually mildly offended (very Siamese).
If the proof's shapes are all technically correct but the face feels emotionally blank, that's a real note. Say "the expression feels too neutral — mine always looked slightly haughty, can the eyes carry more of that?" A good sculptor can adjust the set of the eyes and mouth to bring personality forward. It's delicate, but it's doable.
How to Give Feedback a Sculptor Can Actually Use
You've found something off. Now what? The difference between a frustrating revision cycle and a smooth one is entirely in how you communicate.
Be specific and located. Not "the face is wrong." Instead: "the muzzle looks about 15 percent too short" or "the right ear sits too high compared to my photo."
Use your reference photo as the anchor. "Compared to photo #2, the cheeks are fuller than they should be." This gives the artist a shared truth to work against.
Separate shape notes from color notes. Lumping them together muddies the priority. List geometry fixes first, color second. Remember the order — bones before fur.
Describe the feeling, then let them solve it. "He looks too friendly — mine had a more aloof, half-lidded look" tells the artist the target without you having to know which polygon to push.
Prioritize. If you have ten notes, mark the two that matter most. Everything reads as equally urgent otherwise, and the critical fixes can get lost.
Here's the thing about revisions: studios that work in digital proofs expect them. This is normal, healthy, built-into-the-process collaboration. You're not being a pain. You're doing your job as the one person on Earth who knows this face best. For specifics on how revision rounds work and what each studio offers, it's worth checking the details directly — PawSculpt lays out its proof and revision process so you know what to expect before you start.
"You are not being difficult. You are the world's leading expert on this one particular face."
The Emotional Weight Nobody Warns You About
We have to name something, because it surprises people.
Approving a proof of a cat you've lost can knock the wind out of you. You sit at the kitchen table, the proof on the screen, and suddenly you're not evaluating geometry — you're looking at a face you'll never scratch under the chin again. The technical task collides with raw grief, and it can feel impossible to "judge" something so loaded.
There's biology under this. Seeing a faithful representation of a lost loved one activates attachment and memory circuits hard — the same neural pathways that fired during the real bond. Your brain partly responds to the image as if it were the cat. That's why a good proof can bring tears and a flawed one can feel like a small fresh wound. It's not you being dramatic. It's attachment wiring doing exactly what it evolved to do.
If you're grieving, give yourself permission to review the proof in passes. Look once for emotion — let it land. Then come back later, calmer, to look for the technical notes. Trying to do both at once is genuinely hard, and you don't have to.
For pet parents creating a piece of a living cat, the weight is different but real too. You're trying to freeze a moment of a relationship that's still unfolding. That matters. A growing number of families now keep 3D pet sculptures of their pets while they're alive precisely to honor the everyday now, not only to memorialize later. If you're exploring that path, you can see how others have captured their companions at PawSculpt.
Whatever your situation — take the proof seriously, but be gentle with yourself in the process. The figurine is supposed to bring comfort, not stress. The fifteen careful minutes are worth it because they protect the years of comfort that follow.
A Realistic Checklist to Approve (or Reject) Your Siamese Proof
Print this, or keep it open beside the proof. Run top to bottom.
- Reference photo open beside the proof? Compare to photo, not memory.
- Seen it from multiple angles or rotating? Refuse to judge from one still.
- Muzzle wedge length and taper correct? The Siamese signature.
- Cheeks the right fullness? The most common error — check hard.
- Chin aligned under the nose? Profile maker-or-breaker.
- Eyes the right slant, spacing, and size? Almond, lifting toward ears.
- Ears large enough, set low and wide? Beware "default cat ears."
- Expression matches your cat's personality? The soul layer.
- Slight, natural asymmetry preserved? Too perfect reads as fake.
- Color and points right — checked last? Surface, easiest to fix.
If steps 3 through 8 pass, you have a faithful Siamese and any remaining notes are fine-tuning. If any of those fail, that's your priority feedback. Color issues alone almost never justify rejecting a proof — they justify a quick adjustment.
The single most important mindset: approve the bones, refine the surface. Get that order right and you'll end up with a figurine that stops you in the hallway because, for a second, you think they're really there.
What to Expect From the Overall Process
Without quoting specifics that vary, here's the honest shape of how a custom piece comes together so you can plan emotionally and practically.
You submit photos. An artist sculpts digitally. You receive a proof to review — the stage this entire guide has prepared you for. You give feedback, the artist revises, and once you approve, the model moves to full-color printing and finishing. Then it ships to you.
The proof-and-revision phase is collaborative and a little iterative by nature, and that's a good sign, not a delay. For current turnaround windows, revision details, and the quality guarantee, the most reliable source is always the studio directly — you can reach the PawSculpt team with questions about your specific Siamese before you commit.
We're not vets, and we're not going to pretend a figurine replaces a living animal or resolves grief. What we can tell you, from working with thousands of pet families, is that a faithful object you can hold gives a lot of people a steady, physical place to put their love. The proof stage is where that faithfulness is won or lost.
Frequently Asked Questions
What is a digital sculpt proof, exactly?
It's a rendered image or short rotating video of the 3D model an artist builds before anything is printed. Think of it as the blueprint — pure digital geometry of your pet. It's the stage where changes cost a few clicks instead of a whole new print, which is why reviewing it carefully matters so much.
How can I tell if my custom Siamese figurine's face is truly accurate?
Put your reference photo beside the proof and compare them directly — never judge against memory, which drifts and forgives. Check the muzzle wedge, eye slant, and ear set before you look at color. Your brain recognizes your cat by bone structure, so if the shapes are right, you're most of the way there.
Should I focus on color or shape when I approve a 3D model of my pet?
Shape, every time. Color is a surface layer that's easy to adjust digitally, while geometry is the foundation your eye uses to recognize your cat. We tell families to approve the bones first and refine the color last. A perfectly colored wrong-shaped head still looks like a stranger.
Will the final figurine look exactly like the proof on my screen?
Very close, with a small, normal translation. Screens emit light while resin reflects it, so colors shift slightly, and the protective clear coat adds a sheen the flat render can't show. In full-color 3D printing the pigment is embedded in the resin itself, so the color is deep and durable, not a surface layer.
Is it okay to ask for revisions to the proof?
Absolutely — that's the entire purpose of the proof stage. Asking for changes isn't being difficult; it's you doing the one job only you can do, since you know this face better than anyone. Be specific, reference your photos, and list shape fixes before color notes.
What kind of photos give the most accurate result?
Sharp, in-focus shots in soft natural daylight, taken at your cat's eye level rather than from above. Aim for front, both profiles, and a three-quarter angle, with ears neutral and a calm expression. Candid, relaxed moments often capture personality better than posed portraits.
Ready to Celebrate Your Pet?
Every pet has a story worth preserving. Whether you're honoring a beloved companion who's crossed the rainbow bridge or celebrating your Siamese's haughty, slow-blinking personality, a custom PawSculpt figurine captures the details that make your cat one-of-a-kind — and it all begins with a digital sculpt proof you get to review and approve before anything is printed.
Visit pawsculpt.com to learn more about our full-color 3D printing process, proof reviews, flexible revisions, and quality guarantee.