Stop Waiting for the Perfect Shot: 9-Step Photo Checklist for a Senior Golden Retriever
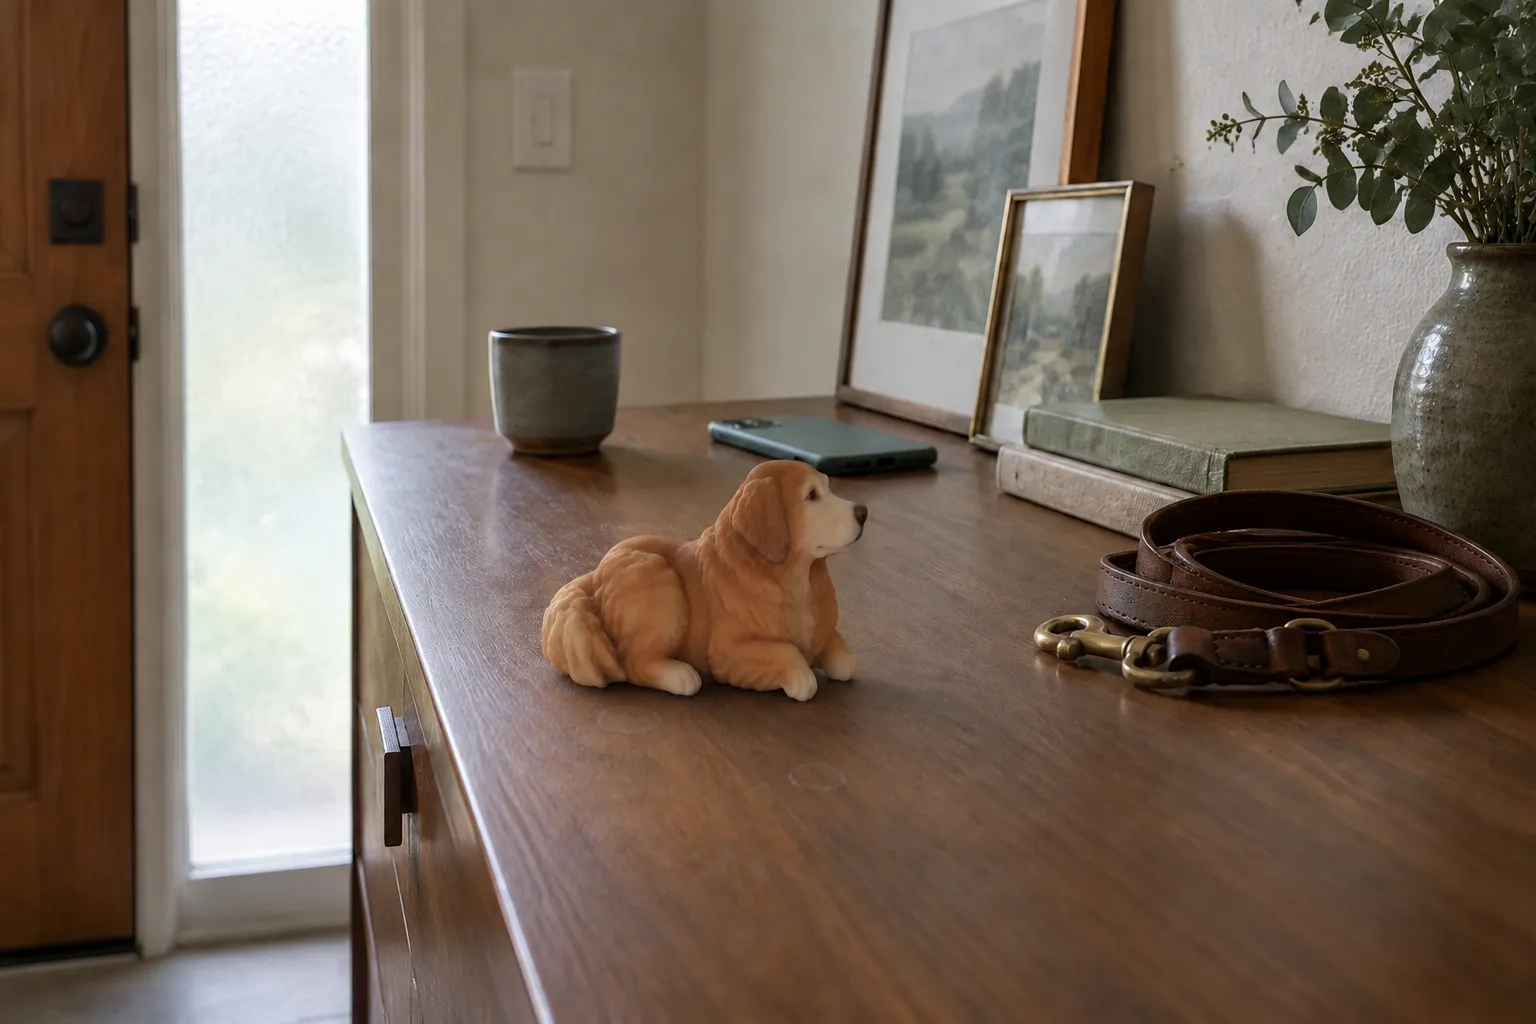
“Just take it now, he’s not getting up for anybody.” Your golden is sprawled on the cool garage concrete beside the recycling bins, white muzzle on his paws, tail thumping twice against the floor when he hears his name.
A useful senior golden retriever photo checklist skips the posed portrait and collects honest references: soft window or doorway light, eye-level angles, focus on the eyes, a full set of front, side, and top views, and close-ups of the gray muzzle and paws. Short, comfortable sessions beat one perfect, exhausting shoot.
Quick Takeaways
- Stop chasing one flawless frame. A set of clear, ordinary photos holds more of your dog than a single lucky shot.
- Work where your dog already rests. Bring the camera to the dog, not the dog to the camera.
- Light and eye level matter more than gear. A phone, an open door, and a willingness to lie on the floor will cover most of the job.
- Photograph the details that are changing: the white muzzle, the eyebrows, the paws, the way he curls up.
- If anything about how your dog moves or behaves has shifted, that’s a conversation for your veterinarian, not something to push through for a photo.
Why “The Perfect Shot” Is the Wrong Target
Here’s the cause-and-effect chain that can keep a phone empty of good senior dog photos:
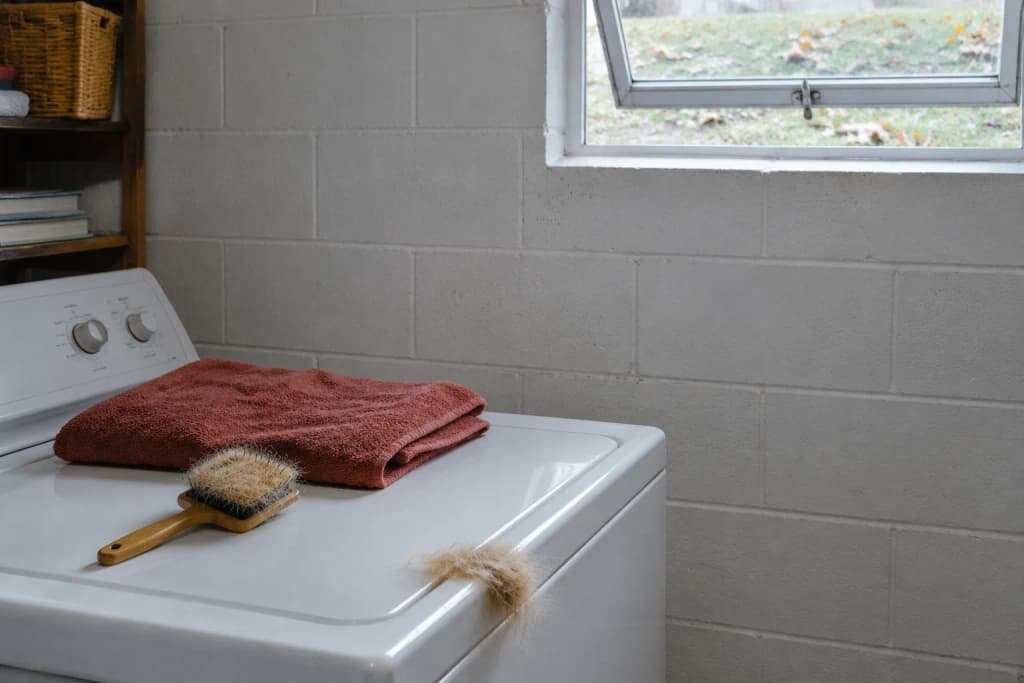
- You wait for the right moment: good light, clean fur, dog awake, you free.
- Those four conditions rarely line up on a weekday.
- So you take nothing, or you take one rushed photo in bad light.
- The months pass, and the muzzle keeps getting whiter.
The fix is a mindset swap. Think like a portrait artist gathering references, not a photographer chasing a cover image. A reference photo doesn’t need to be beautiful. It needs to be clear, well lit, and honest about color and shape.
That shift matters whether the photos end up in a frame, a printed album, a painting, or a sculpted figurine. Any artist interpreting your dog works from what the camera actually recorded. That includes you, scrolling back a year from now. A blurry shot under a yellow garage bulb records a blur and a yellow dog.
A useful way to sort your goals:
- If you want a single favorite image to frame, you need a handful of strong frames in good light.
- If you want a record of who your dog is right now, you need variety: angles, details, habits, sounds you can tie to moments.
- If you might ever commission art from your photos, you need both, plus clear views of the face and body from several sides.
The nine steps below cover all three.
Before You Pick Up the Phone: Comfort First
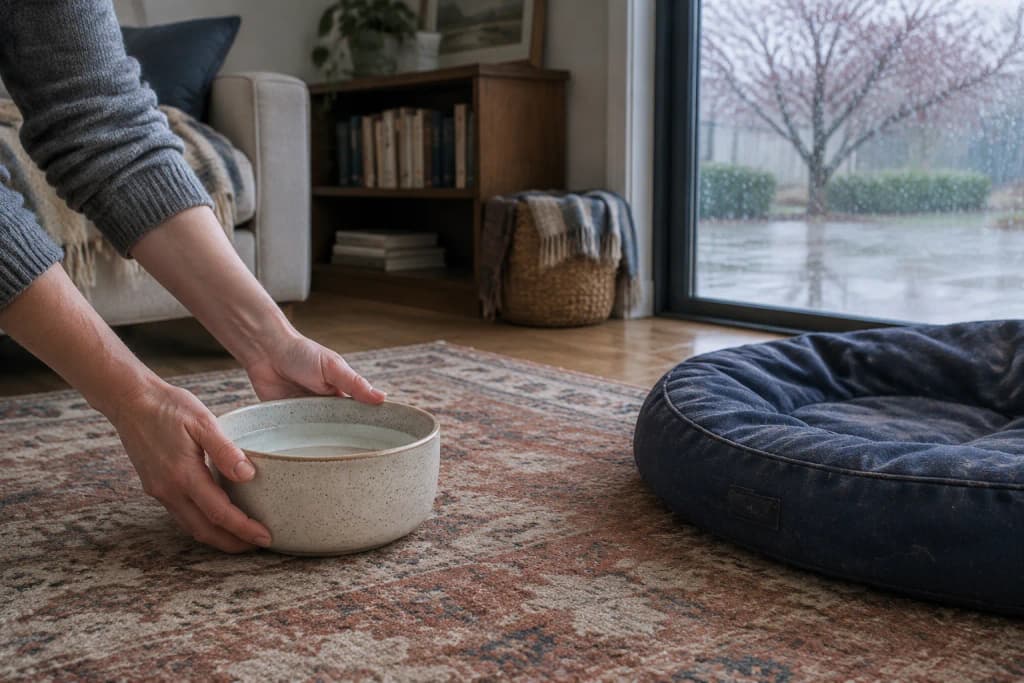
Senior dogs set the pace. This isn’t a health claim about any one dog, just the practical reality that a session goes better when your dog is relaxed and you aren’t asking for more than they want to give.
Two points worth stating plainly.
First, a photo session is not a diagnostic tool, but it can make you notice things. Maybe he takes longer to lie down. Maybe he sits differently, or seems less interested in a toy he used to grab. The American Animal Hospital Association describes regular veterinary exams, discussions about life stage, and early professional evaluation of health or behavior changes as foundations of preventive pet care. If something you see through the lens surprises you, write it down and bring it to your vet. Don’t try to interpret it yourself.
Second, be careful with treats as photo bait. The ASPCA notes that feeding schedules and diet change as a dog ages, and WSAVA recommends that pets be fed according to an individually tailored nutrition plan set with a veterinary team. The simplest approach is to borrow a few pieces from your dog’s regular meal instead of adding extras. If you’re unsure what’s appropriate, ask your vet.
Then listen to the room before you start. The garage freezer hums. A neighbor’s mower drones two yards over. Your dog’s breathing slows into that heavy, half-asleep rhythm. That’s your window.
The 9-Step Senior Golden Retriever Photo Checklist
Step 1: Shoot Where He Already Rests
Don’t relocate a settled dog to a “nicer” spot. The cool concrete by the garage door, the rug under the entryway console, the patch of hallway he claims every afternoon: these are his places, and they belong in the record.
If the background is cluttered, move the clutter, not the dog. Shift the recycling bin a few feet. Slide the shoes out of frame. Leave the keys clattering in their bowl if that’s part of your daily soundtrack, but keep them out of the photo unless you want them there.
If-then:
- If he’s asleep, photograph the sleeping dog. It’s a real pose and can become a favorite.
- If he gets up and follows you, let the session end and try again tomorrow.
Step 2: Kill the Overhead Bulb, Open the Door
Light shapes everything, especially on gold fur and a white muzzle.
Overhead garage and hallway bulbs tend to cast a warm or green tint and throw harsh shadows under the eyes. Turn them off. Then open the garage door partway or move near a window so soft daylight falls across your dog from the side or front.
Good light for reference photos is bright but not direct. Open shade, an overcast sky through a doorway, or a north-facing window all work. Direct midday sun on light fur often blows out the highlights, so the coat reads as a flat pale shape with no texture.
Skip the flash. It can startle a resting dog, and it often makes eyes glow and flattens the coat.
You’ll hear it when the light changes: the garage door motor grinding up, the outside sounds pouring in, birds, a passing car. Give your dog a moment to adjust before you raise the phone.
Step 3: Get on the Floor
Many dog photos are taken from standing height, looking down. That angle shrinks the dog, exaggerates the head, and hides the face.
Kneel, sit, or lie flat. Bring the lens to your dog’s eye level. For a dog lying chin-on-paws, that means your phone is just a few inches off the ground.
This one change does more than any setting on your phone. You’re down at his level, close, talking softly. He hears your knees creak and your sigh as you settle, and the tail may answer.
Step 4: Clean the Lens and Turn Off the Tricks
Wipe the phone lens on a soft cloth. Pocket lint and fingerprint haze can cause soft, foggy photos just as shaky hands can.
Then simplify the camera:
- Use the standard photo mode for most reference shots.
- Turn off beauty filters and color filters.
- Use portrait mode sparingly. The artificial background blur can smear the edges of fluffy fur, ears, and whiskers, which are exactly the details you want to keep.
Take a few portrait-mode shots for framing if you like them. Just make sure the core set is in plain mode with no edits.
Step 5: Focus on the Eyes, Then Tame the Highlights
Tap the screen on your dog’s nearest eye to set focus. On most phones you can hold your finger there to lock focus and exposure.
Then slide the exposure slightly darker. Light gold coats and white muzzles are easy to overexpose, and a little darker is much easier to recover than pure white.
Check the result by zooming in on one photo:
- Can you see individual whiskers?
- Is there texture in the white fur around the muzzle, or is it a flat bright patch?
- Do the eyes look sharp, with a small catchlight from the window or doorway?
If the answer to any of these is no, adjust and shoot again.
Step 6: Use Sound, Gently
This is where a senior dog photo session either works or doesn’t. You want an alert, ears-up expression without getting your dog off the floor.
Sounds that may earn a head lift:
- Saying his name once, softly
- The squeak of a favorite plush toy, like the duck that lives by the door
- Crinkling a paper bag or treat pouch
- The jingle of your car keys, if that sound means “walk” in your house
Use each sound once or twice, then stop. The same sound may stop getting a reaction if you repeat it. Turn on burst mode, or tap the shutter quickly as you make the sound, because the alert look may last only a moment.
Notice the sounds you don’t want, too. If a sudden noise makes your dog flinch or get up, that’s a cue to wrap it up.
Step 7: Collect the Angle Set
This is the core of a reference library. Aim to capture each of these, even if it takes a few short sessions across a week:
- Straight-on face, at eye level
- Left profile
- Right profile
- Three-quarter view, face turned slightly from the camera
- Top-down view of the back and coat pattern, shot from directly above while he lies down
- Full body, standing or lying, with paws and tail visible
If standing is a struggle, don’t ask for it. A full-body shot lying on his side or curled up works, and it can read as more natural for an older dog anyway.
Both profiles matter. Ears sit differently. Gray patches aren’t symmetrical. A cowlick shows up only on one side.
Step 8: Get Close on the Details That Are Changing
This is where the craftsman’s eye pays off. The details below are the texture of who your dog is right now, and you might later wish you’d photographed them:
- The white or gray muzzle, close and in good light
- The eyebrows and the expression lines around the eyes
- Ears, front and back
- Paws and the fur between the toes
- The feathering on the tail and the back of the legs
- Any distinctive markings, lumps you’ve already discussed with your vet, or scars, if you want them remembered
- His collar and tag
- The favorite toy, with and without him
If you have more than one pet, photograph them together and separately. Pets who share a nap spot may have a pose that belongs to the pair, not to either one alone.
Then step back and shoot one “context” photo: the dog in his spot with the garage, entryway, or room around him. It records scale and setting, which is easy to forget.
Step 9: Back Up and Label Immediately
The checklist is unfinished until the photos are safe.
Same day, while you still remember which session was which:
- Make an album named after your dog.
- Mark the sharpest frames as favorites.
- Back up to cloud storage, a computer, or both.
- Add a short note: date, location, what he was doing.
A note like “garage, after evening walk, heard the duck squeak” turns a photo into a memory with a soundtrack. Later, if you hand references to an artist, labels also save time and confusion.
Fitting It Into a Busy Week
The obstacle may not be skill. It may be time. So break the checklist into short pieces that ride along with routines you already have.
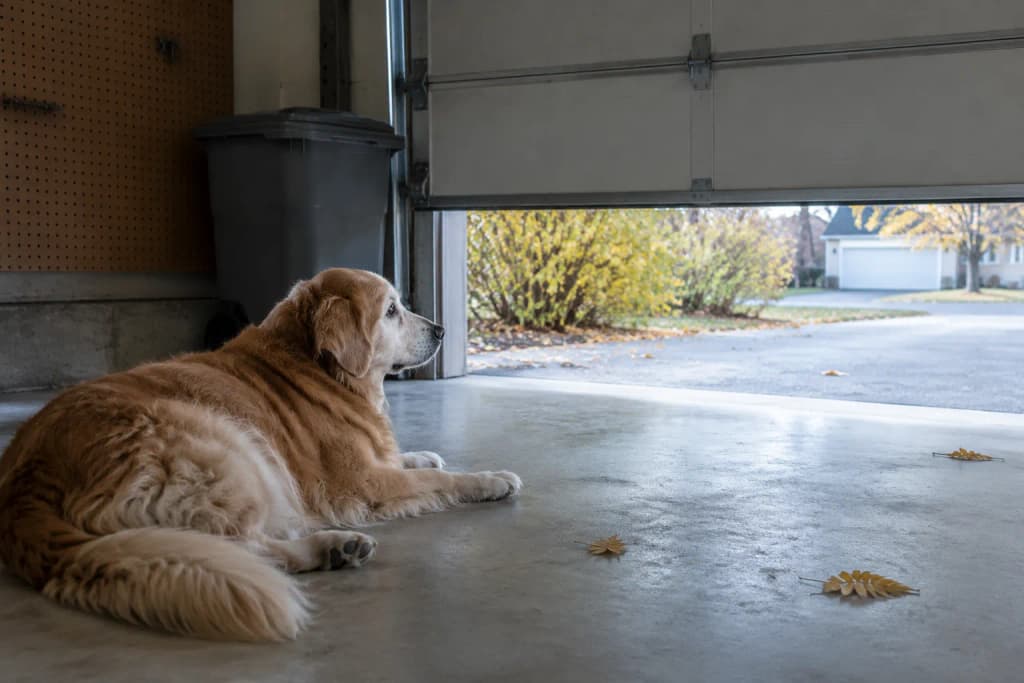
Picture this example: it’s 7:15 on a Tuesday. You roll the garage door up to take out the trash, and the motor’s grind wakes your golden from his spot on the concrete. He lifts his head toward the morning light pouring in, and you kneel, tap his eye on the screen, and squeak the duck once: three frames, ears up, done before the coffee maker finishes gurgling in the kitchen.
That’s a complete session. Two minutes, one angle checked off.
A simple weekly plan:
| Day | Checklist piece |
|---|---|
| Monday | Straight-on face (Steps 2–6) |
| Tuesday | Left and right profiles (Step 7) |
| Wednesday | Top-down coat view (Step 7) |
| Thursday | Muzzle and eyebrow close-ups (Step 8) |
| Friday | Paws, tail, toy (Step 8) |
| Weekend | Full body, context shot, and backup (Steps 7–9) |
This schedule isn’t a rule. It’s a way to make the work small enough that it actually happens. Skip days freely. Repeat anything that came out blurry.
A few time-savers:
- Keep a small phone tripod folded by the entryway console or in the garage. It lets you shoot top-down or low angles without contorting yourself.
- Leave the toy where you’ll photograph, so you’re not hunting for it.
- Clean the lens when you charge your phone at night.
What to Do With the Photos
A finished reference set opens several options. None of them is the “right” one. They preserve different things.
- Printed photographs or an album. Low effort, and the most literal record. Prints also force you to choose favorites, which is useful.
- Writing. A page of notes about his habits, the sounds of your days together, his quirks. Pairs well with photos and costs nothing but time.
- Painted or drawn portraits. An artist interprets the photos into a single image with a mood and style.
- A sculpted figurine. A three-dimensional artistic interpretation that you can see from every side, which is where the full angle set from Step 7 earns its keep.
If you’re weighing the figurine route, it helps to know the process before you shoot, because it shows why the references matter. At PawSculpt, reference photographs are reviewed, an artist digitally sculpts the portrait, and you confirm the artist’s preview before anything is printed. The approved model is then printed in full color on a Mimaki 3DUJ-553, equipment that supports more than 10 million colors. Supports are removed, the surface is inspected, and a transparent protective coat is applied. The result is meant for indoor shelf display, and it is a sculpted portrait, not a photocopy. Clear, well-lit photos give the artist more honest information about color, shape, and expression to interpret.
Sizes, Prices, and Timeline
For readers comparing options, these are the list prices for a single figurine, in USD:
| Size | Price (USD) |
|---|---|
| 2.5-inch | $429 |
| 3-inch | $489 |
| 4-inch | $589 |
| 5-inch | $789 |
| 6-inch | $999 |
A black acrylic base is included. Add-ons include a second pet ($179), an extra toy ($30, for the plush duck, say), a nameplate ($9), a diamond glass base ($29), a black crystal base ($39), and rush ($29). An extra pet option ($199) is available on 4-inch and larger sizes.
The timeline runs in clear stages:
- Order with a 40% deposit. A full refund is available before the order enters the server-recorded IN_DESIGN status. Once the artist starts modeling, the deposit becomes non-refundable.
- Once complete references are available and the order enters IN_DESIGN, the first artist preview is typically delivered within 7 days.
- Five revisions on the preview are included. You confirm the preview before printing.
- Delivery takes 27–40 days in the US or 33–47 days internationally after final payment. There’s no separate shipping fee at checkout for worldwide delivery, though international customers remain responsible for local customs duties, taxes, or import fees.
Notice the dependency in step 2: “complete references.” That’s the practical reason to finish the checklist before ordering, not after.
For Christmas 2026, the last order-by dates are November 10 (US) and November 3 (international). Confirm the preview and pay the balance promptly to stay on schedule. Orders placed after the cutoff are delivered in January, and the artist preview, which arrives within about 7 days of IN_DESIGN, can be shared as the gift.
More practical guides on pet care and keepsakes live on the PawSculpt blog.
Frequently Asked Questions
How many photos should I take of my senior golden retriever?
There is no magic number. Aim to cover each angle in the checklist: front, both profiles, three-quarter, top-down, and full body. Add close-ups, and keep a few sharp options for each.
Should I use flash when photographing an older dog?
Usually no. Flash can startle a resting dog, make eyes glow, and flatten the coat. Soft daylight from an open door or window gives more natural color and texture.
My dog doesn't want to stand for long. Can I still get good photos?
Yes. Lying-down, curled-up, and chin-on-paws poses are real and can become favorites. Don't push a stand. If you notice changes in how your dog moves, mention them to your veterinarian.
Can I use older photos alongside new ones?
Often, yes. Older photos can show coat color or expressions from earlier years. Label each with a date and tell any artist which period you want them to prioritize.
How long does a custom figurine take after I send photos?
The first artist preview is typically delivered within 7 days after complete references are available and the order enters IN_DESIGN. Delivery is 27–40 days (US) or 33–47 days (international) after final payment.
Turn Your Reference Set Into a Sculpted Portrait
Once your album holds the face, both profiles, the top-down coat, and that white muzzle up close, you have what an artist needs to start. If a three-dimensional keepsake fits your plans, PawSculpt can turn those photos into a full-color custom pet sculpture, with an artist preview you confirm before printing and five revisions included.
Start with the photos either way. The garage door, the squeak of the duck, the thump of his tail on the concrete: the moments are already happening. You only need to record them.